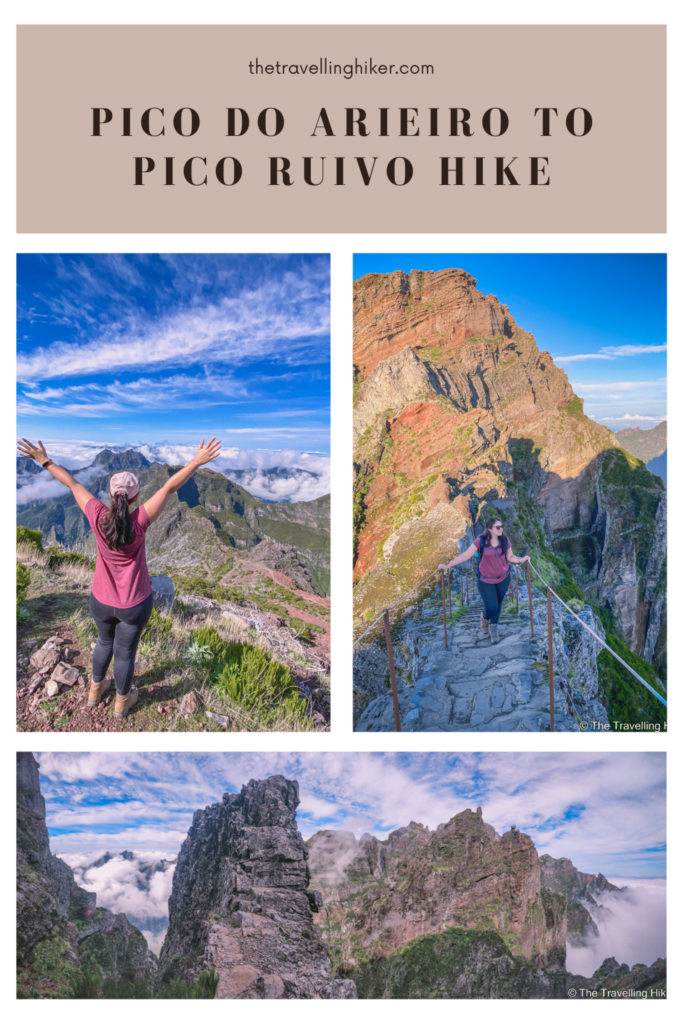
Pico do Arieiro to Pico Ruivo Hike is the most impressive hike I have done so far and it is a must-do if you’re planning to visit Madeira. The beauty of this place and that peaceful feeling you get when being above the clouds will guarantee an amazing day in nature.
Even if you’re not that big of a hiking person, I still recommend that you include Pico do Arieiro in your itinerary. It is the perfect spot to watch sunrise or sunset (usually above the clouds) and just the first 1,5 km of this hike will be one of the prettiest places you’ve ever seen.
Sounds promising, right? Then, keep reading this blog to learn everything there is to know about PR1 Vereda: Pico do Arieiro – Pico Ruivo.
TABLE OF CONTENTS
PICO DO ARIEIRO AND PICO RUIVO
PICO DO ARIEIRO
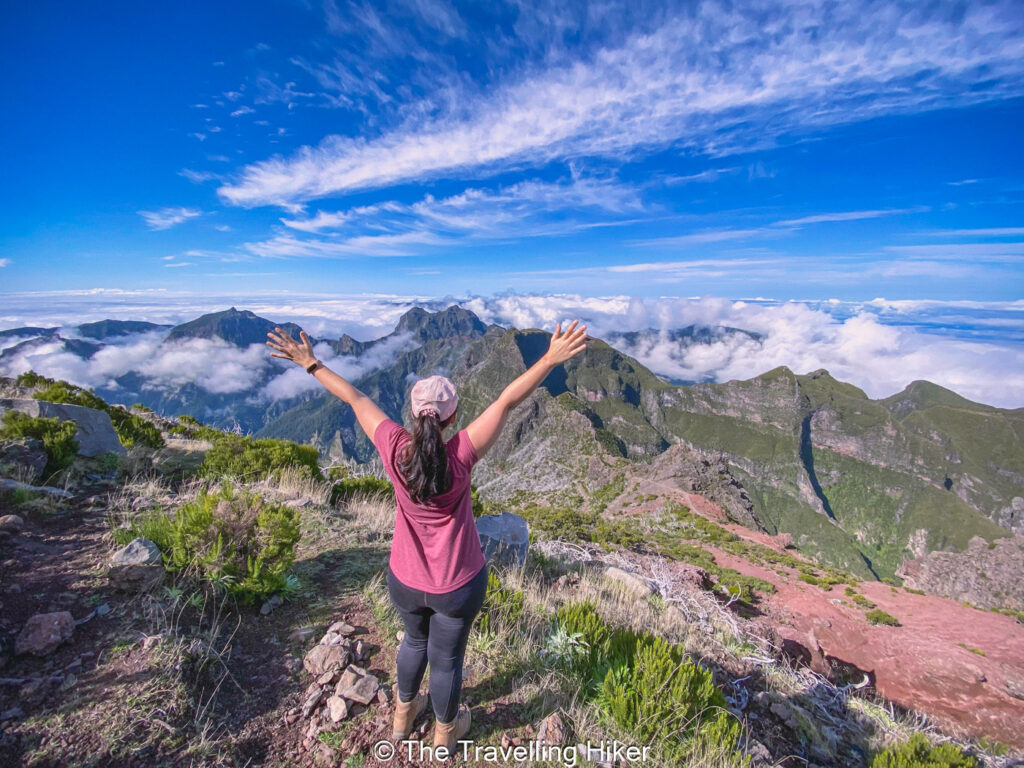
Pico do Arieiro (also written as Pico do Areeiro) is Madeira’s third tallest peak with 1818 m above sea level. On most days, Pico do Arieiro sits above the clouds which has turned this place into one of the most popular places in Madeira. On top of that, it is very easily accessible by car so you don’t even have to hike to do a cloud inversion.
From Pico do Arieiro you will be able to see beautiful mountain scenery but also, if the weather allows for it, the most eastern point of the island, Ponta do Sao Lourenço, and the nearby island Porto Santo.
Looking for more reasons to visit this place? Well, from Pico do Arieiro starts the PR1 hiking trail, which will take you to the other two highest peaks in Madeira island.
PICO RUIVO
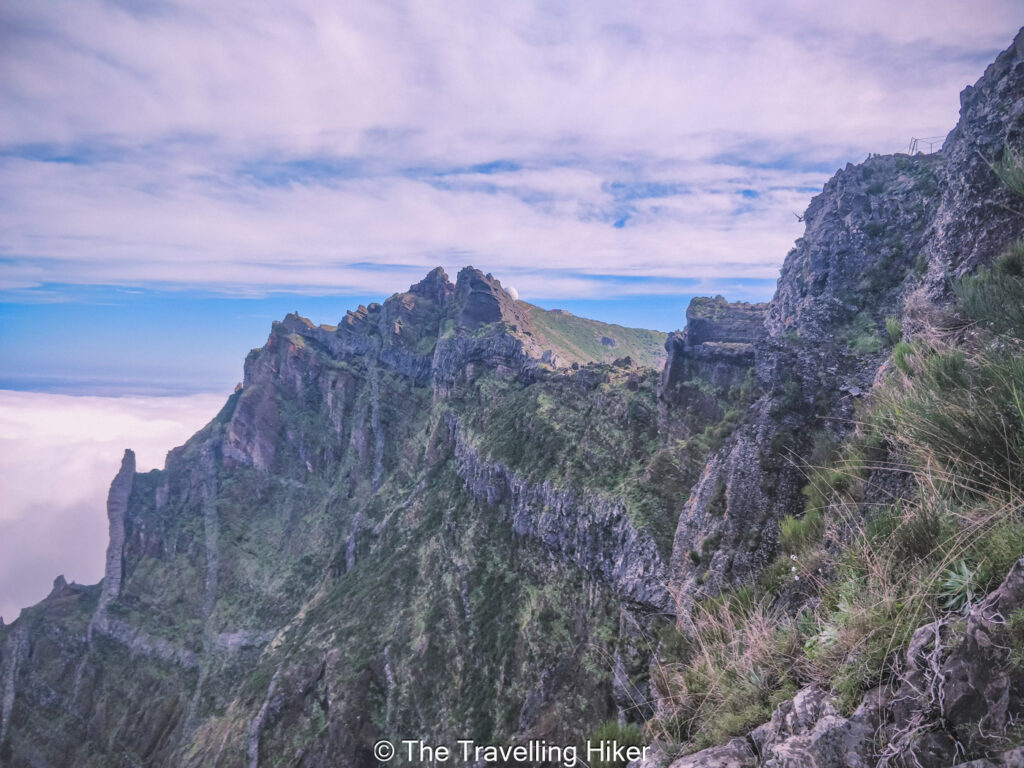
Pico Ruivo is the highest point on Madeira Island at 1862 meters. Its name translates into English as Red Peak and same as Pico do Arieiro it is a very popular spot for sunrise or sunset. However, contrary to the other one, Pico Ruivo is not accessible by car. To reach it, you will have to hike either from Pico do Arieiro or from Achada do Teixeira.
PRACTICAL INFORMATION ABOUT THE HIKE
GETTING TO PICO DO ARIEIRO
Pico do Arieiro is located in the center area of the island and it is easily accessible by car. It will take you approximately 40 minutes to drive from Funchal.
To reach it, just get Road ER103 and follow it until you reach Paso do Poiso, where you will turn left. There will be a sign showing you the way to Pico do Arieiro. From there, you just follow the road until you reach Pico do Arieiro parking lot.
Good to know: The roads are very well maintained. However, these are mountain roads with many 180 turns so make sure you are comfortable with driving this type of road if you want to visit there.
If you don’t have a car or don’t feel comfortable driving mountain roads, then you will either have to:
- Book a taxi: It will be approximately 50 euros from Funchal
- Join a guided tour like this Transfer from Funchal to Pico do Arieiro and Pico Ruivo.
THINGS TO KNOW BEFORE HIKING PR1 VEREDA DO ARIEIRO
Equipment Needed
If you plan on hiking from Pico do Arieiro to Pico Ruivo, the following equipment is highly recommended:
- Bring a few layers of clothes (even in the warmer months).
- Wear proper hiking shoes.
- Bring a hat and wear sunscreen to protect yourself from the sun.
- Bring snacks and lots of water.
- Bring a few coins for the toilets.
- Bring a head light for the tunnels.
Tips To Visit
Here are some other tips to make the best of your visit:
- Always check the weather forecast and trail conditions before heading to Pico do Arieiro. Weather conditions can vary a lot from one part of Madeira to the other. I recommend the app MadeiraWeather which includes Pico do Arierio.
- When is the best moment to go? I would recommend going to Pico do Arieiro for sunrise as it is famous for its super beautiful sunrises above the clouds. In addition, you will be able to beat most of the crowds and will have plenty of time to complete your hike without having to rush.
- If you’re planning to start your hike right after sunset, make sure to pack something for breakfast the night before. There is a restaurant at Pico do Arieiro but it only opens at 9 am.
- This hike can be rated as moderate to difficult, with constant going up and down. If you are not in good physical condition or you are not a frequent hiker, then maybe you should reconsider doing the complete hike.
UPDATED TRAVEL INFORMATION
Since August 2024, the trail PR1 that connects Pico do Areiro to Pico Ruivo is partially closed due to damages caused by wildfires. It is only possible to do the first 1,5 kms of the trail from Pico do Areiro until Pedra Rija.
It is also possible to do the trail PR1.2 Vereda do Pico Ruivo that brings you to Pico Ruivo from Achada do Teixeira.
There is no exact date on when the trail PR1 will reopen.
MY EXPERIENCE HIKING FROM PICO DO ARIEIRO TO PICO RUIVO
HIKE STATS
Trail Start/End – Pico do Arieiro
Distance – 14 km
Elevation Gain – 1231 m
Level – Difficult
Route Type – Out & Back
Estimated Time Needed – 7 to 8 hours. This includes stopping multiple times for photos and having lunch at Pico Ruivo.
Best Time To Visit – Spring or Fall, to get the most favorable weather conditions and fewer crowds.
HIKE MAP
I always use the AllTrails App during my hikes. The app has a GPX map that can help you stay on the right trail during your hikes. For this hike, we followed the Pico do Arieiro to Pico Ruivo Trail.
⚠ Important ⚠ The PR1 trail is temporarily closed. It is only possible to hike between Pico do Arieiro until Miradouro Ninho Da Manta and between Achadas do Texeira and Pico Ruivo.
PICO DO ARIEIRO TO PICO RUIVO HIKE - STEP BY STEP GUIDE
Sunrise at Pico do Arieiro
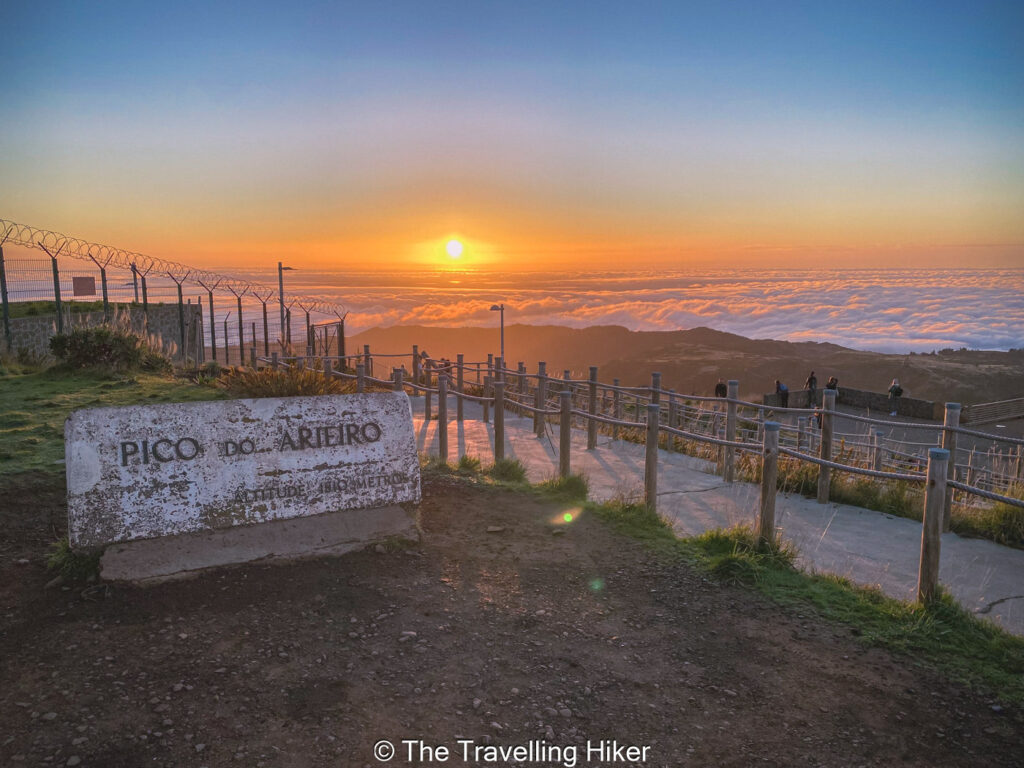
Our day began really early to see the sunrise at Pico do Arieiro. On the way there, I was a little bit worried because the sun started to rise while we were still driving our way up there. However, we soon entered some clouds and it meant we still had some time until the sun appeared again over it.
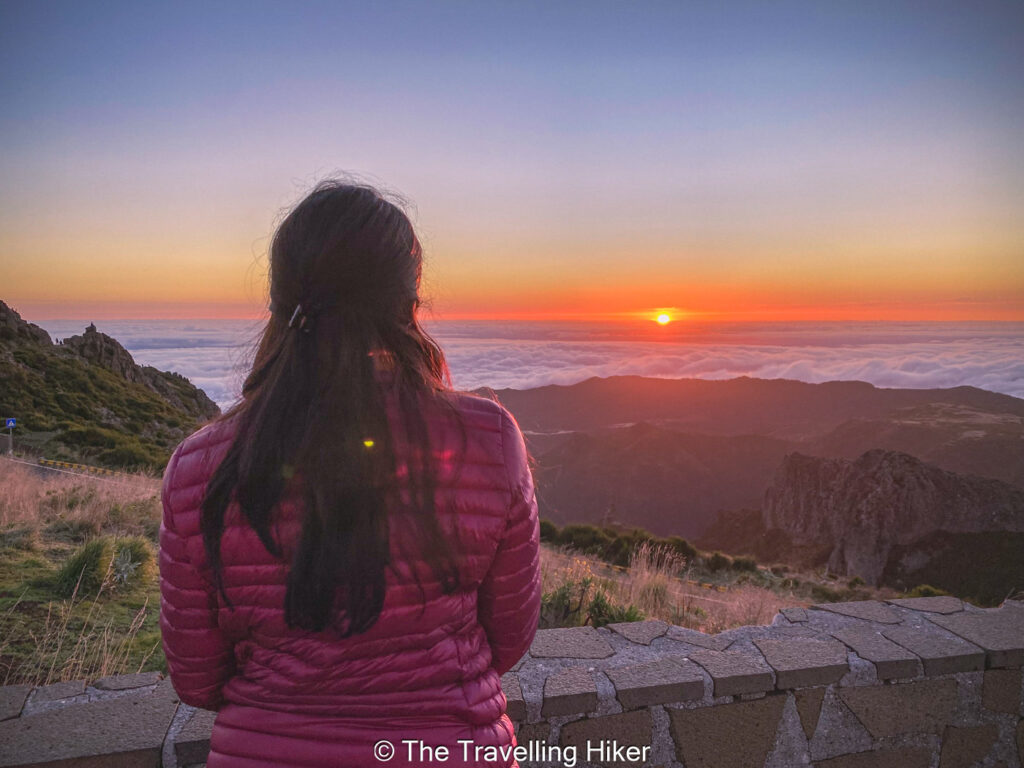
Luckily, we made it in time and there were not that many people there. We were able to witness a pretty impressive sunrise. A sea of clouds and the sun rising from them. Just for this, the early wake-up call was already worth it. Little did we know that the day would just keep getting better!
Hiking to Nihno da Manta Viewpoint
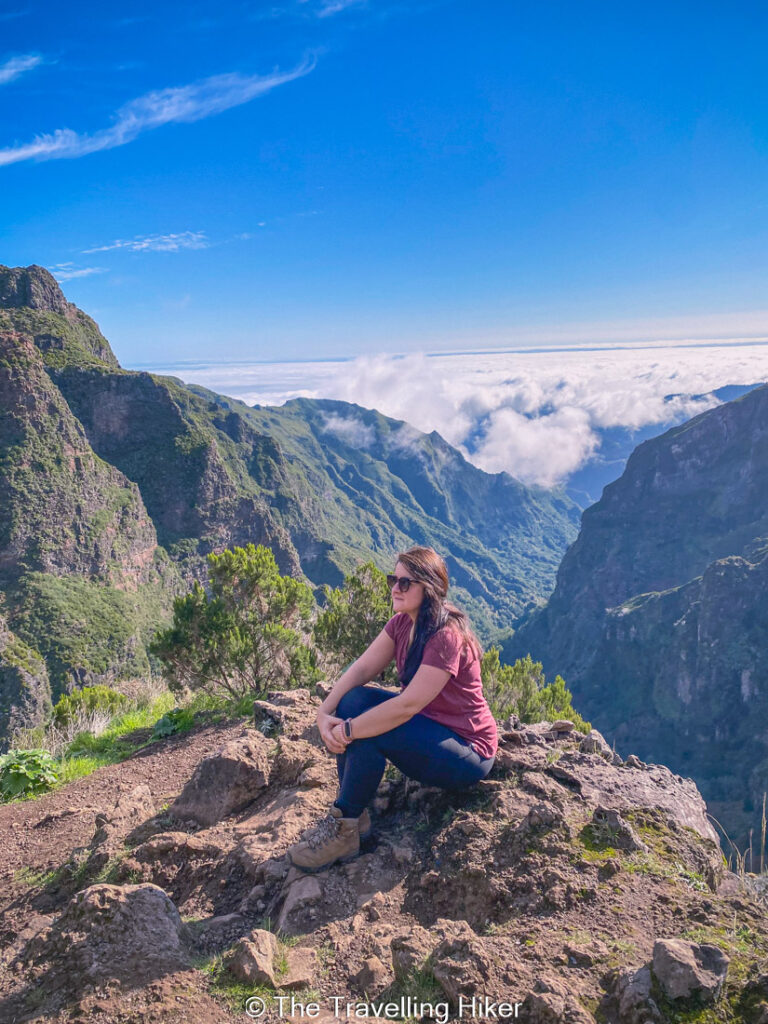
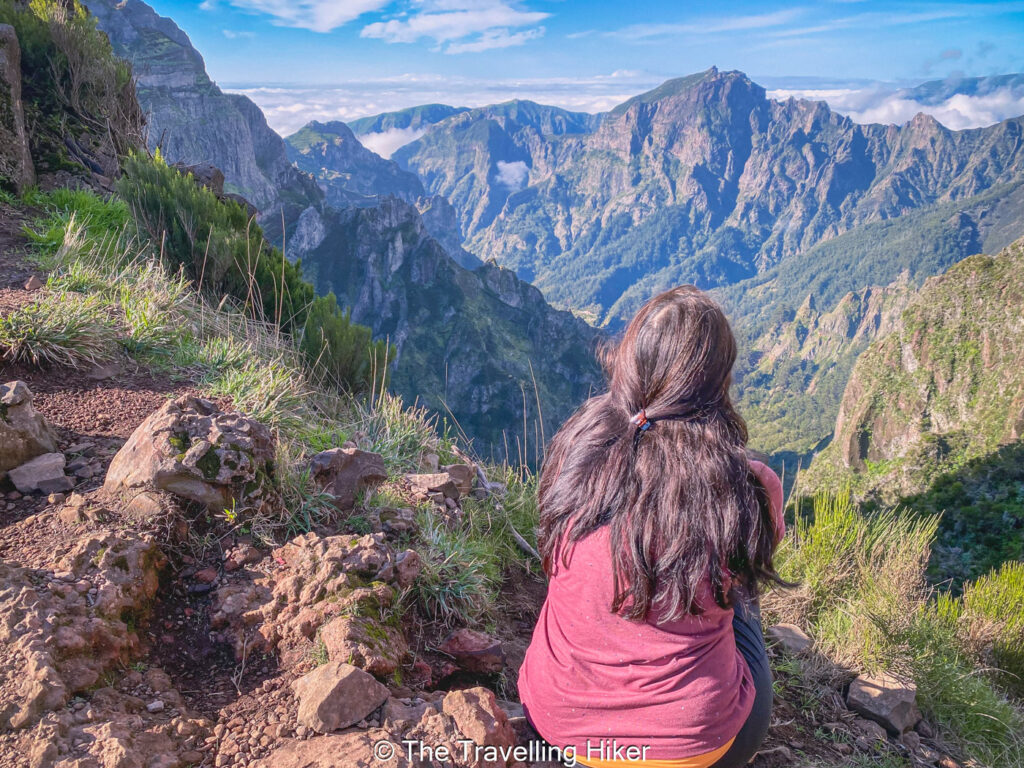
Once the sun was up, we started our way towards Pico Ruivo. The view of the golden morning light on the different mountain peaks and the sea of clouds underneath was so beautiful that we had to stop every few steps to enjoy the view and take as many photos as possible.
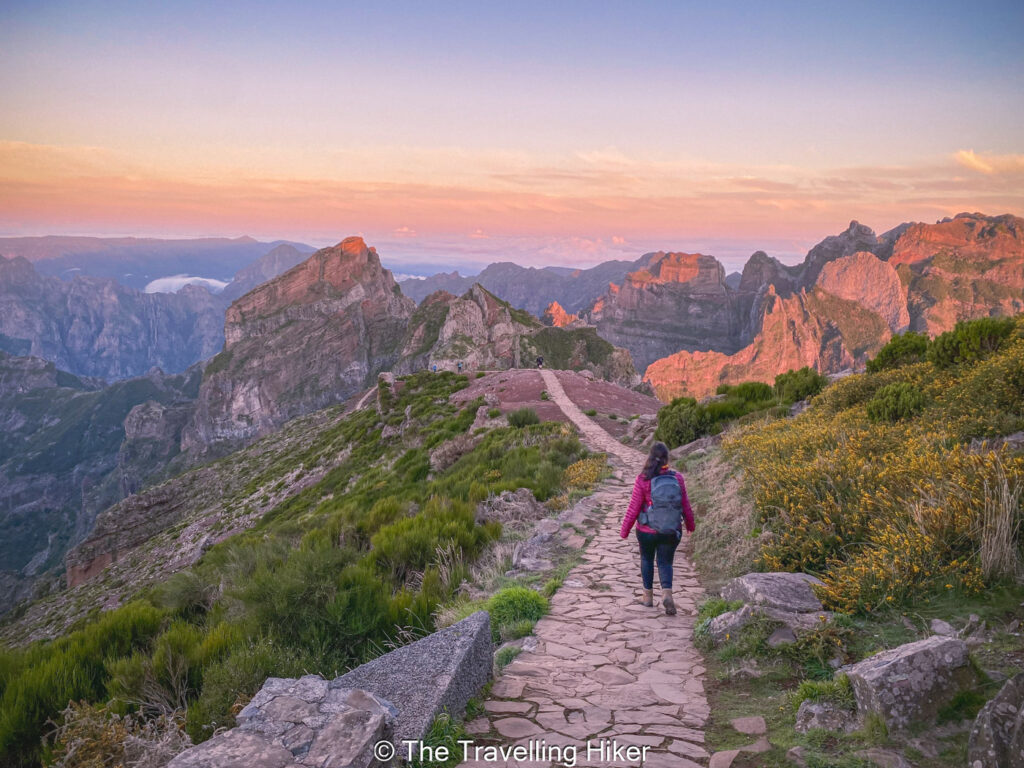
We progressed really slowly but we were not in a rush. This was our only activity planned for today and we wanted to enjoy it as much as possible. As long as we were back at Funchal for dinner we we happy.
Pedra Rija
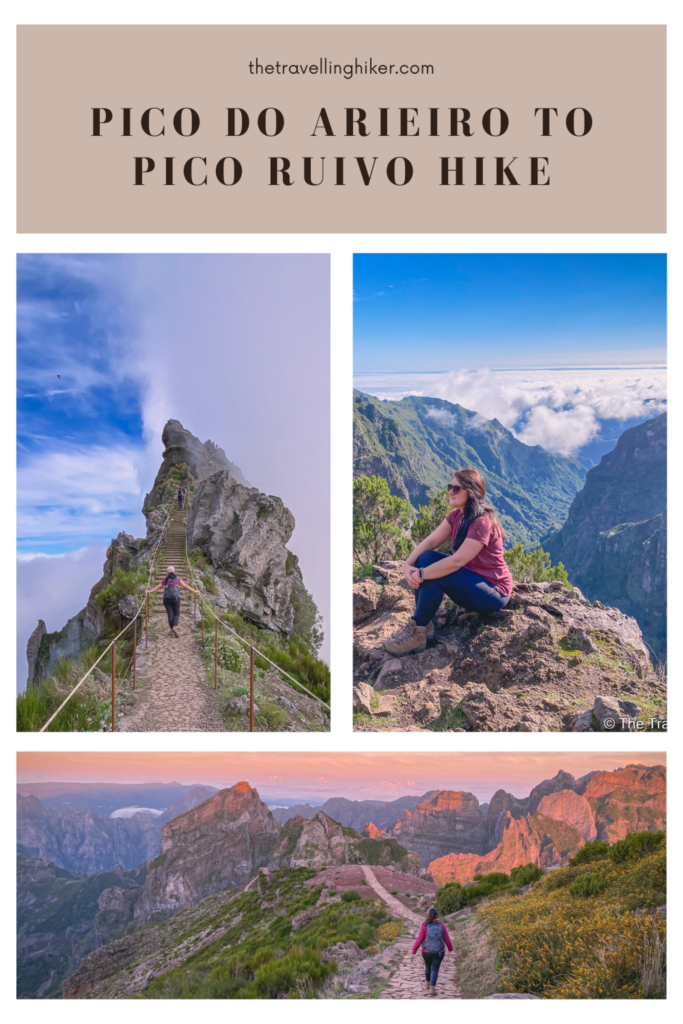
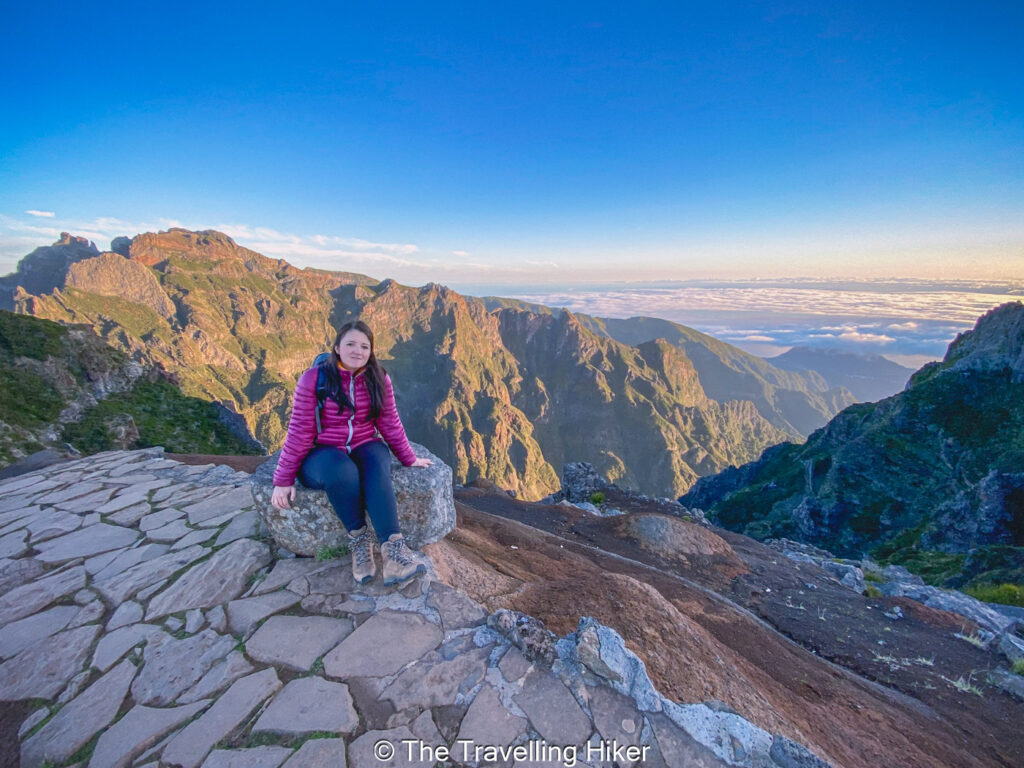
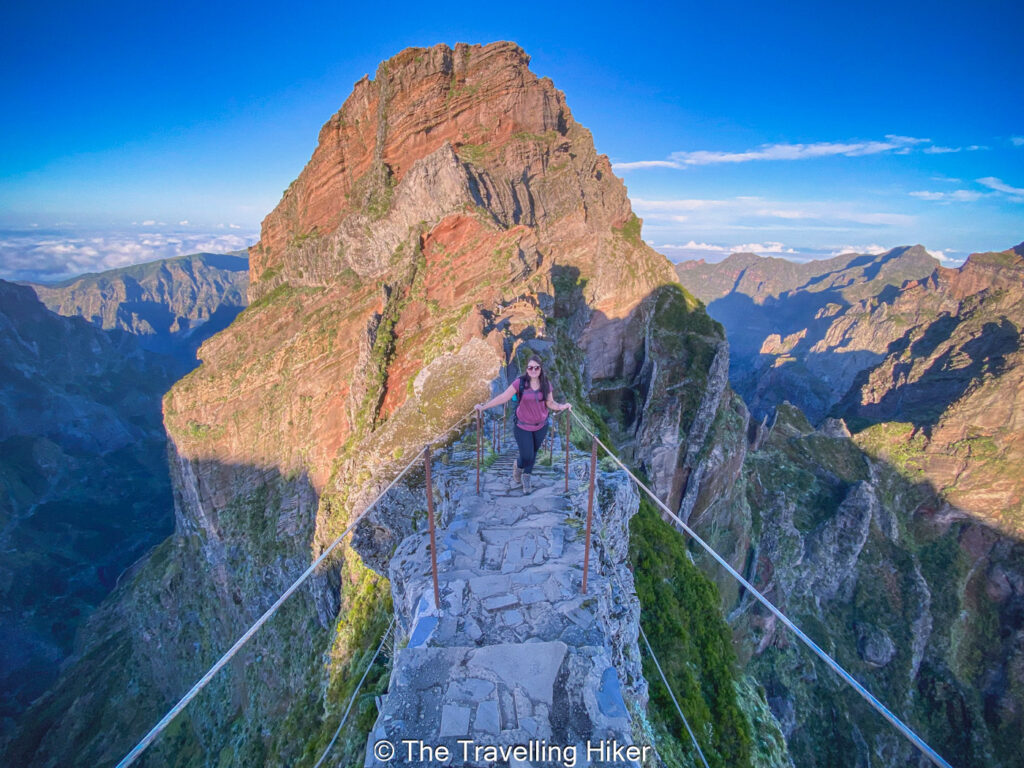
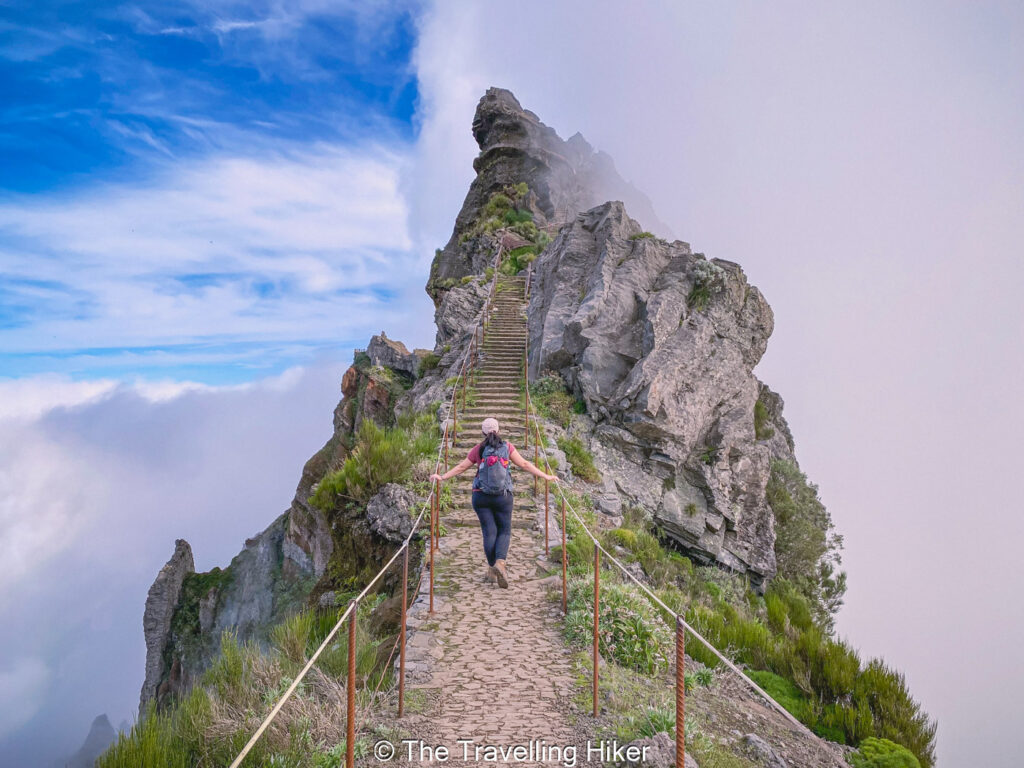
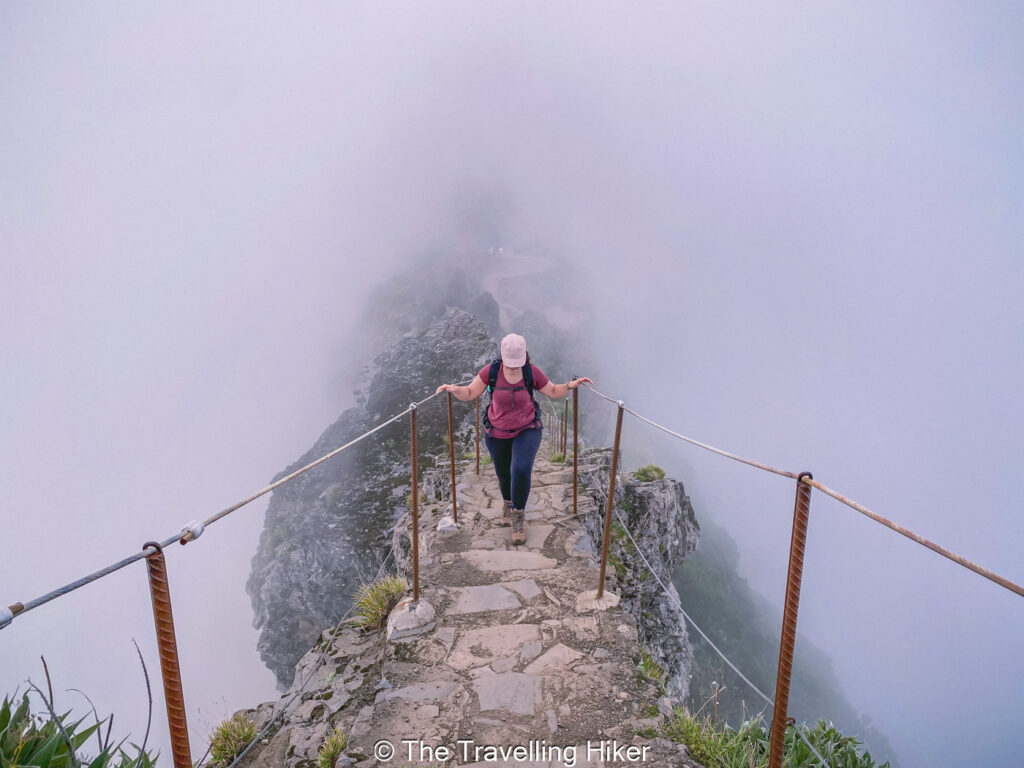
After Nihno Da Manta Viewpoint, we kept going through breathtaking views until we reached the most famous spot of this hike Pedra Rija, also known as the “Stairway to Heaven”. This is a very narrow stairway with cliff drops at both sides, that descends from or goes up (depending on which sense you’re hiking) a pointy rock after which you can’t see anything else but the sky.
The most iconic view of Pedra Rija is actually returning from Pico Ruivo, so at this moment we stopped to take the photo but we didn’t realize where we were.
Going throuhg the tunnels
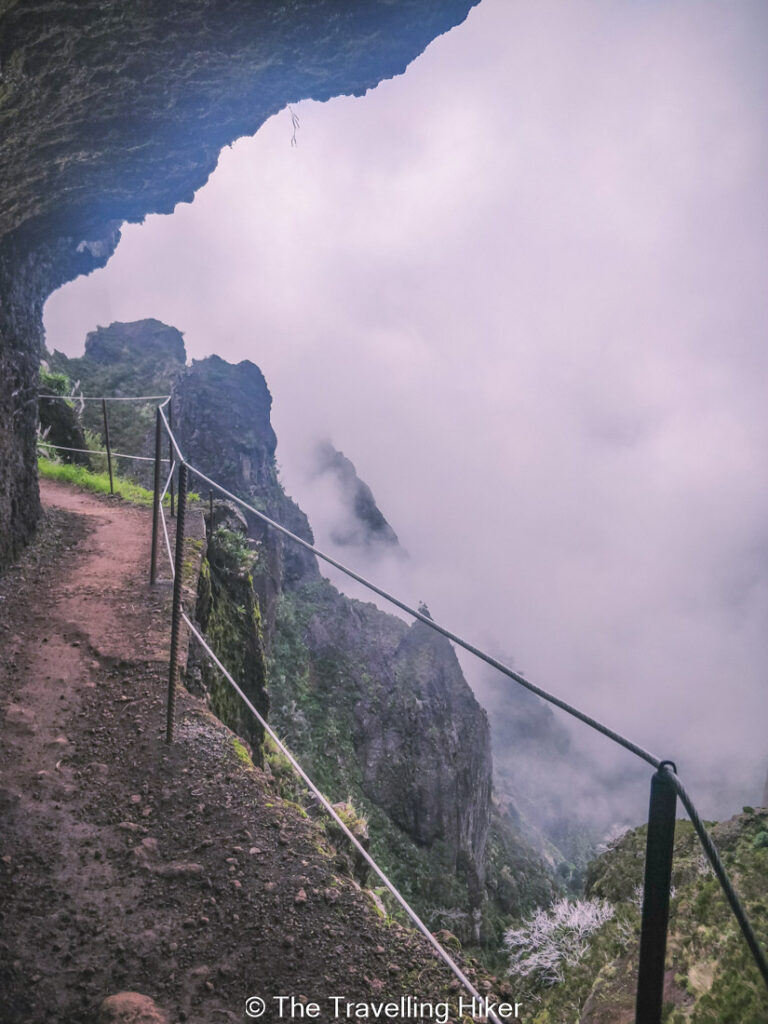
After Pedra Rija, we started descending into the valley. The trail was a little bit slippery since it had rained the day before and the ropes on both sides came very handy to avoid falling.
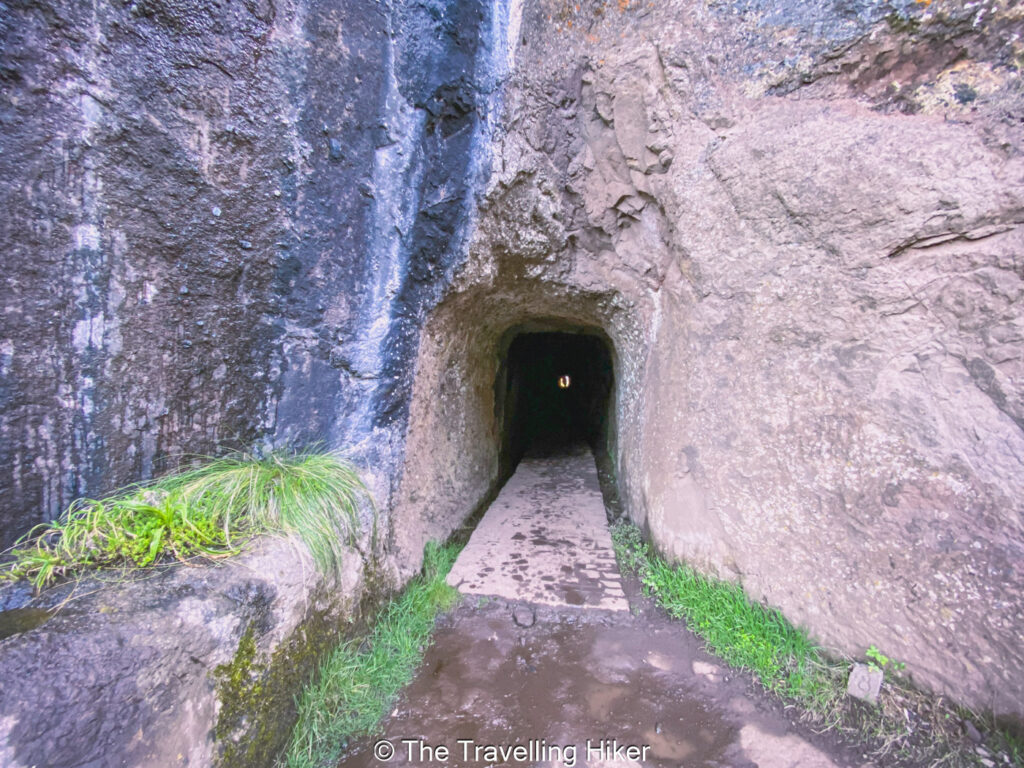
At the end of the descent, we reached the first tunnel, so we took out our headlights and crossed them. Going through the tunnels is quite an experience. They are not that long, but the light is very scarce so the headlights or light from your phone is a must to see where you step.
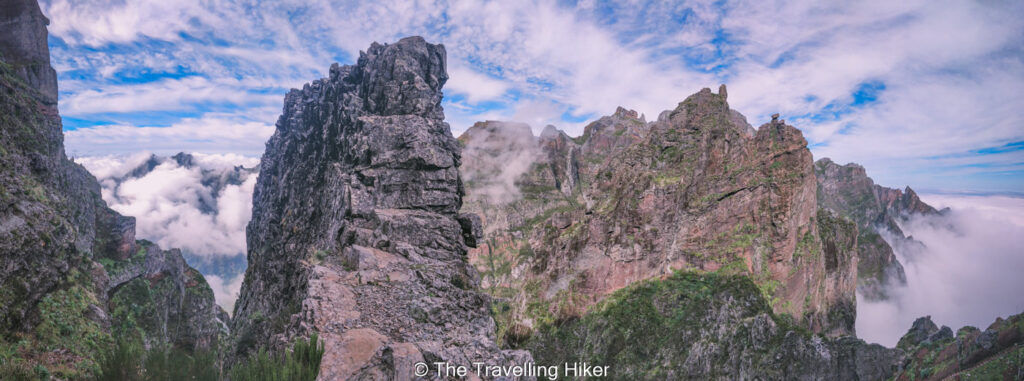
We went through a total of 5 tunnels and then started going up again. At some point, there were metal stairs to help you go up and some of them were a bit lose. Once we reached the top, we decided to stop and rest while we admired the view. We still had approximately 2 km to go.
Reaching Pico Ruivo
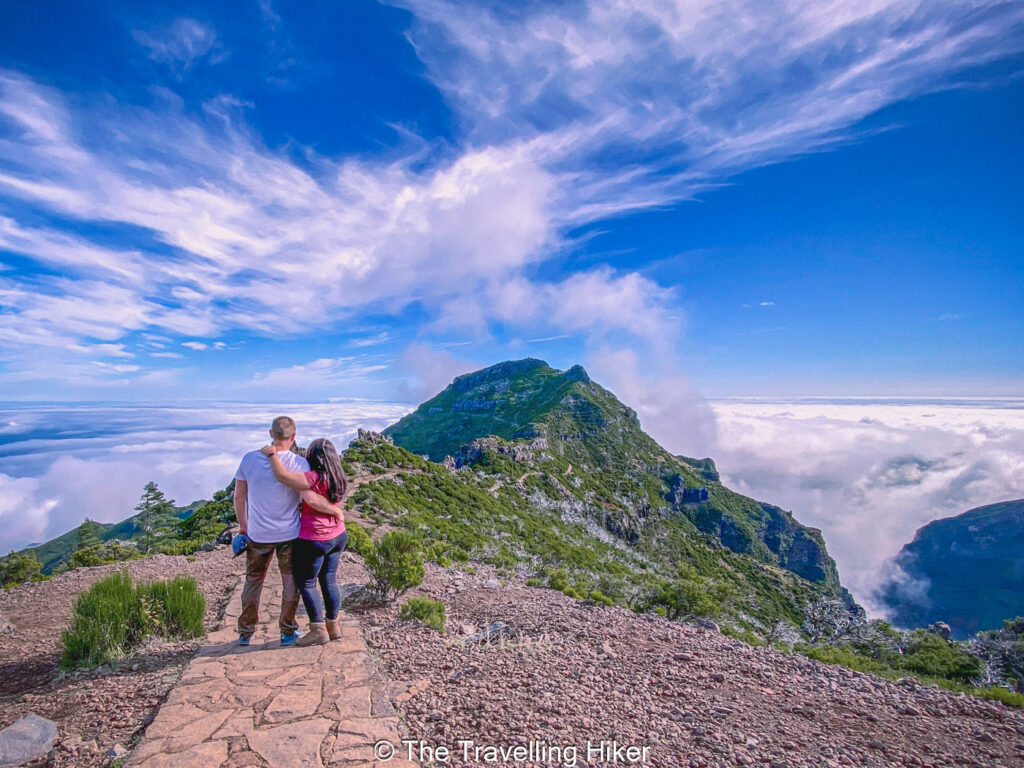
We still had to descend and go up one more time before we reached Pico Ruivo. I’m not going to lie, this hike was really tough and I was starting to think about how I was going to make it back to Pico do Arieiro…
About 500 m before reaching Pico Ruivo, there is a hut where you can get some food and drinks. Here there are also some toilets you can use for 50 cents.
We rested a bit more and went up all the way to Pico Ruivo!
Hiking Back To Pico Do Arieiro
At Pico Ruivo, we ate the sandwiches we had brought with us for lunch and rested our legs while we enjoyed the views.
Once you’ve reached Pico Ruivo, there are two options:
- You hike back the way you came to Pico do Arieiro.
- You follow PR1.2 until Achada de Teixeira (2 extra km) and call a taxi to drive back to your car in Pico do Arieiro. The taxi will cost around 60 euros.
OTHER THINGS TO DO NEARBY
If this hike is not challenging enough for you, you can actually add 3,5 km to the hike and after visiting Pico Ruivo, you can hike to Achada de Texeira and then return. It will make the hike a total of 17,5km with an positive elevation gain of 1600 m.
MAP WITH ALL LOCATIONS
HOW TO USE THIS MAP: Click the star next to the map title to add this map to your google maps account. To view it on your phone while traveling, open Google Maps, click on the menu button and go to “Your Places”, click on Maps and you’ll see this map in your list.
And that’s it for my blog about PR1 Vereda do Arieiro hike blog. I hope you liked it and found it useful. Let me know what you thought on the comments!
DISCLAIMER: Did you know? This blog uses affiliate partnerships. When you click and book or make a purchase through one of my blog posts, I may receive a small commission (at no extra cost to you). Thank you for supporting The Travelling Hiker!
OTHER ARTICLES ABOUT MADEIRA
ENJOYED THIS GUIDE? PIN IT FOR LATER!
