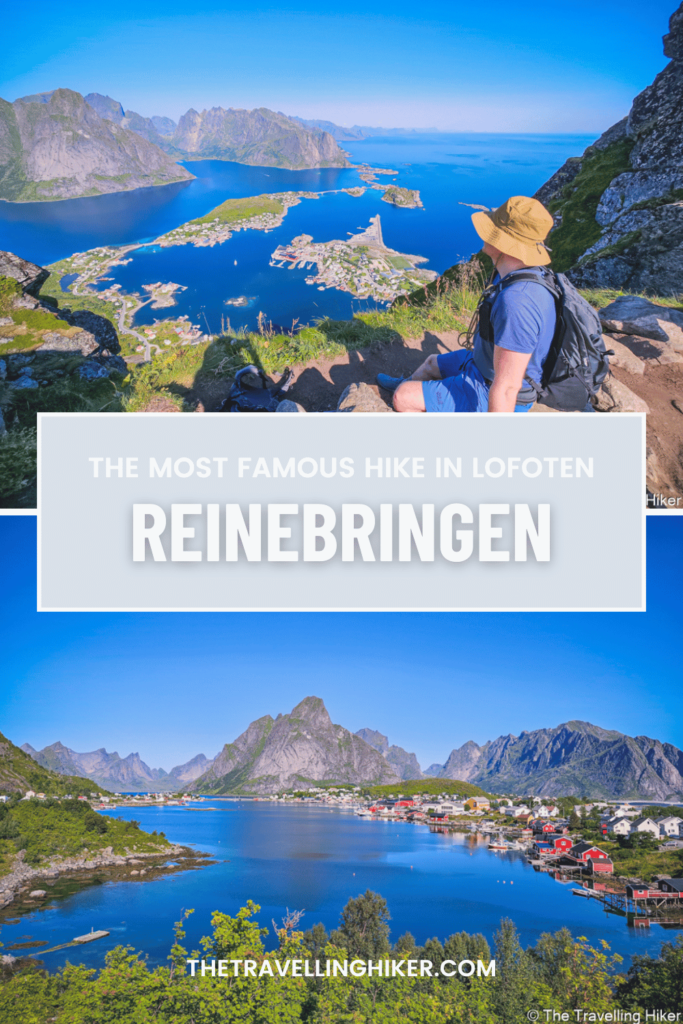
Reinebringen is the most famous hike on the Lofoten Islands in Norway. You’ve probably seen many photos of this hike on social media. Every summer, thousands of visitors to the Lofoten Islands, hike up this mountain hoping to see the breathtaking views they’ve seen on their phones.
Ever since I started planning my trip to Lofoten, Reinebringen was the very first hike I added to my itinerary. I wanted to see the beautiful views of Reine from above, with the jagged mountains and the deep blue waters of the Reine fjord. Now that I’ve been here, I can easily understand why it is so famous. It is definitely one of the best hikes in Lofoten.
Is this hike on your bucket list too? Do you want to see one of Lofoten’s most amazing panoramic views? Then this blog is what you’re looking for. Here, I will share everything you need to know to hike Reinebringen.
TABLE OF CONTENTS
REINEBRINGEN
Reinebringen is a mountain located near Reine village, in the Lofoten Islands, Norway. It has a total height of 448m and even though it is not even close to being the tallest mountain in Lofoten, it is without a doubt, the most famous one. From its summit, you’ll get amazing views over Reine and its fjord.
The combination of the epic views, the many photos of this place shared daily on social media, and the relatively “easiness” of this trail, has made Reinebringen, the most popular hike in Lofoten. But don’t let this prevent you from doing this hike. It is famous for a reason! I did this hike in August, in the middle of the day and yes, we were definitely not alone there but it was still amazing.
These days, the hike to Reinebringen is quite “easy” due to Sherpa steps that were built between 2016 and 2021. These steps were built by some Nepalese sherpas, hired by the local municipality to make it safer for the visitors. Before
then, the trail was not that easy. It was quite muddy and steep with frequent rockfalls and, unfortunately, a few deaths.
Important: Reinebringen is not an easy hike. Don’t let the good maintenance of the trail and its short distance fool you. The hike is quite demanding. If you’re not used to hiking or in good shape, I would not attempt this hike as your first.
PRACTICAL INFORMATION ABOUT THE HIKE
Now let’s get into the practicalities of this hike. How do you get there? Is there anything you need to bring with you? Well, let’s not wait anymore and get into it.
GETTING TO REINEBRINGEN TRAILHEAD
Reinebringen trailhead is next to the southern end of the Ramsvik tunnel. To reach it, just walk along the old road that used to border the mountain before the tunnel was built. After 5 to 10 minutes of walking, if you’re coming from Reine, you’ll reach the trailhead and see the first sherpa steps. It is impossible to miss it, the trail is very well-marked.
Unfortunately, it is impossible to park next to the trailhead but don’t worry, there are 3 different parking options not that far from the trailhead. Please don’t leave your car on the side of the road! Not only is it illegal (you’ll risk getting a fine) but, on top of that, you will cause circulation problems for the people driving. The roads in Lofoten are quite narrow and sometimes, every cm counts when there is a big truck driving by.
PARKING
As mentioned before there are three different parking options where you can park your car if you want to do this hike.
- Reinebringen Parking Lot. The official parking lot for Reinebringen is located in Reine’s outer harbor (1,8 km from the trailhead). This parking is quite big and you will have no problem finding a parking spot here. The fee for this parking is 50NOK/hour. You can pay with your card at the machine parking lot or with your phone via the Easy Park App.
- Reine Tourist Center. The parking lot at the Reine Tourist Center is much smaller and more difficult to find a parking spot. However, it is a bit closer to the trailhead (1,5 km). The fee is also 50NOK/hour and you can pay at the tourist center.
- Djupfjord Bridge Parking Lot. This parking lot is located approximately 1,3 km south of the trailhead, next to the Djupfjord bridge. It is completely free to park here but the parking spots are very limited which makes it very difficult to find one.
EQUIPMENT NEEDED
Even though the built sherpa steps make the hike much easier than before, this hike is still relatively demanding. Here are some recommendations that will help you during this hike.
- Hiking shoes. Even though the steps make the trail easier, if it has been raining, the trail can get slippery. Wearing appropriate hiking shoes will grant you a good grip and help you during your hike.
- Hiking poles. These are not mandatory but your knees will thank you for them. Especially if you plan on doing a lot of hikes in Lofoten.
- A reusable water bottle. Hydration while hiking is key and during the summer months even more. Make sure to bring enough water to complete this hike. There is no water source available there.
- A hat and sunscreen to protect you from the sun. If like us, you do this hike on a sunny summer day, a hat and plenty of sunscreen are a must. There is almost no shade available along the trail.
- Bring a waterproof jacket with you. In the Lofoten, the weather can be quite unpredictable. One moment is sunny and a few minutes later, it starts raining. Always bring with you a waterproof layer just in case.
WHEN IS THE BEST TIME TO DO THIS HIKE?
It is only recommended to do this hike between mid-May to mid-October and, always check the weather conditions before starting the hike. Please don’t attempt to do this hike during the winter months. The trail will be quite slippery and the risk of avalanches is high.
The best months to do this hike are July and August. During these months the probability of good weather and better views is higher. However, this also means the trails will be more busy.
If you’re visiting the Lofoten Islands during the high season and want to enjoy Reinebringen with fewer people around you, then I recommend doing this hike earlier in the morning or later in the evening. The days in the Arctic Circle in the summer are longer and you can even experience the midnight sun up here in July.
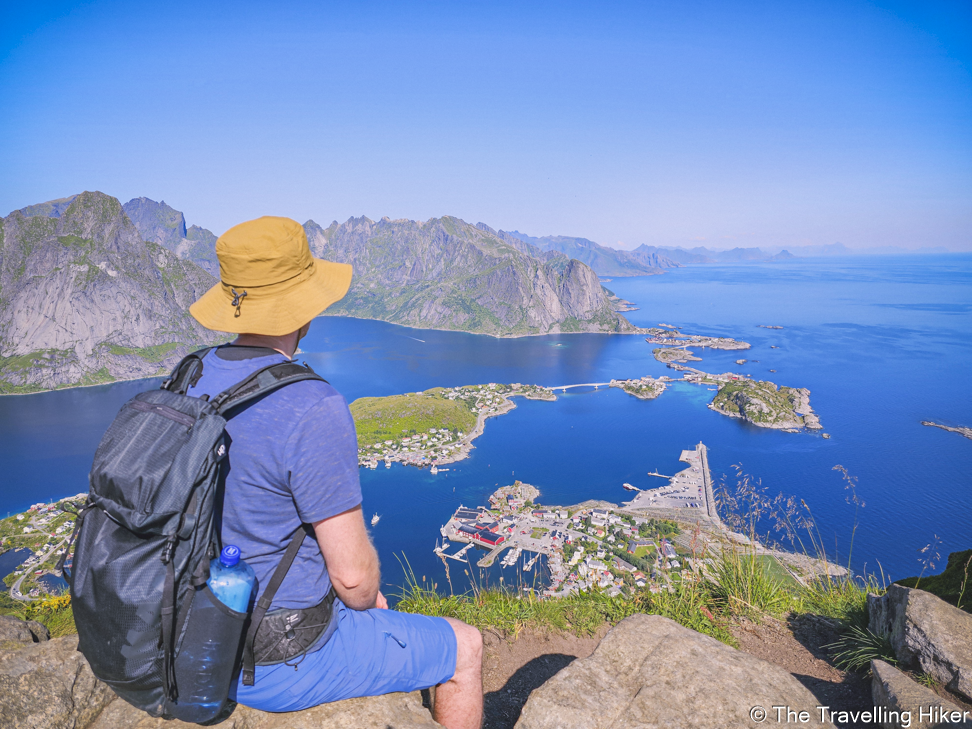
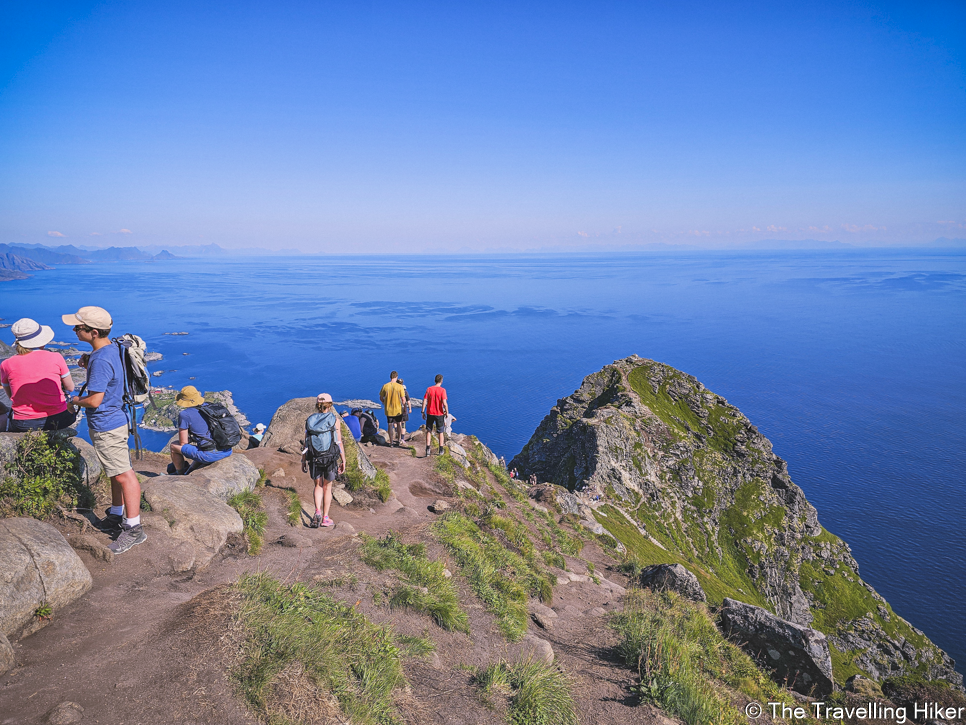
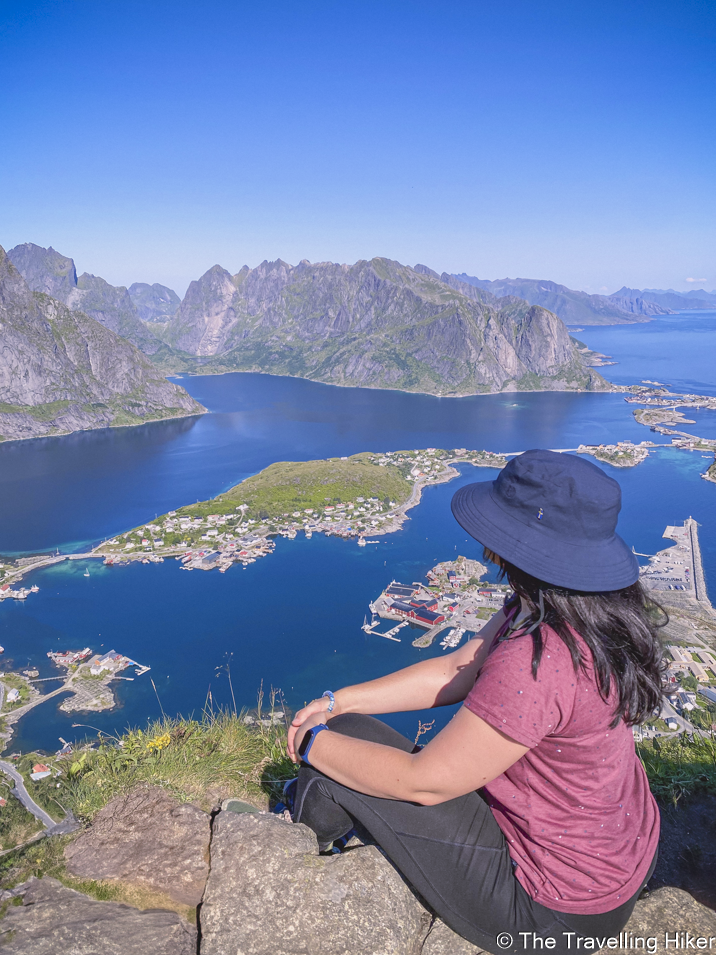
However, if you still end up doing this hike in the middle of the day, don’t worry! We hiked up to Reinebringen on an August day at approximately noon. Yes, there was plenty of people on the trail but it was still an amazing experience! And there are many spots where you can relax and enjoy the views at the top. The following two photos show how crowded it can get.

HIKING REINEBRINGEN, THE MOST ICONIC HIKE IN LOFOTEN
HIKE STATS
Trail Start/End – Next to the Ramsvik Tunnel (exact location in the map at the end of this blog).
Distance – 5,8 km (From the Reine Harbor Parking)
Elevation Gain – 521 m
Level – Difficult
Route Type – Linear Route
Estimated Time Needed – 3 hours and 30 minutes. This includes plenty of time for a picnic at the top, relax, and enjoy the scenery.
Best Time To Visit – Between June and August, to increase your chances of good weather.
MY EXPERIENCE HIKING REINEBRINGEN
Reaching The Trailhead
Since we started the hike right in the middle of the day, the only parking lot with available spots was the one at the Reine Harbor so we had to park our car there. This means we had to add a few kilometers at the beginning and end of the hike. But this part is almost flat which makes it quite easy to do.
On the way to the trailhead, we passed a beautiful viewpoint of Reine and, we stopped to take a few photos.
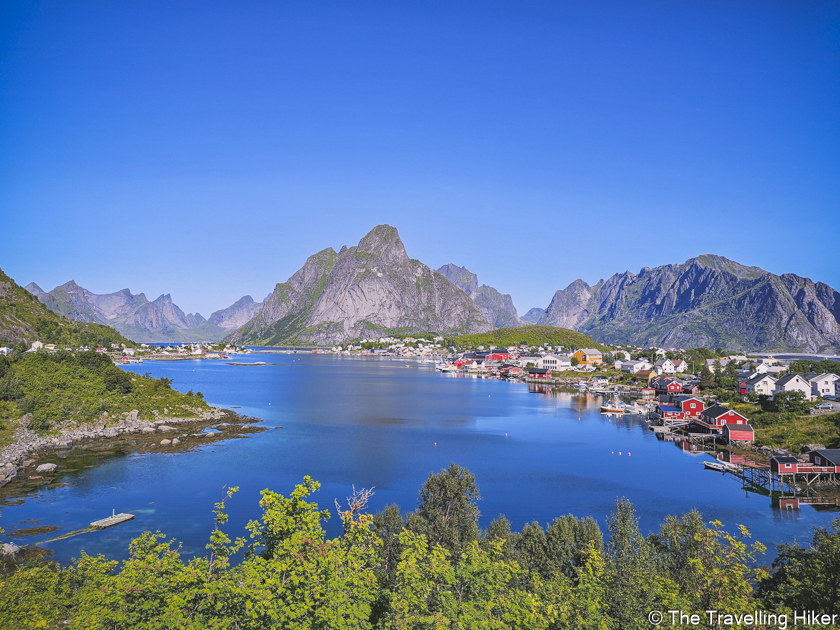
From this point, we turned right and followed the small walking path next to the E10 road along the coast. After a few hundred meters, we reached the Ramsvik tunnel and kept following the trail, outside the tunnel. It was quite nice to walk along the coast and soon enough we reached the real trailhead and the famous sherpa steps.
Climbing 1978 Steps
At the beginning of the steps, there was a volunteer giving information and tips to the hikers. He was very nice and told us to take regular rests when needed and to make sure we had enough water for the hike. It was an exceptionally warm day and there was no water source along the way.
The steps were tough to climb. In the beginning, we were quite optimistic but as we kept going our legs started to feel the endless stairs. Luckily there were many stone benches to stop for a short break. We just took it slow and stopped often to admire the views and rest. It took us a bit over 1,5 hours to reach the summit but once we made it to the first viewpoint we forgot about everything else.
The Summit
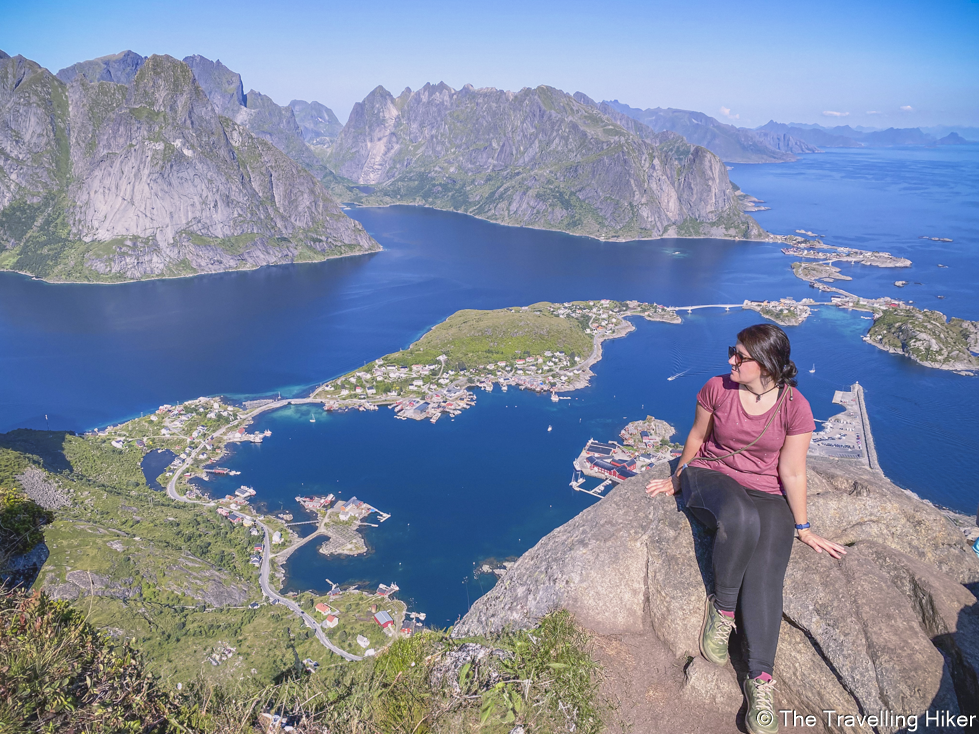
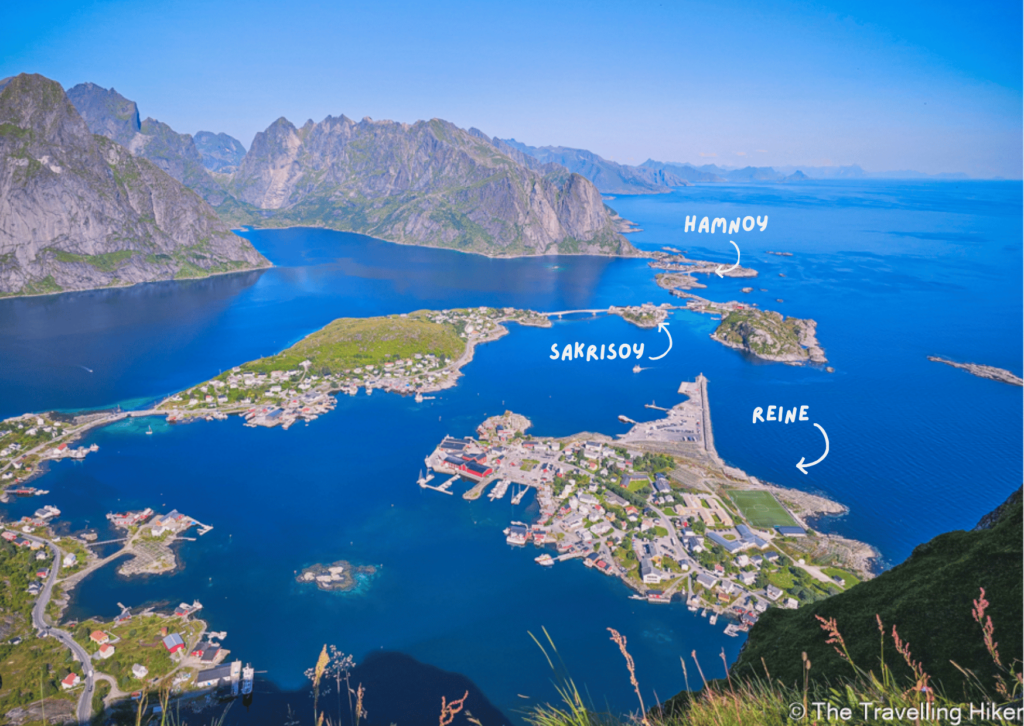
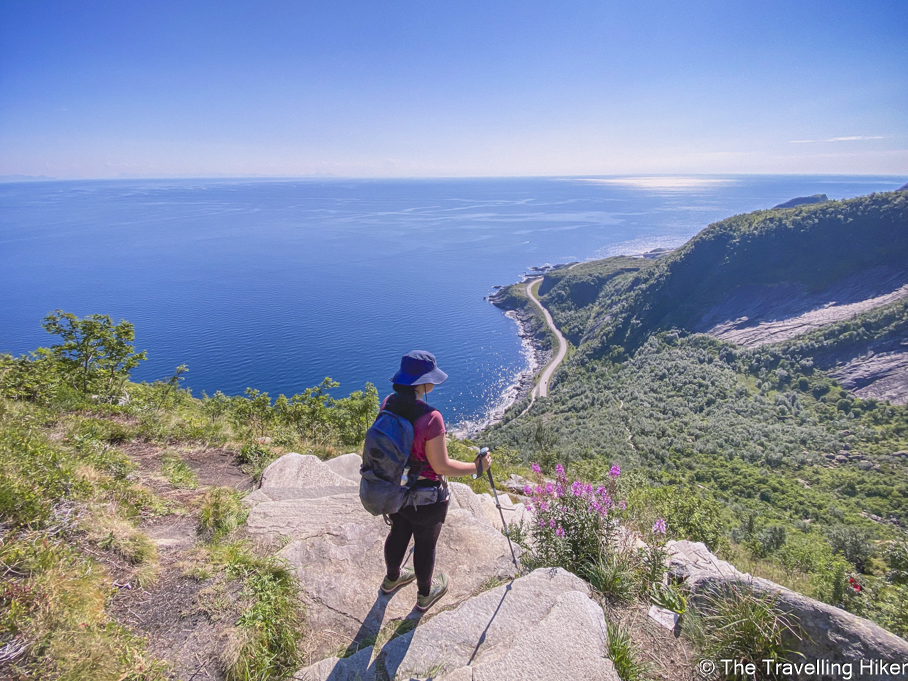
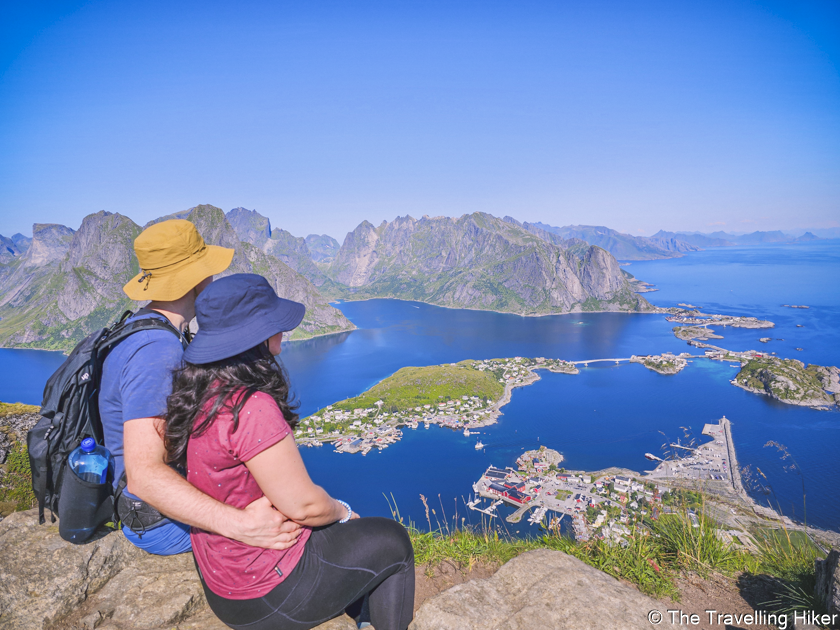
Right after the last step, there was a first viewpoint where we could already get amazing views of the area. All the effort to reach this point is worth it just for this view! The panoramic views of the Reinefjord and Kjerkfjord, surrounded by the impressive mountains are just stunning! Being there and with such amazing weather was a dream come true!
After this first viewpoint, there are no more steps but the trail continues a bit further along the ridge. We followed the trail until we reached the actual summit and found a spot to rest and enjoy the views while eating a well-deserved sandwich.
Important: Please be careful in this area and don’t get to close to the reach just for the photo. There is an almost vertical drop on this side of the ridge.
Hiking Down
Going down the mountain, even though it was easier and faster, was not an easy task either. After the first 1000 steps, my legs began to feel like jelly. I was very grateful to have my hiking poles for additional support. I was happy when we reached the last steps and only walked on the flat area back to our car.
OTHER THINGS TO DO NEAR REINEBRINGEN
Looking for ideas on things to do after your hike? Here’s a list of activities to complete your day.
- Agvatnet Hike near A. If you still have some energy left and want to go for a second hike, you can complete the hike around Agvatnet Lake, near A. This hike is 6,29 km long but only has an elevation gain of 122m so it is less demanding than Reinebringen.
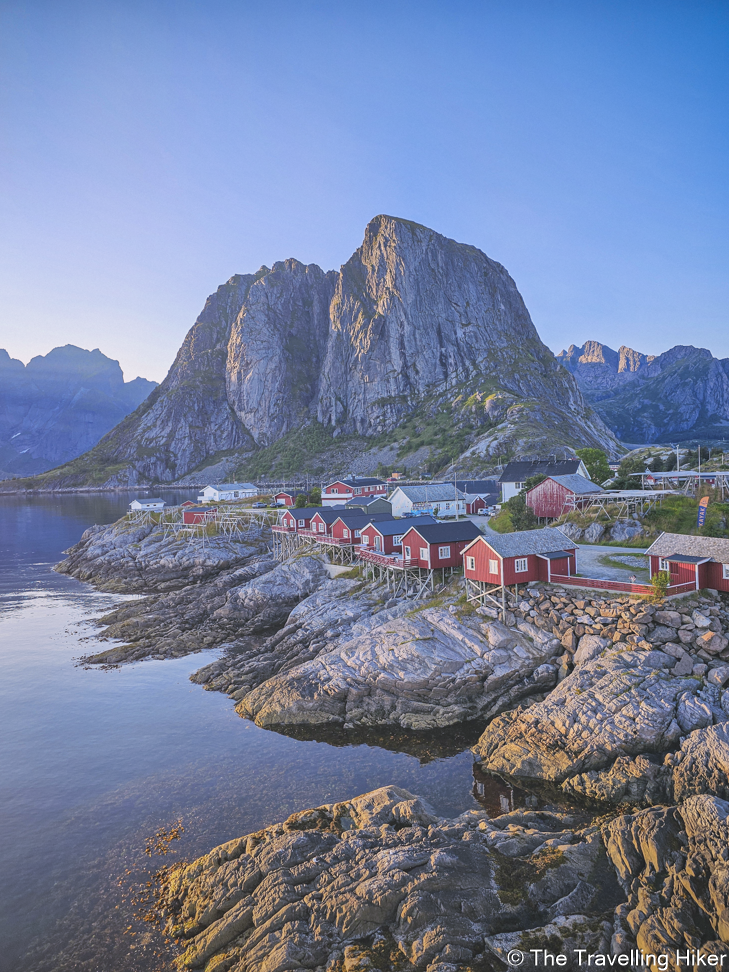
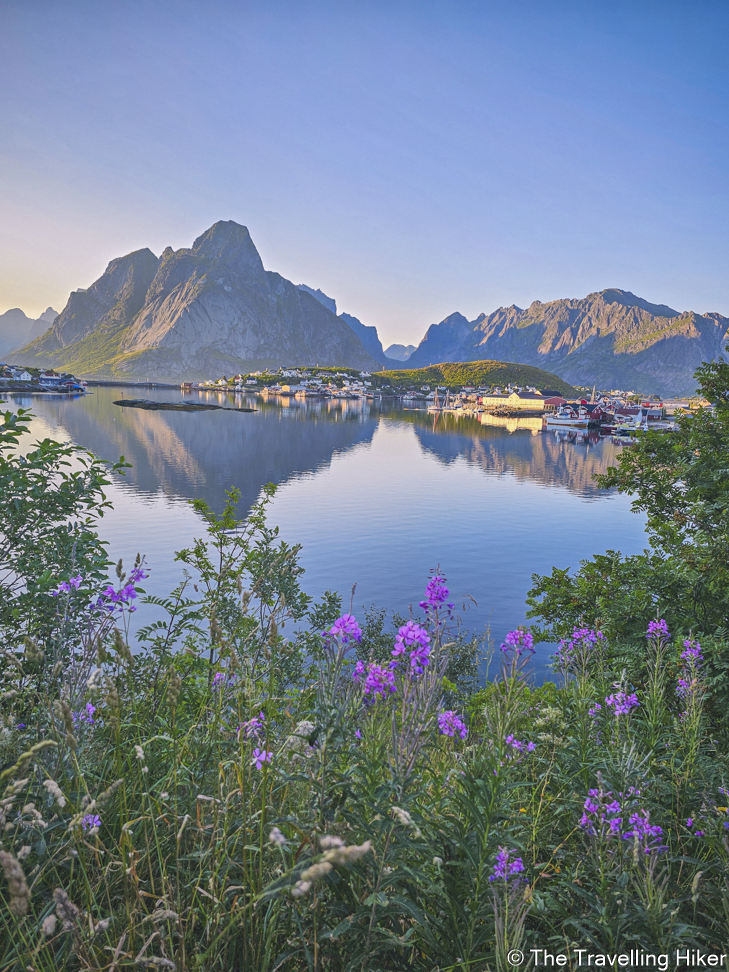
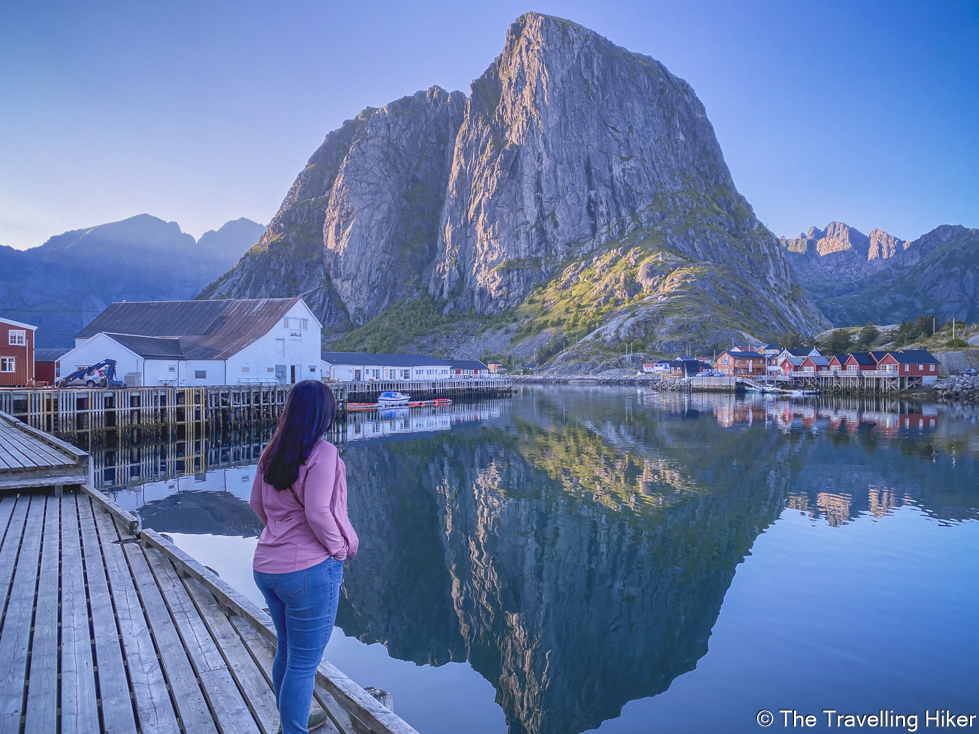
- Explore the small villages of Reine, A, Hamnoy, and Sakrisoy. All of them are full of beautiful and charming corners with the Rorbuers (fishermen’s cabins) contrasting with the sea and mountains.

ACCOMMODATION NEAR REINEBRINGEN
In terms of accommodation near Reinebringen, the easiest is to find a place to stay in Reine. This way, you can park your car at the accommodation and walk directly to the trailhead. However, the villages of A, Hamnoy, and Sakrisoy are not that far either so they can also be a good option.
Here are some recommendations of places to stay, depending on your budget and the level of comfort you want.
- Reine Bed & Breakfast. This bed & breakfast is the cheapest accommodation we stayed at in Lofoten, but it was really good! We booked a double room with a kitchenette and was very spacious and comfortable. The breakfast was included in the price and was quite varied. In addition, having a small kitchenette, allowed us to save a bit of money by cooking a few meals here.
- Reine Rorbuer. Staying at a Rorbuer is definitely an experience to live while visiting Lofoten. The cozy wooden cabins overlooking the sea will make you feel really comfortable after a day of hiking and exploring the islands.
- The famous Yellow House. If you’re visiting with a larger group and you want to splurge a little bit and stay at an iconic place in Lofoten, then you can book the Famous Yellow House in Sakrisoy. Why not stay at the house that appears in many postcards and posters around Lofoten?
- A-Hamna Rorbuer. The small village of A is a bit further away (6km) from Reinebringen but it is one of the coziest and cutest villages in Lofoten. We stayed at this Rorbuer for 2 nights and were really happy with our cabin.

MAP WITH LOCATIONS
HOW TO USE THIS MAP: Click the star next to the map title to add this map to your google maps account. To view it on your phone while traveling, open Google Maps, click on the menu button and go to “Your Places”, click on Maps and you’ll see this map in your list.
HIKE SUMMARY AND INFOGRAPHIC
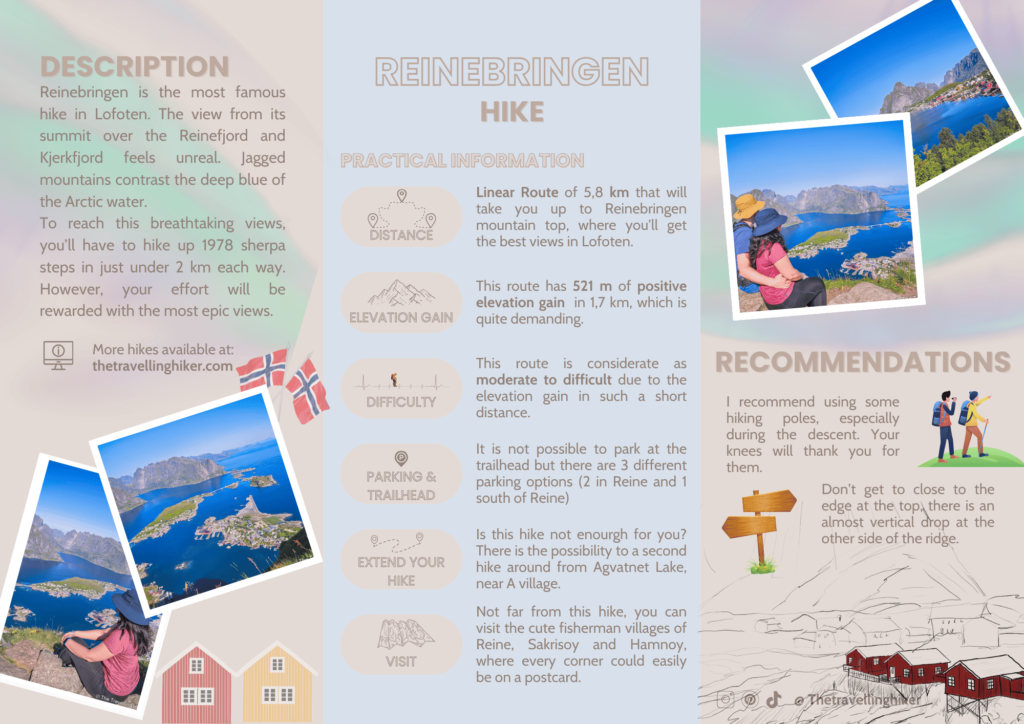
No time to read the full blog post? Here’s an infographic I’ve created with the most important information about this hike.
And that’s it for my blog about Reinebringen. I hope you liked it and found it useful. Let me know what you think in the comments!
Happy hiking!
DISCLAIMER: Did you know? This blog uses affiliate partnerships. When you click and book or make a purchase through one of my blog posts, I may receive a small commission (at no extra cost to you). Thank you for supporting The Travelling Hiker!
OTHER ARTICLES ABOUT NORWAY
- PLAN A TRIP TO LOFOTEN
- 12 DAY LOFOTEN ITINERARY
- REINEBRINGEN, THE MOST FAMOUS VIEW IN LOFOTEN
- ACCOMMODATION IN LOFOTEN
- HELVETESTINDEN AND BUNES BEACH HIKE
- THE BREATHTAKING RYTEN HIKE
- THE 10 BEST HIKES IN LOFOTEN
- VOLANDSTINDEN HIKE
- OFFERSOYKAMMEN HIKE
- OSLO – TWO DAY ITINERARY
- THE 21 BEST THINGS TO DO IN BERGEN
- MANNEN HIKE
- THE 10 BEST THINGS TO DO IN BODO
- HIKING TO HORSEID BEACH
ENJOYED THIS GUIDE? PIN IT FOR LATER!

