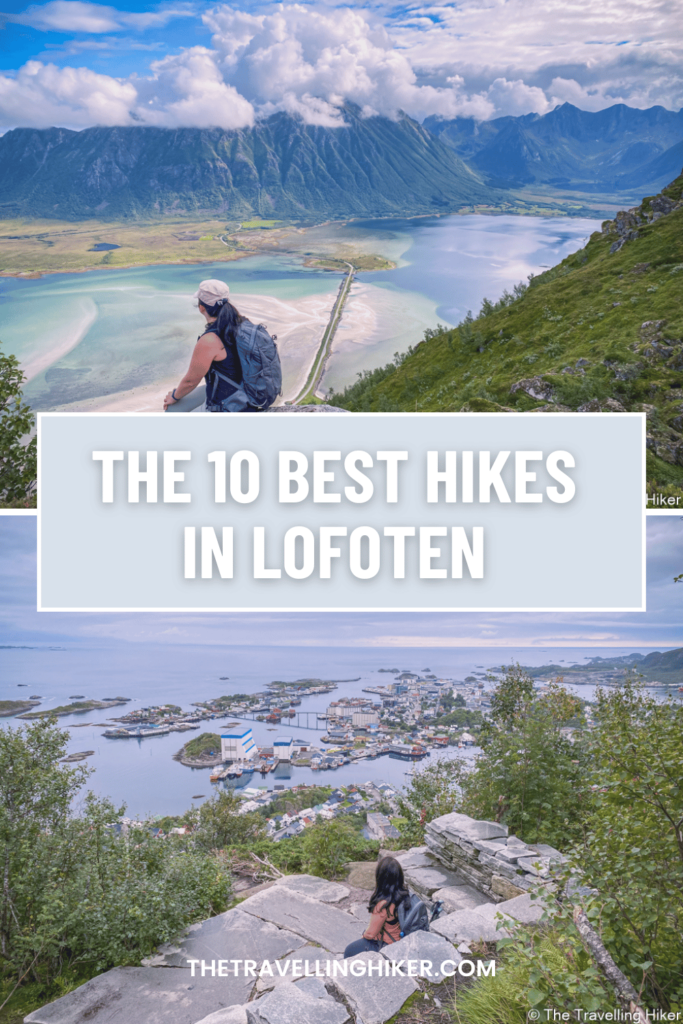
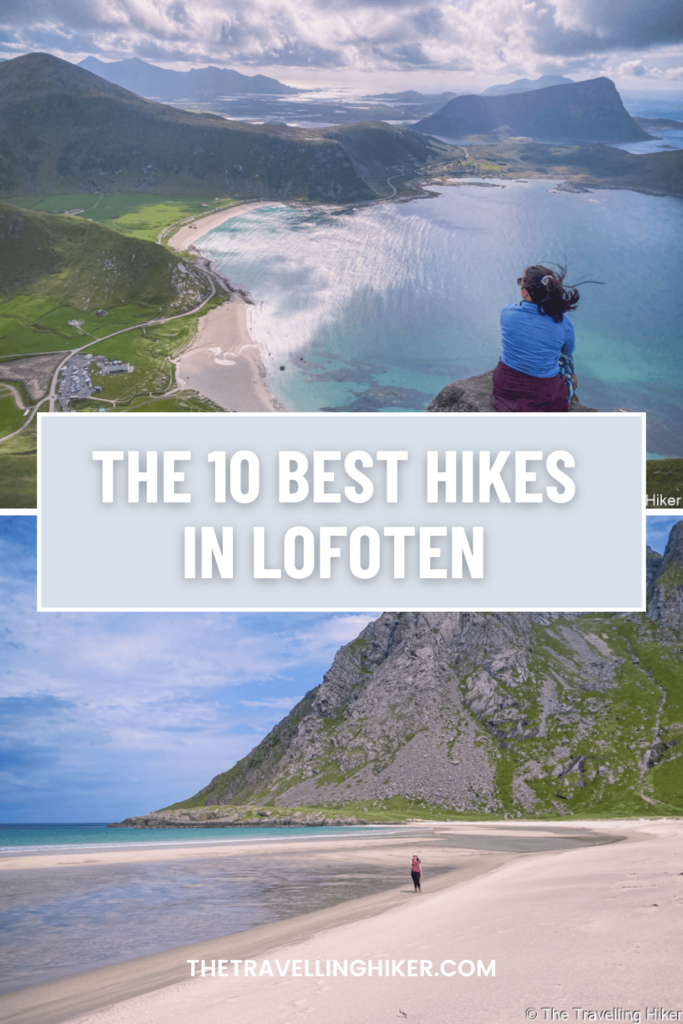
In this week’s blog I will share with you the 10 best hikes in Lofoten. This blog, together with my previous blog about how to plan a trip to Lofoten on your own, is everything you’ll need to plan the best trip ever. Sounds amazing right? Then put on your hiking shoes and lets start hiking!
TABLE OF CONTENTS
TIPS AND RECOMMENDATIONS FOR HIKING IN LOFOTEN
Before I start listing the best hikes in Lofoten, here are some tips to consider if you’re planning on hiking in Lofoten.
- Hikes in Lofoten are quite steep and most of the hikes in this list (and in Lofoten, in general) have a significant altitude gain in a very short distance. These makes them very demanding.
- Before starting any hike in Lofoten, always check the difficulty level of them to see if they are according to your fitness level.
- Some of the trails are not always well marked. I recommend downloading the trail GPX map to be sure you stay on the right path. I always use the AllTrails App and it worked really good in Lofoten.
- Another very important thing to do before any hike is checking out the weather forecast. However, always be prepared for anything since weather can change really fast in Lofoten.
- Avoid exposed trails or getting too close to the edge in unfavorable weather conditions. Wind can be very strong, especially at the mountain peaks.
- Use appropriate mountain hiking gear. Some of the trails in Lofoten can get slippery so you will be happy to be wearing shoes with a good grip.
- Hiking poles, although not mandatory, will give your knees some relief with all the elevation gain your going to do.
- Always carry in your backpack a windproof and water resistant jacket. Even if you’re starting a hike with favorable weather conditions, this can changes really fast. This was the case when we did Matmora trail.
- Help protect nature by practicing the 7 Leave No Trace Principles: 1. Plan ahead, 2. Stay on the trail, 3. Pack out what you bring to the trail, 4. Properly dispose of waste, 5. Leave areas as you found them, 6. Be considerate of other hikers, and 7. Do not approach or feed wildlife.
THE 10 BEST HIKES IN LOFOTEN
Lofoten is truly a hiking paradise and every nature and moutain passionate should visit this archipelago at least once in their life. There are endless hikes to choose from, and all of them will reward you with some of the most amazing views you have ever seen.
Unfortunately, it is not possible to hike them all, so I have compiled a list with the ones you should choose if this is your first time visiting the Lofoten Islands. So let’s not wait anymore and start listing the best hikes in Lofoten. For each hike, I will share the distance, altitued gain, difficulty, trailhead/end, time needed and all the best recommendations to make sure you have the best possible experience!
1. REINEBRINGEN
DISTANCE: 5,8 km
ALTITUDE GAIN: 521 m
LEVEL: Moderate to Difficult
ROUTE TYPE: Out & Back
CAMPING: It is not allowed to camp here anymore since 2021.
TRAILHEAD/END: Reine Harbour Parking. It is not possible to park at the beginning of the sherpa steps anymore.
BEST TIME TO DO THE HIKE: Between June and August to increase your chances of good weather. Do not attempt this hike in the winter.
ESTIMATED TIME NEEDED: 3 to 4 hours (depending on your fitness level)
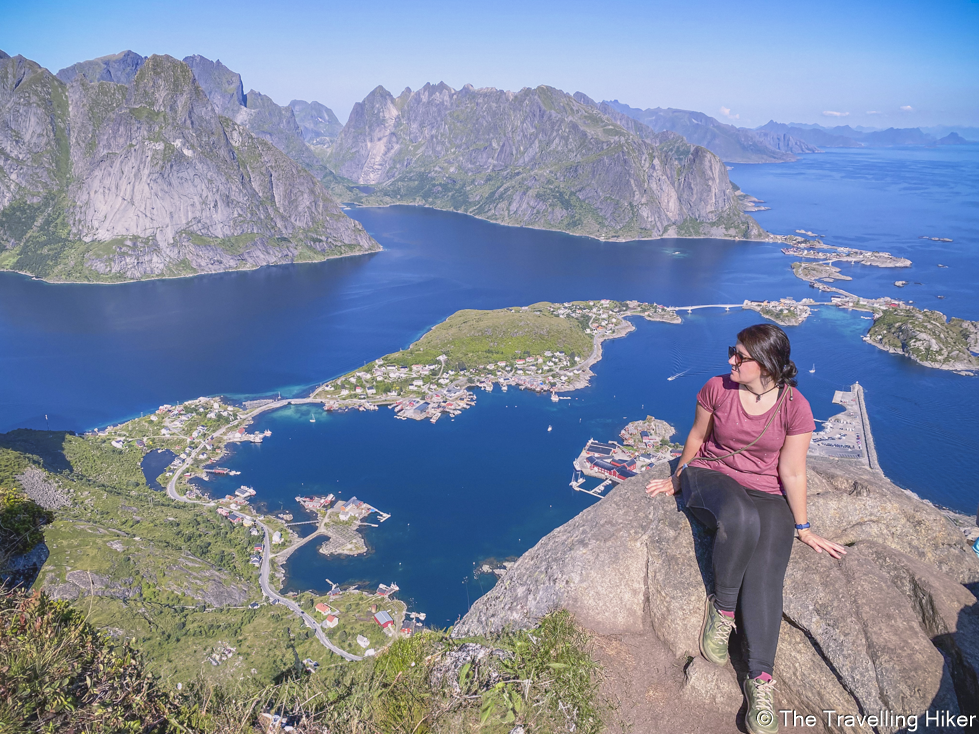
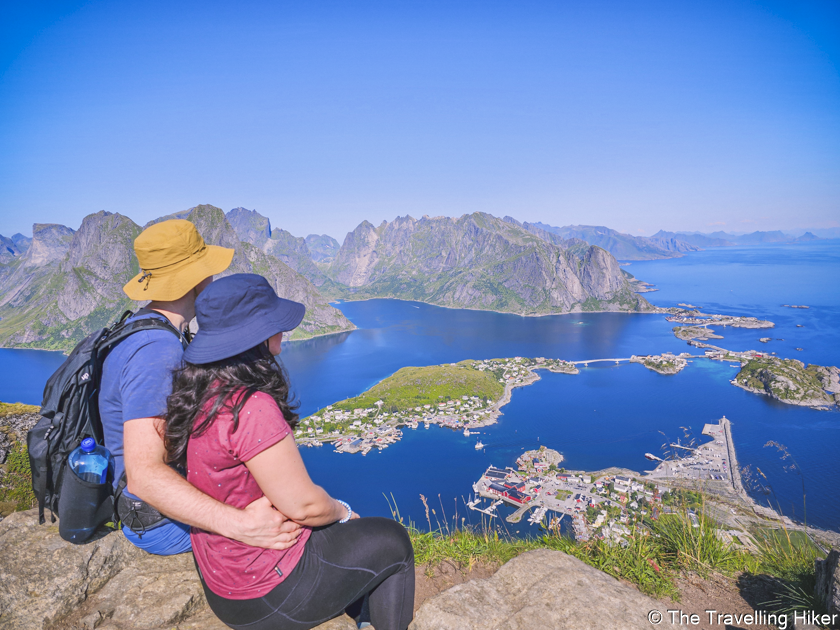
Reinibringen is not the highest mountain in Lofoten but it is definitely one of the most popular hikes in Lofoten. And let’s be honest, it is easy to understand why. From the peak, you’ll be granted with spectacular views over Reine and the Reinefjord. If you can only do one hike in Lofoten, this is the one to choose!
Despite only being 5,8km long, this trail is quite demanding. To reach the summit of Reinebringen, you’ll have to climb 1978 steps! Trust me when I say, your legs will feel a little weak after this hike.
However, your effort will be rewarded with one of the most iconic views in Lofoten. The panoramic views over Reinefjord and Kjerkfjord surrounded by jagged mountains are just stunning!
2. HELVETESTINDEN AND BUNES BEACH
DISTANCE: 13 km
ALTITUDE GAIN: 571 m
LEVEL: Difficult
ROUTE TYPE: Out & Back
CAMPING: It is possible to camp in Bunes Beach. This way you will not have to worry about catching the last boat ride back to Reine.
TRAILHEAD/END: Vindstad Port. To access this hike, you will have to go on a short boat ride departing from Reine.
BEST TIME TO DO THE HIKE: Between June and August to increase your chances of good weather. Do not attempt to summit Helvetestinden in the winter. Bunes Beach is still accessible in the winter.
ESTIMATED TIME NEEDED: 7 hours (depending on your fitness level)
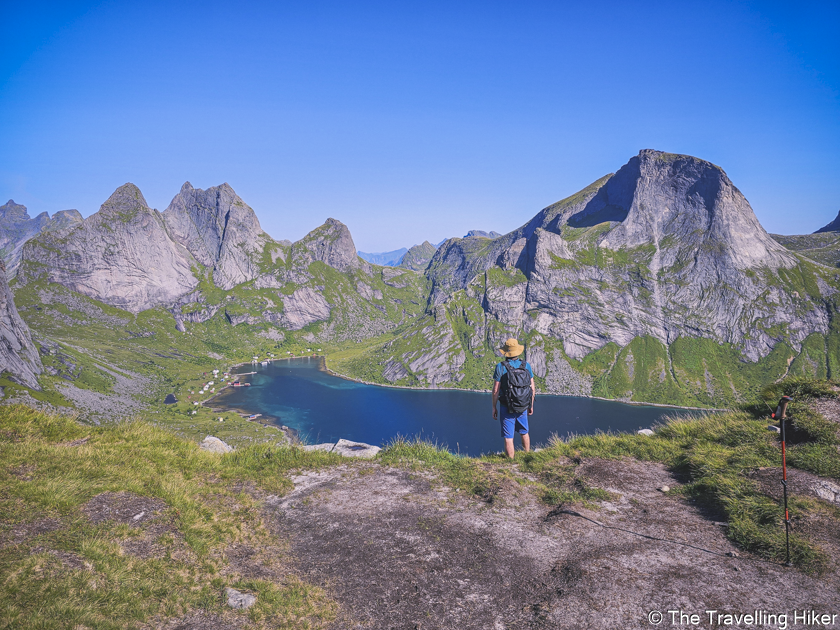
Most people that get on the boat to Vindstad only hike to Bunes Beach, but if you are on the adventurous side, you’ll love hiking Helvetestinden, an impressive 600 meters high granite mountain. From its summit, you’ll get to see amazing views over Bunes Beach and Kjerkfjord.
The hike to Helvetestinde is not an easy one. It begins with a small incline over a grass hill but soon enough you’ll reach a steep and rocky part. To make it even more interesting, the trail is not very well marked and it’s easy to get off trail and find yourself climbing big rocks. This is what happened to us and made us lost a lot of time.
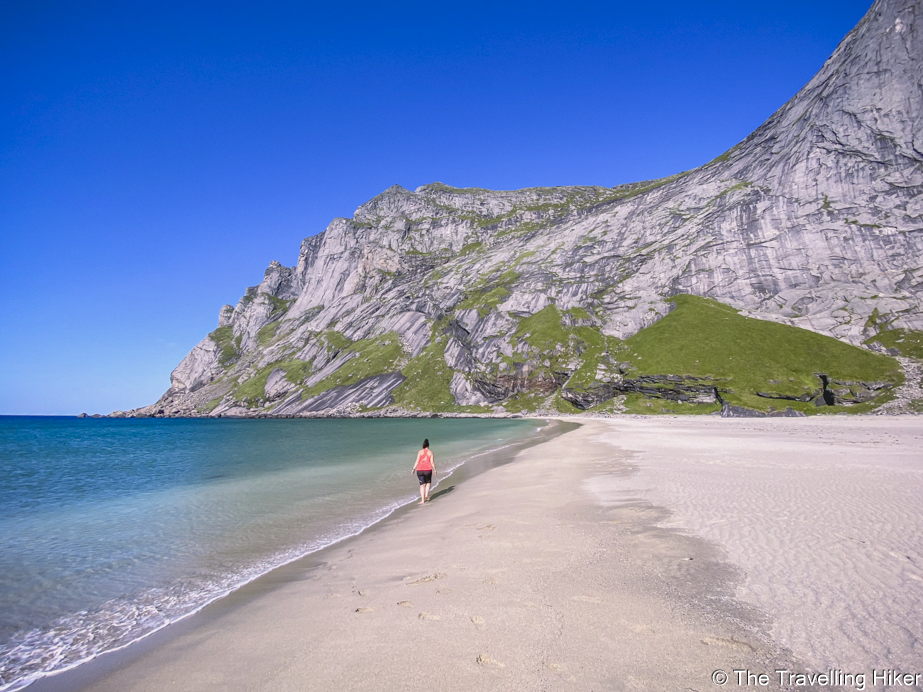
After 400 meters, you’ll reach a small flat area where you will enjoy some beautiful views over Kjerkfjord. After this viewpoint, the trail continues to the left over the ridge until you summit Helvetestinden. This last part, is quite exposed and it is only recommend to reach the summit if the weather is good and you are sure-footed. From the top, you can enjoy the views over Bunes Beach with its white sand and turquoise waters.
On your way back before getting back to the port, you can make a small detour to Bunes Beach to relax. It is the perfect way to end your day hike in Lofottoden National Park.
READ MORE: Helvetestinden and Bunes Beach Hike
3. RYTEN
DISTANCE: 7,24 km
ALTITUDE GAIN: 586 m
LEVEL: Moderate
ROUTE TYPE: Out & Back
CAMPING: It is possible to camp in Ryten. There are plenty of areas that are suitable for camping. Just remember it can get quite windy at the summit.
RTRAILHEAD/END: Ryten Parking. This parking costs 100NOK but it offers free restrooms and drinking water.
BEST TIME TO DO THE HIKE: Between June and August to increase your chances of good weather. It is possible to hike Ryten in the winter but you’ll need shoes with spikes on them.
ESTIMATED TIME NEEDED: 3 to 4 hours (depending on your fitness level).
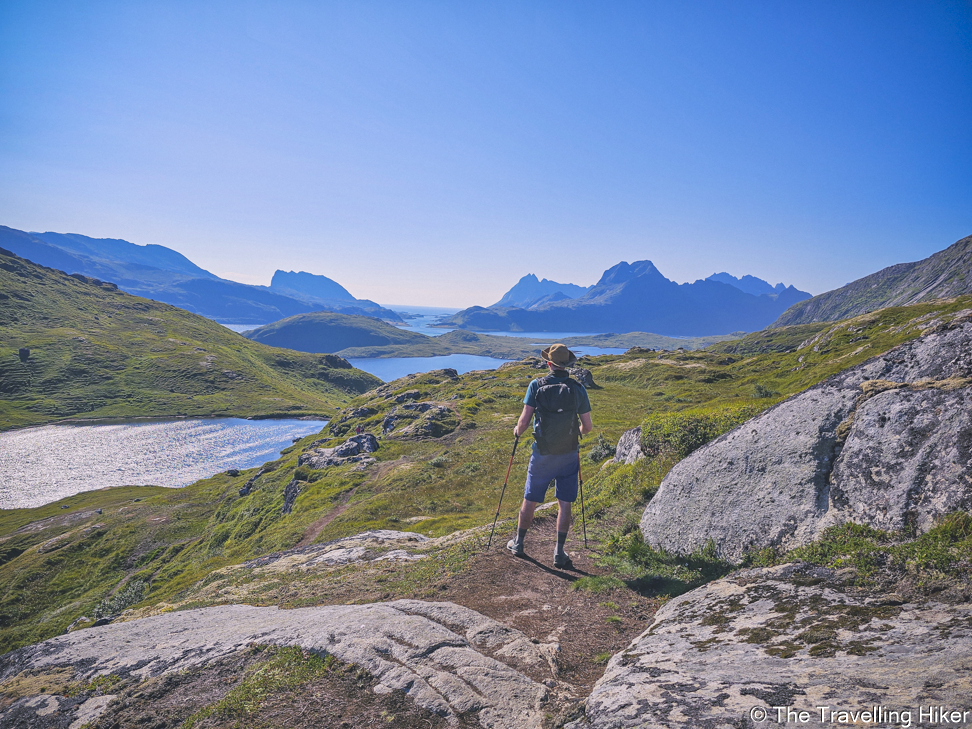
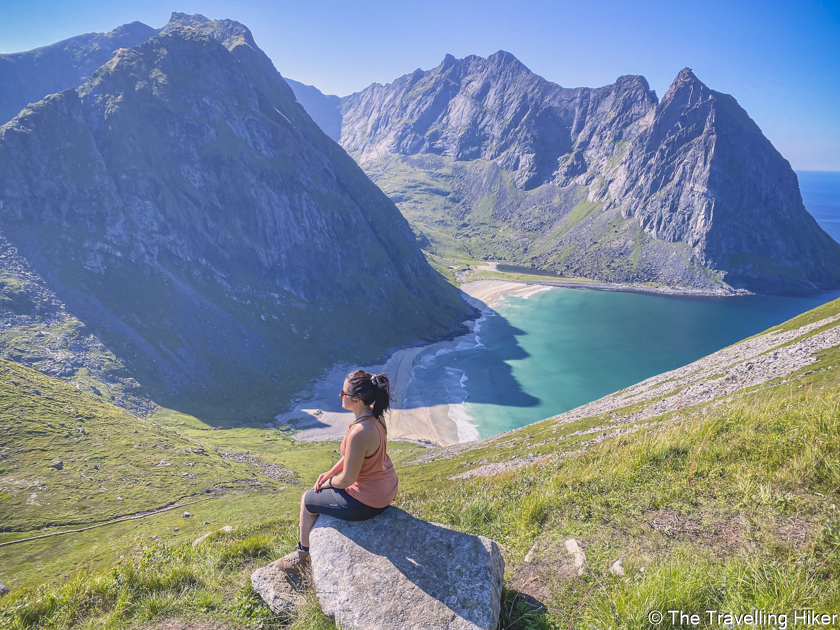
Ryten mountain rises to up to 586 meters right from the sea. From its summit, you´ll get the most impressive views over Kvalvika Beach, another one of the most iconic images in Lofoten. Just for this view, the hike to Ryten is one of the best in the Lofoten Islands.
There are several different routes that you can follow to reach Ryten peak. The one you choose will depend on whether you want to combine your hike with a visit to Kvalvika Beach or not. Personally, I would recommend attempting these two places as two separate hikes but if you want to combine it, you should definitely start with Ryten first and then descent to Kvalvika Beach. Otherwise, the ascent to Ryten will be twice as hard!
The route to Ryten, despite being steep, is on the moderate side based on Lofoten standards and it implies minimal rock scrambling so it is the perfect hike to attempt in Lofoten if you’re fitness level is not the best.
4. VOLANDSTINDEN
DISTANCE: 5 km
ALTITUDE GAIN: 432 m
LEVEL: Moderate to Difficult
ROUTE TYPE: Out & Back
CAMPING: Volandstinden summit is quite rocky and exposed so it is not recommended. At the beginning of the hike, there is a small hut where it is possible to set a tent.
TRAILHEAD/END: There are two different starts to this trail, one next to the E10 main road and one in Skjelfjordveien.
BEST TIME TO DO THE HIKE: Between June and August to increase your chances of good weather. Do not attempt to do this hike during the winter as it can be dangerous.
ESTIMATED TIME NEEDED: 3 to 4 hours (depending on your fitness level).
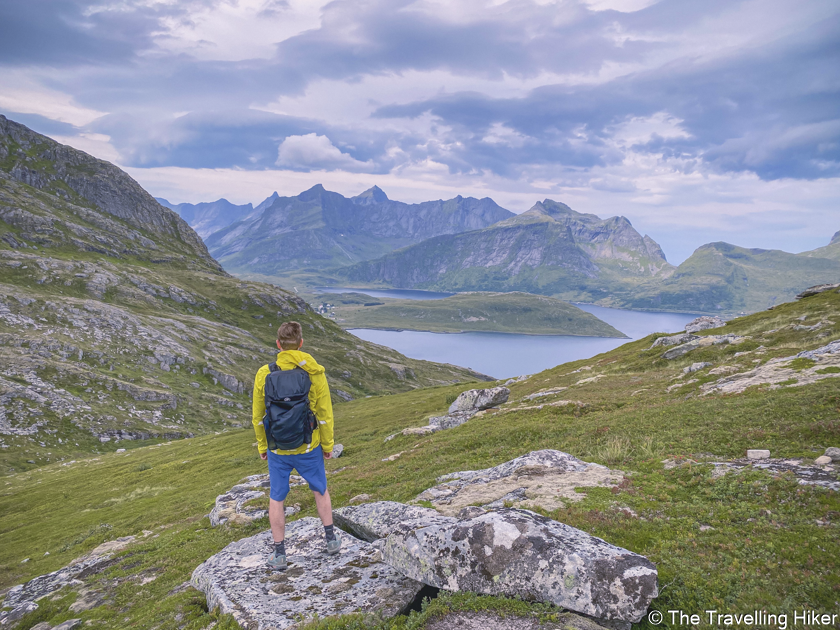
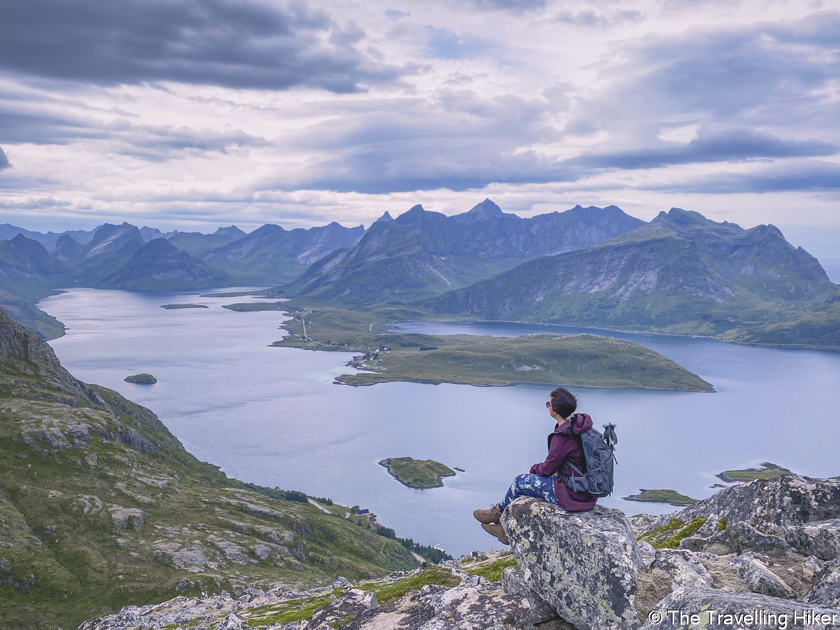
Volandstinden mountain is also called “The Shark Fin” due to its particular shape. This pointed mountain, will offer you amazing views over the Selfjord and Moskenesoya island. The hike to its summit is not the most difficult we did in Lofoten but it does involve some rock scrambling in the last part of the hike. Make sure you are comfortable with this before attempting this hike.
There are two different possible starts to this hike, one next to the E10, the main road in Lofoten and one next to a secondary road Skjelfjordveien. Independently of which one you choose, you’ll still have to go through the final ascent which includes a lot of rock scrambling.
After completing your hike to Volandstinden, don’f forget to stop at the parking after in between the two Fredbang bridges (paid parking) to get a beautiful shot of the mountain you just hiked!
READ MORE: The Best Guide to Hiking Volandstinden
5. MANNEN
DISTANCE: 4,2 km
ALTITUDE GAIN: 383 m
LEVEL: Moderate
ROUTE TYPE: Out & Back
CAMPING: It is allowed to camp in Mannen but the space is rather limited. I would recommend camping at Haukland Beach instead.
TRAILHEAD/END: Haukland Beach parking lot (Paid parking).
BEST TIME TO DO THE HIKE: Between June and August to increase your chances of good weather. Do not attempt to do this hike during the winter as it can be dangerous.
ESTIMATED TIME NEEDED: 3 hours (depending on your fitness level).
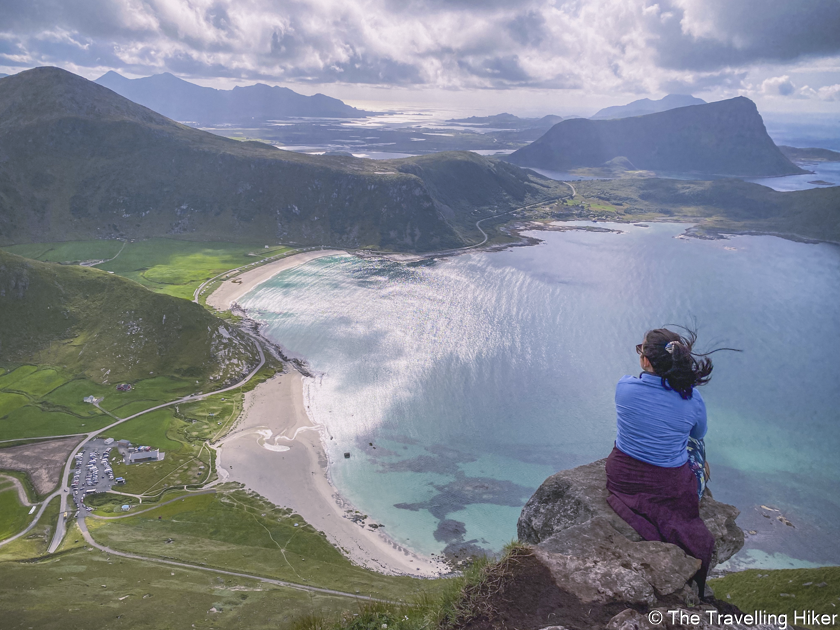
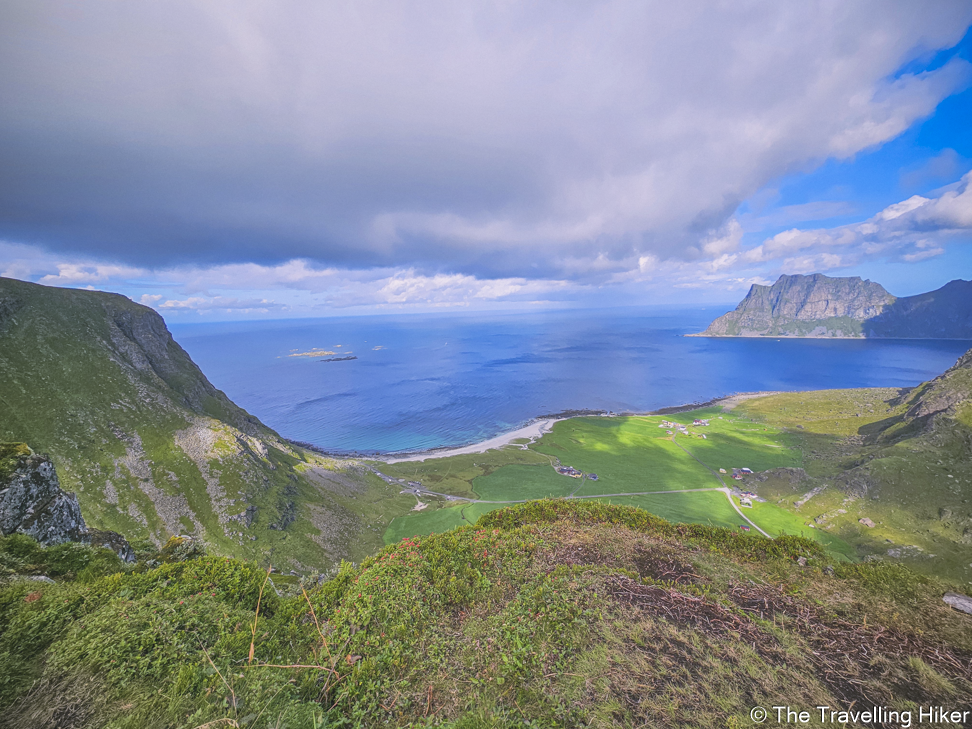
Mannen is a not so tall mountain in Lofoten (383 meters). Despite not being very high, its summit offers amazing views over three very famous beaches in Lofoten: Haukland Beach, Vik Beach and Utakleiv Beach. The views from Mannen of these three white sand beaches and clear turquoise waters will make you think that you’re in a tropical island instead of the Arctic Circle.
The hike to Mannen is also one of these “moderate” hikes in Lofoten. However, you should consider that most of the hike goes along the mountain ridge with exposed falls on both sides. It can also get quite windy on the ridge so I would only attempt this hike if you’re not scared of heights.
After your hike, you’ll be able to relax and rest in one of the three beautiful beaches that surround this mountain.
READ MORE: Mannen Hike in Lofoten
6. OFFERSOYKAMEN
DISTANCE: 3,5 km
ALTITUDE GAIN: 454 m
LEVEL: Moderate
ROUTE TYPE: Out & Back
CAMPING: It is allowed to camp in Mannen but the hike is so short that it is maybe better to camp somewhere else.
STRAILHEAD/END: Skreda Rest Area, next to Lofoten BaseCamp.
BEST TIME TO DO THE HIKE: Between June and August to increase your chances of good weather. Only attempt this hike in the winter if you have shoes with spikes on.
ESTIMATED TIME NEEDED: 3 hours (depending on your fitness level).
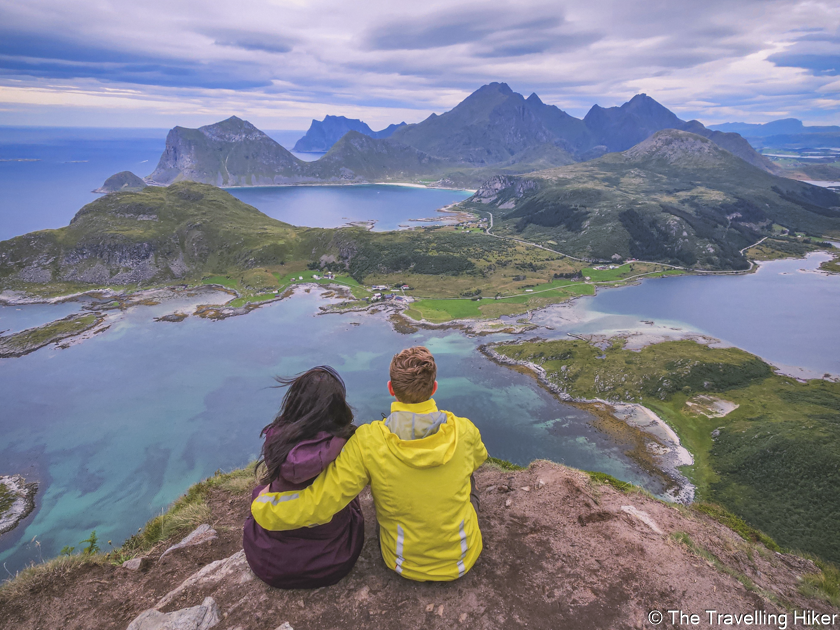
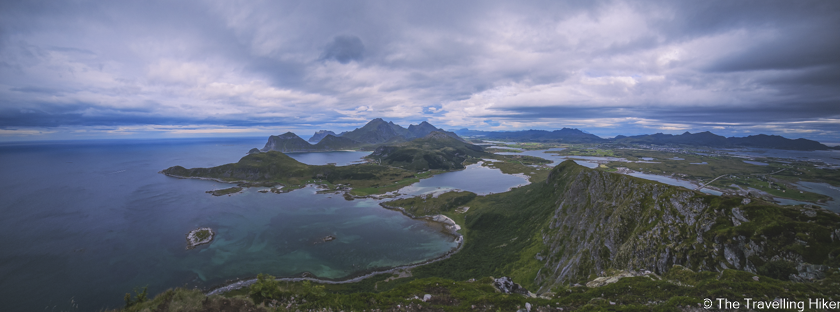
Offersoykammen is another mountain peak, located 6,5 km away from Leknes. From the mountain top you will be reward with some of the most amazing panoramic views of the Leknes area. These views also include the beaches of Vik and Haukland but they are not as close as from Mannen.
Offersoykamen was one of my favorite hikes in Lofoten. I liked it so much that if I ever return to these islands and I would love to hike it again on a sunny day. The day we hiked to this mountain, it was quite moody but the views were nevertheless, exceptional.
This hike does not have any technical difficulty but it is very steep and there are basically no flat areas. You just have to keep walking uphill until you reach the summit.
READ MORE: Offersoykamme – The Best Hike in Lofoten
7. FLOYA AND DJEVELPORTE
DISTANCE: 4 km
ALTITUDE GAIN: 534 m
LEVEL: Difficult
ROUTE TYPE: Out & Back (there is a little loop at the top).
CAMPING: It is not recommended to camp at Floya peak.
STRAILHEAD/END: Floya Trail Parking (Paid parking by the hour with the Easy Parking App).
BEST TIME TO DO THE HIKE: Between June and August to increase your chances of good weather. Do not attempt to do this hike during the winter months as it can get very slippery.
ESTIMATED TIME NEEDED: 3 to 4 hours (depending on your fitness level).
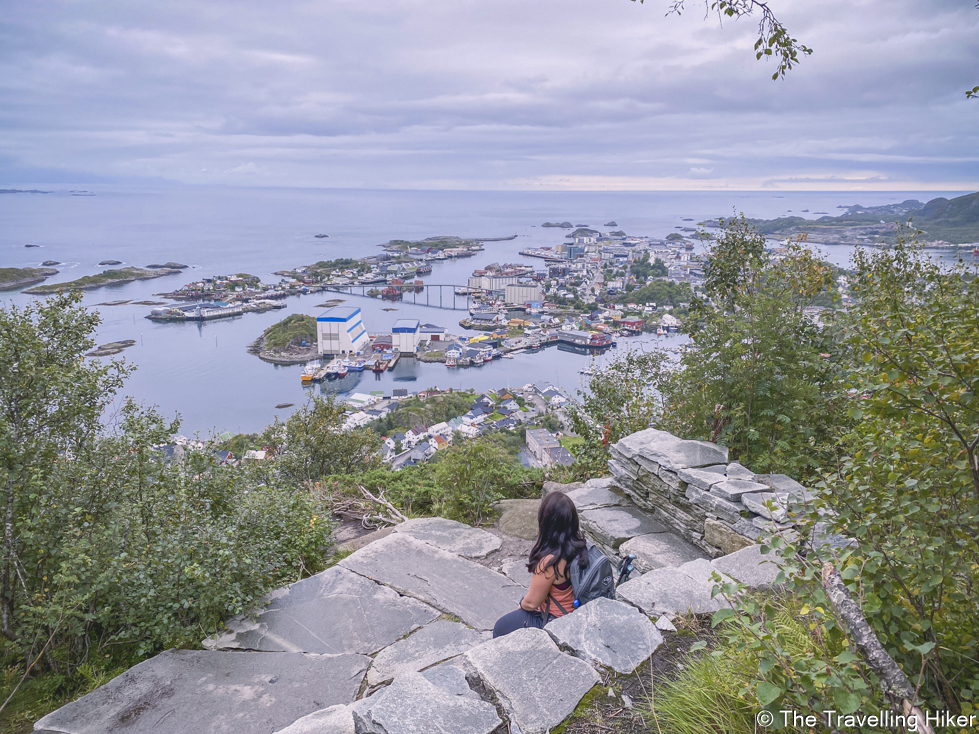
If you’re looking to get the best aerial views over the city of Svolvaer without a drone, then Floya is just the hike for you. Floya is an impressive 580 meters-high mountain standing next to Svolvaer. Along the hike, you will also see the Djevelporte, a rock that is stuck hanging between the mountains of Frosken and Floya. People hike just to this rock to get a photo standing on this rock to post on their social media. Please be very careful if you decide to do so!
This hike begins with sherpa steps (similar to the ones in Reinebringen) for the first few hundred meters. But unlike Reinebringen, soon enough the steps end and you have to start hiking and climbing over some big rocks until you reach Djevelporte. After this stop, you reach a steep part until you summit Floya.
Unfortunately, the day we attempted to do this hike, it started raining quite hard and the rocks got so slippery that we decided to turn around. It was starting to get dangerous and it was not worth the risk. We didn’t even manage to reach Djevelporte, but we still got some cool views over Svolvaer before the rain arrived.
8. DELPSHEIA AND MATMORA
DISTANCE: 9,5 km
ALTITUDE GAIN: 833 m
LEVEL: Difficult
ROUTE TYPE: Point to Point
CAMPING: It is possible to camp in the Delpshein flat part, before you do the final climb to Matmora.
STRAILHEAD/END: Matmora Trail Parking (Free parking lot but limited spaces).
BEST TIME TO DO THE HIKE: Between June and August to increase your chances of good weather. Only attempt to do this hike during the summer if you have shoes with spikes on.
ESTIMATED TIME NEEDED: 7 hours (depending on your fitness level).
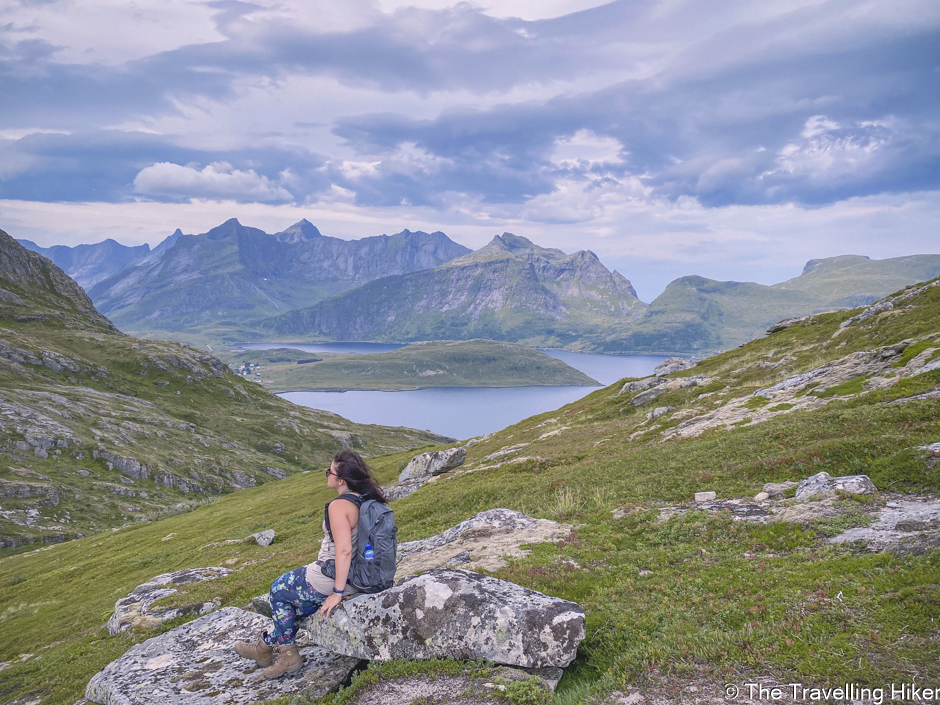
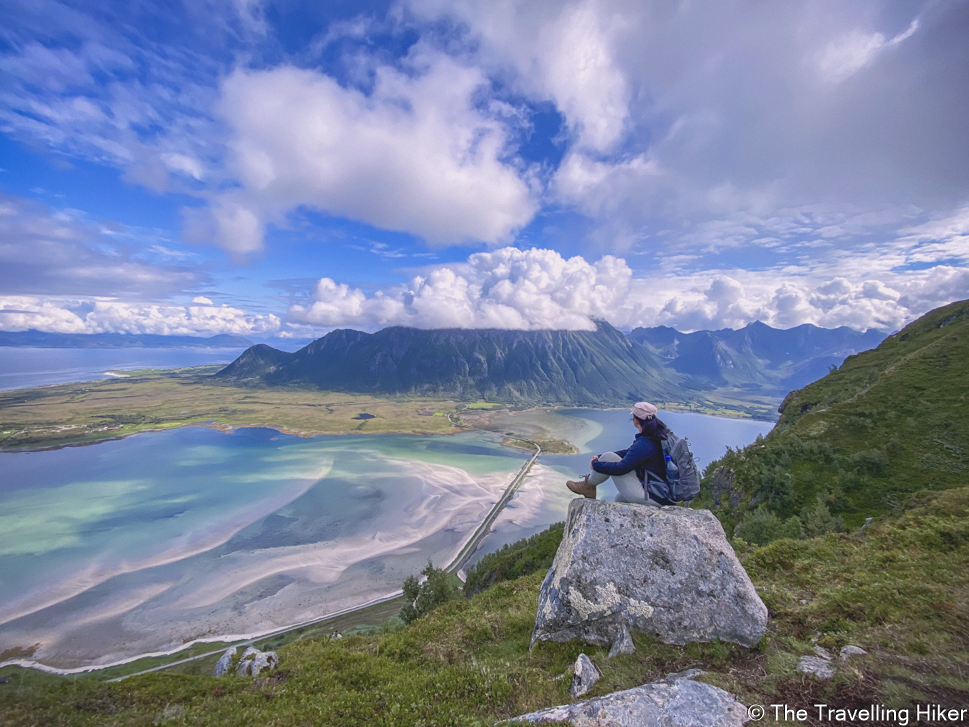
Delpsheia and Matmora is a lesser-known hiking trail in the Lofoten Islands so if you’re looking to escape the popular and crowded famous hikes in Lofoten, this hike is just the one for you. Despite it being a less-known trail, the views you get on this hike are just as beautiful as in other popular trails. In fact, I would say that this trail is easily in my top three hikes in Lofoten and we were only able to reach Delpsheia due to the weather conditions.
The first part of this trail, until you reach Delpsheia goes through a tree and rocky area. It is not too difficult but it is still quite steep and you have to scramble at several points. Please keep in mind that if it is raining or has been raining before your hike, the area is really slippery. I almost slipped a couple times during this hike but thankfully, I was fast enough to hold onto a tree.
After Delpsheia, there are two trails that you can choose from, and both of them will bring you to Matmora summit. One goes along the ridge and it is quite exposed and the second one goes more on the inner part of the mountain. Choose whichever you feel comfortable with until you reach the peak. Once you’re at Matmora, you can either descend over the other side of the mountain (quite steep descent) and make it a circular trail by walking along the road back to the parking lot or you can turn around and return the way you came from.
9. FESTVAGTINDEN
DISTANCE: 3 km
ALTITUDE GAIN: 499 m
LEVEL: Difficult
ROUTE TYPE: Out and Back
CAMPING: It is not possible to camp at Festvagtinden top.
STRAILHEAD/END: Festvagtinden Parking Lot (Paid Parking by the hour)
BEST TIME TO DO THE HIKE: Between June and August to increase your chances of good weather. Do not attempt to do this hike during the winter months as it can be dangerous.
ESTIMATED TIME NEEDED: 3 to 4 hours (depending on your fitness level).
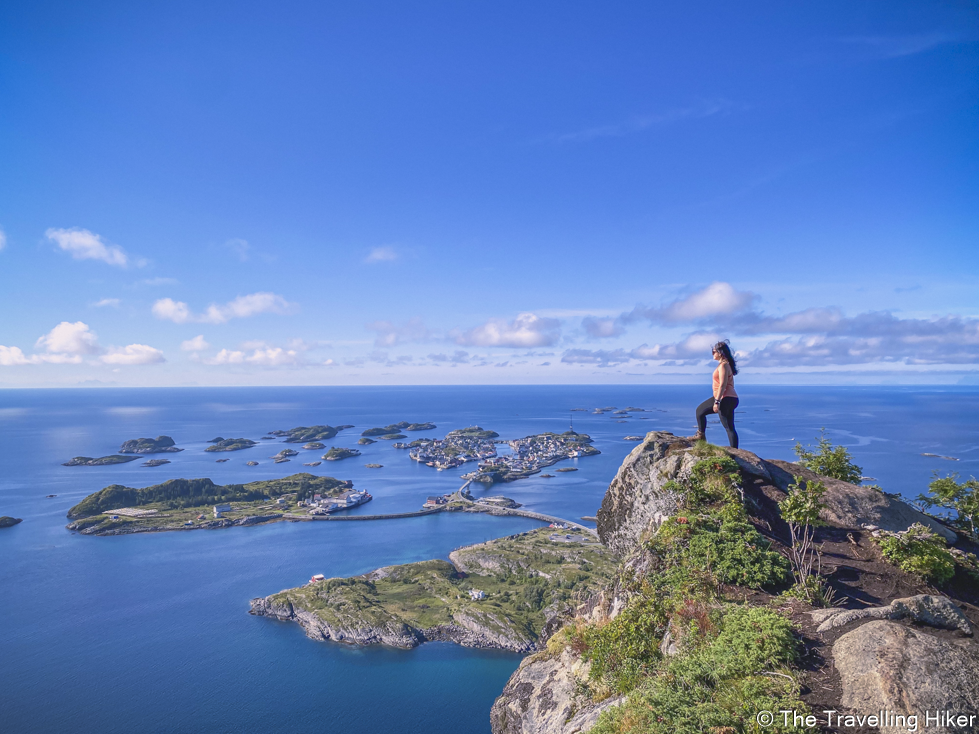
Festvagtinden is another of the most popular trails in Lofoten but it is also (in my opinion) the hardest trail that we attempted to do during our 10 days in Lofoten. From Festvatind mountain, you will get breathtaking views over Henningsvaer, an iconic fishing village in Lofoten that is distributed on several small islands.
I am not going to lie, this hike is definetely a difficult hike and it involves a lot of rock scrambling and in some parts you’ll even have to climb a little bit. For us it was too demanding and after 10 days of hiking in Lofoten, one of my knees was a bit swollen so we decided to not finish it.
The hike is divided into two steep climbs with a small lake and flat area in between. After the first climb, you can already get some special views over Henningsvaer so we decided to not force it and turn around. However, even if we didn’t manage to finish this hike, it was still worth it to do this first part just for the views. That is why, I include it in my list of the 10 best hikes to do in Lofoten.
10. HORSEID BEACH
DISTANCE: 9,8 km
ALTITUDE GAIN: 505 m
LEVEL: Moderate
ROUTE TYPE: Out and Back
CAMPING: Camp at Horseid Beach to spend the night in one of the most remote beaches in Lofoten!
STRAILHEAD/END: Kjerkfjord Port. To access this hike, you will have to go on a short boat ride departing from Reine.
BEST TIME TO DO THE HIKE: Between June and August to increase your chances of good weather.
ESTIMATED TIME NEEDED: 7 hours (depending on your fitness level).
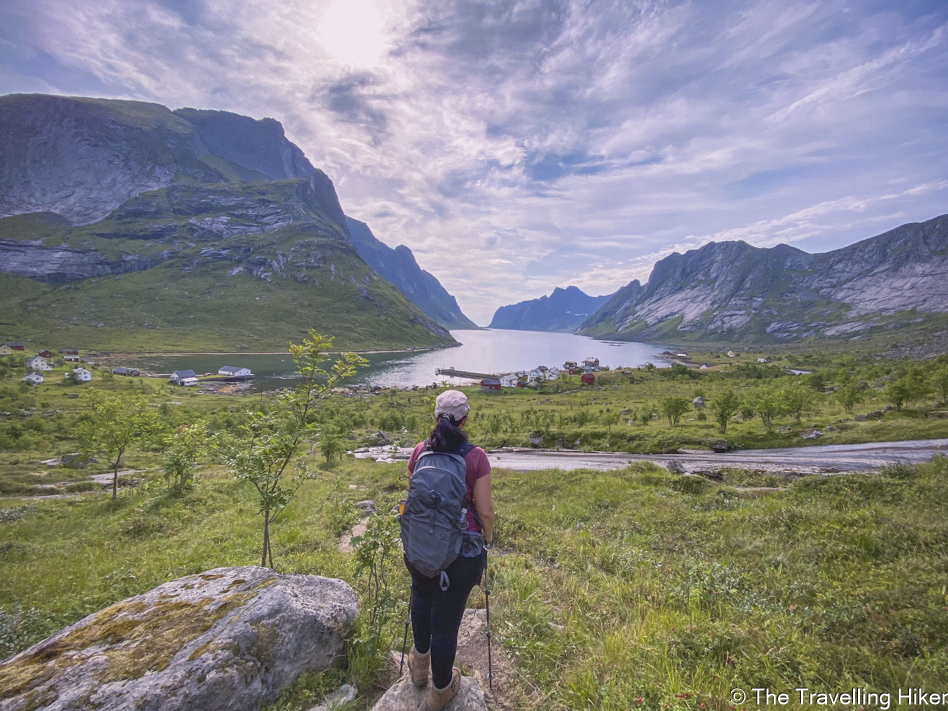
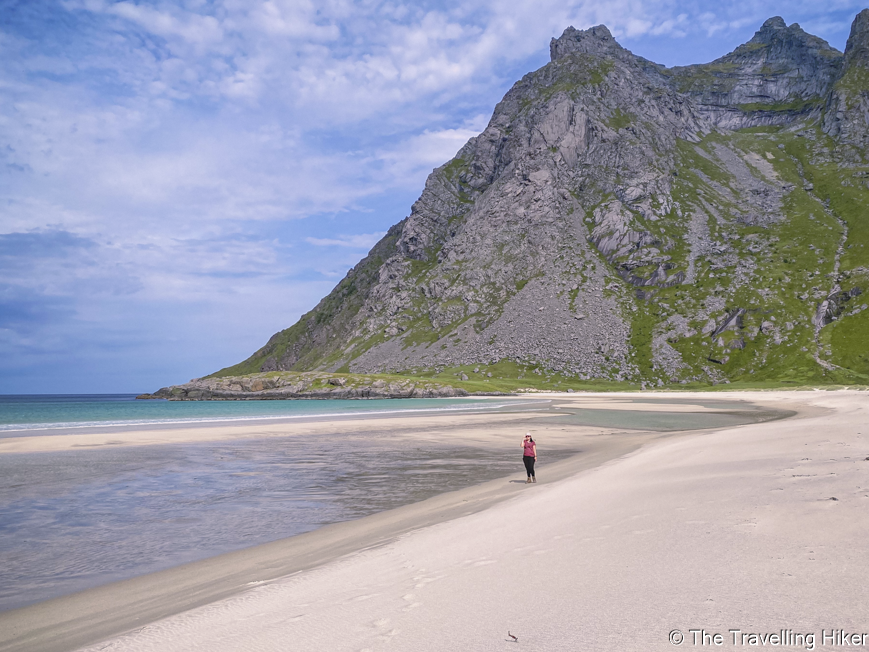
Horseid Beach is a remote beach in Lofottoden Natural Park. With its golden sand and turquoise waters, this raw and natural beach hidden away in between mountains is a gem that is worth visiting. To reach this beach, you´ll have to go on a boat ride from Reine until Kjerkfjord and then hike for 4,5 km (one way) but trust me, it is worth it!
Given the effort that you have to make to reach this beach, you’ll be there almost alone. The day we did this hike, we were only 8 people attempting to do the hike and given the different walking paces, when we reached Horseid we were there absolutely alone!
The only downside to this hike is that you’ll have to pay close attention to the time in order not to miss the boat back to Reine. However, this is easily fixed! Just bring your tent and camp here through the night! There’s no better way to connect with nature!
MAP WITH THE 10 BEST HIKES IN LOFOTEN
HOW TO USE THIS MAP: Click the star next to the map title to add this map to your google maps account. To view it on your phone while traveling, open Google Maps, click on the menu button and go to “Your Places”, click on Maps and you’ll see this map in your list.
WHERE TO STAY IN LOFOTEN
If you’re planning on doing the hikes listed on this blog, and unless you plan on doing some wild camping, your best bet is to book some accommodations in Reine, Leknes and Svolvaer.
I’ve written a full blog post with plenty of tips and recommendations on how to get the best accommodation in Lofoten. Make sure to check it out in order to find the best places to stay in Lofoten. Nevertheless, I always recommend making your reservations via Booking.com. This search engine, will allow you find the best accommodation based on what you’re looking for.
INFOGRAPHIC
No time to read the full blog post? Here’s an infographic I’ve created with the most important information about it.
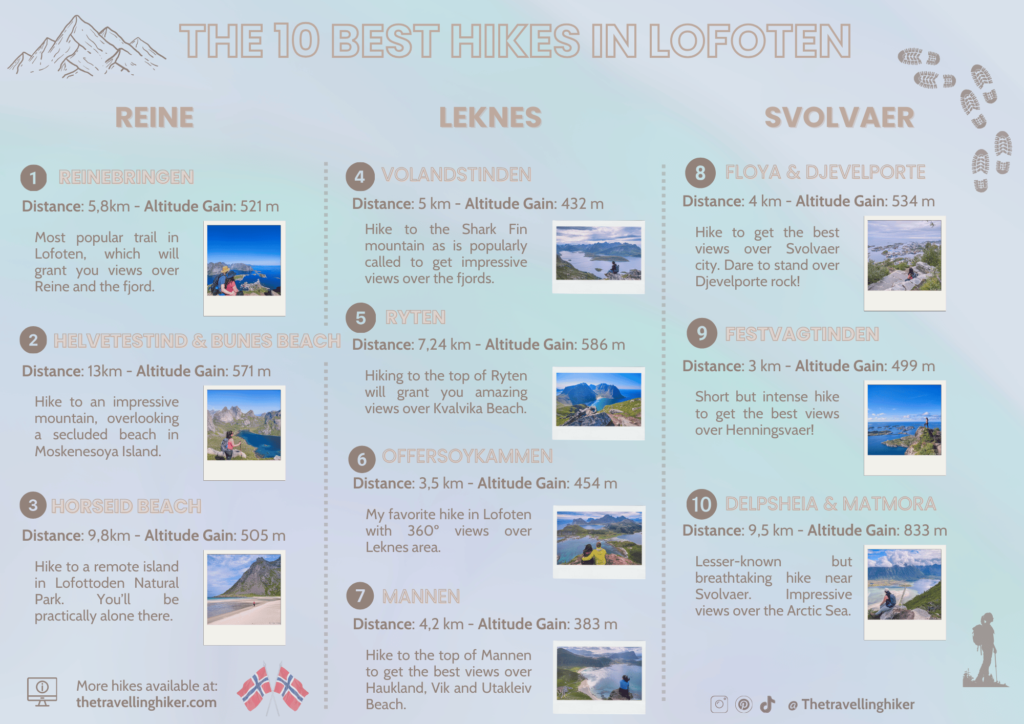
And that’s it for this week’s blog. I hope you liked it and found it useful. Let me know what you think in the comments!
Happy hiking!
DISCLAIMER: Did you know? This blog uses affiliate partnerships. When you click and book or make a purchase through one of my blog posts, I may receive a small commission (at no extra cost to you). Thank you for supporting The Travelling Hiker!
OTHER ARTICLES ABOUT NORWAY
- PLAN A TRIP TO LOFOTEN
- 12 DAY LOFOTEN ITINERARY
- REINEBRINGEN, THE MOST FAMOUS VIEW IN LOFOTEN
- ACCOMMODATION IN LOFOTEN
- HELVETESTINDEN AND BUNES BEACH HIKE
- THE BREATHTAKING RYTEN HIKE
- THE 10 BEST HIKES IN LOFOTEN
- VOLANDSTINDEN HIKE
- OFFERSOYKAMMEN HIKE
- OSLO – TWO DAY ITINERARY
- THE 21 BEST THINGS TO DO IN BERGEN
- MANNEN HIKE
- THE 10 BEST THINGS TO DO IN BODO
- HIKING TO HORSEID BEACH
ENJOYED THIS GUIDE? PIN IT FOR LATER!
