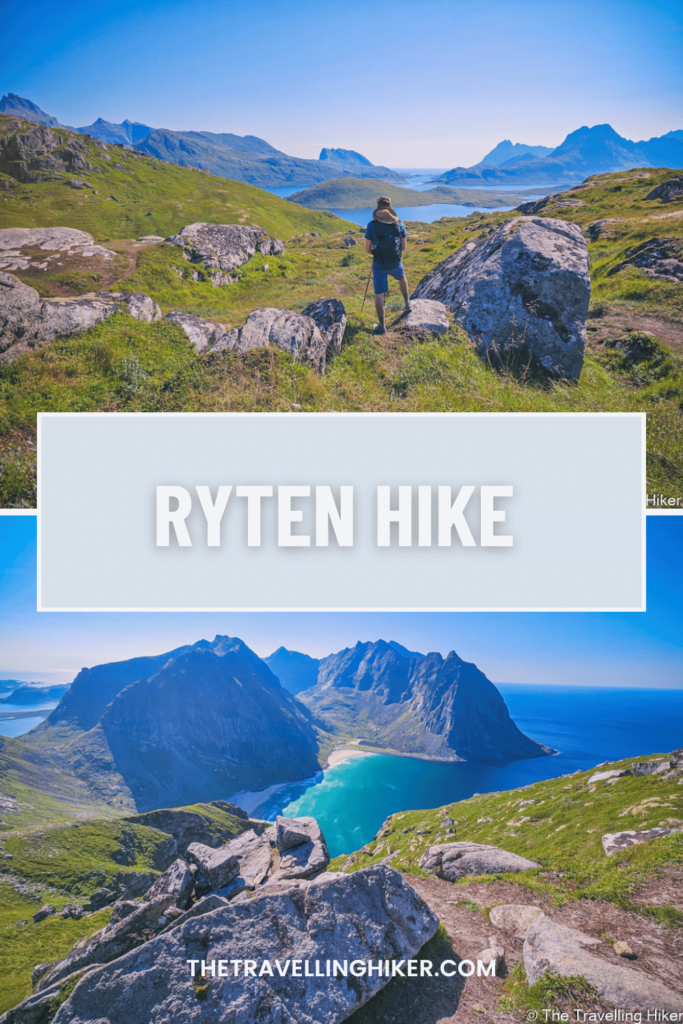
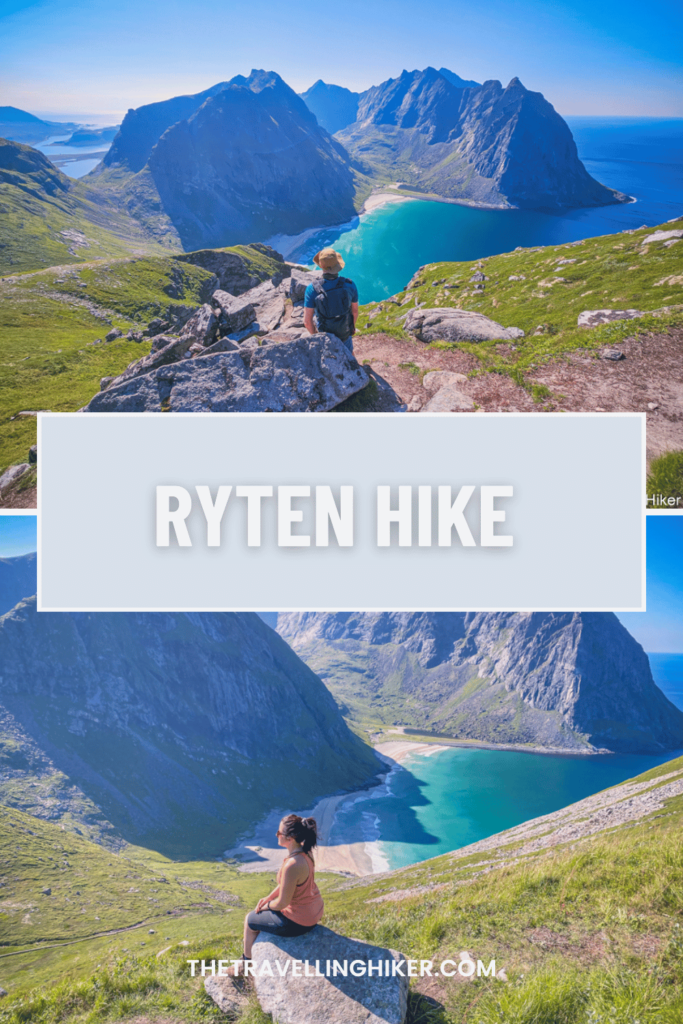
Ryten hike is a popular hike in Lofoten, thanks to the amazing views you get of Kvalvika Beach. It has all the ingredients that make for a perfect Lofoten hike: breathtaking views of the Norwegian fjords and mountains, a short but intense hike to a mountain peak, and epic views of a white sandy beach. It will be an activity that you’ll remember forever!
Want to know more about this hike? Then keep reading this blog post to get the best tips and recommendations to hiking Ryten mountain, in the Lofoten Islands, Norway.
TABLE OF CONTENTS
RYTEN & KVALVIKA BEACH
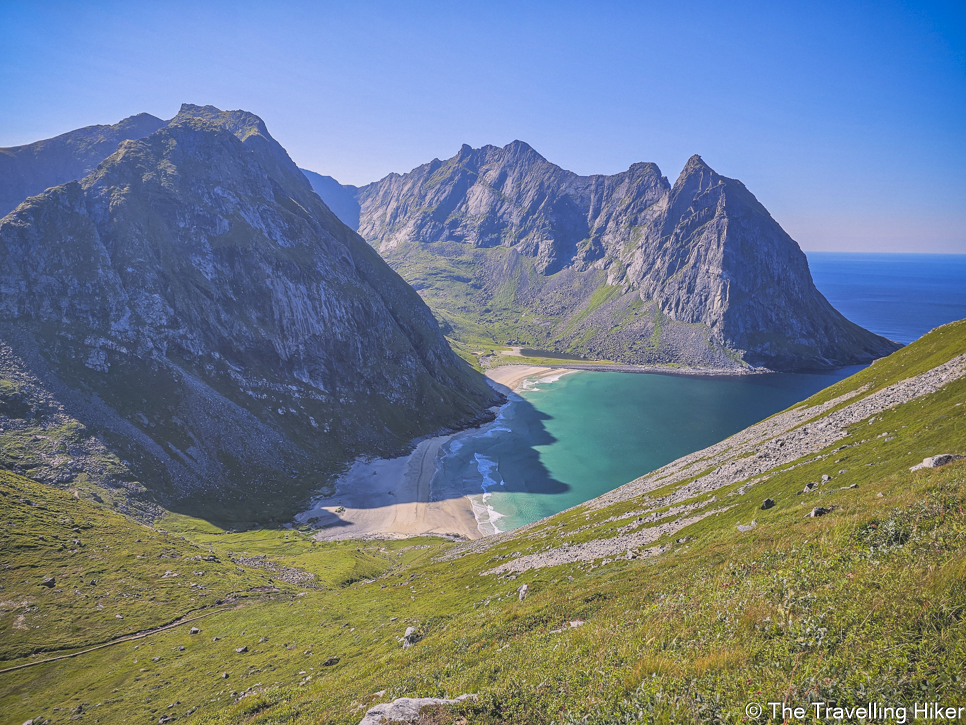
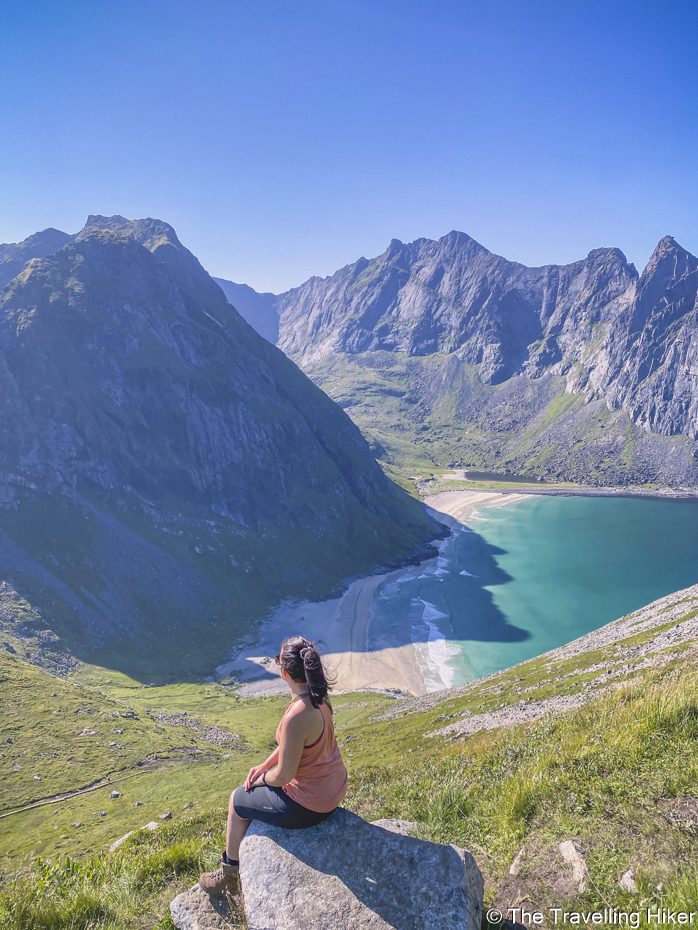
Ryten is a 543 meters high mountain located on Lofottoden National Park on the northern part of Moskenesoya island, in Lofoten, Norway. Contrary to other mountains peaks in Lofoten, Ryten is quite “easy” to hike which makes it a popular hike for visitors in Lofoten. On a clear day, from Ryten’s summit, you’ll get impressive views over Kvalvika Beach with its turquoise waters. If it wasn’t for the difference in temperature, you might think you are in Hawaii!
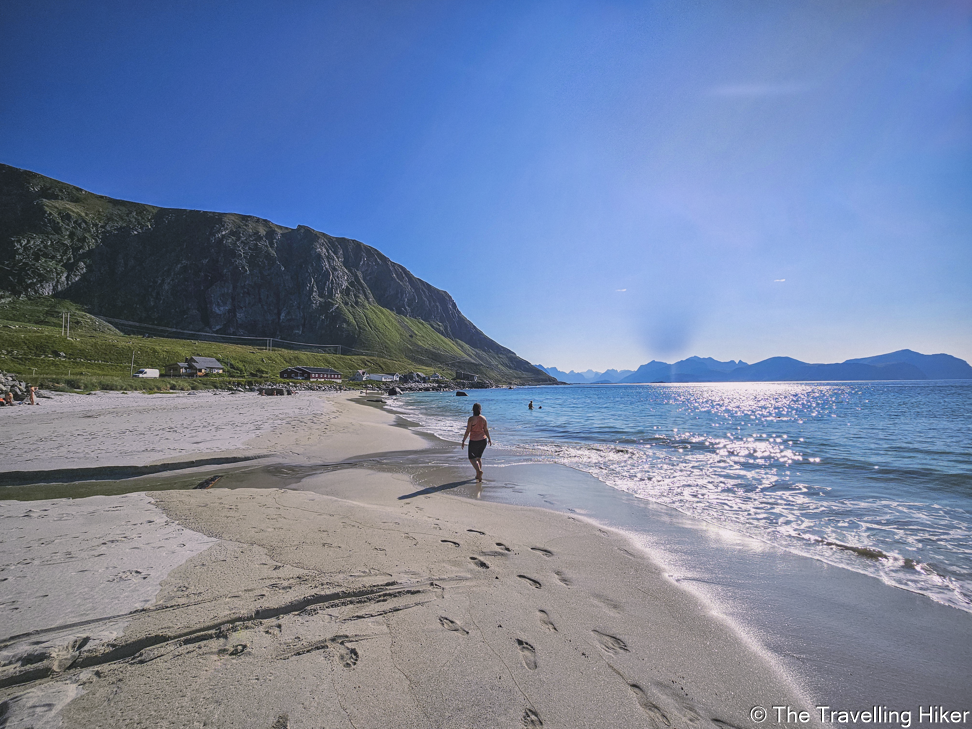
And if Kvalvika Beach is beautiful from above, stepping into it is not far behind in beauty. From the beach, you’ll get to admire Ryten mountain, standing tall next to it. And if you’re brave enough, you can even venture yourself for a refreshing dip!
PRACTICAL INFORMATION ABOUT THE HIKE
Before I start talking about the hike itself, I would like to share some practical information that will be very useful the day you go on this hike.
HIKING ROUTES
This hikes has 3 different options depending on what you’re looking for:
- Direct hiking route to Ryten: This route is the perfect choice for those only interested in hiking up to Ryten Mountain. This is a linear route of 7,24 km.
- Direct hiking route to Kvalvika Beach: On the other hand, if you’re not interested in Ryten but you want to visit Kvalvika Beach, then you can just do this route. This is a linear route of 4 km.
- Circular hiking route to both Ryten and Kvalvika Beach: If you want to visit both sites, then you can follow a loop trail that will bring you to both of them. This route will be approximately 9 km long.
GETTING TO THE TRAILHEAD & PARKING
Base on the different trail options, there are two different trailheads and parkings. Depending on which trail you want to do, one of the parkings might be more convenient for you than the other one. However, if you are unable to find a spot in one of the parkings, don’t worry. No matter which one you choose, you can still hike to both sites. You’ll just have to do a bit of extra walking.
- Kvalvika Beach Parking: This parking is the best option for those planning to only visit Kvalvika Beach or if you’re planning to do the loop trail to both the beach and Ryten summit. In addition, this parking is completely free. However, the parking spots are quite limited so I would recommend to get there really early in the morning.
- Ryten Hike Parking: This parking is the best option if you’re only planning to hike up to Ryten. The parking costs 100 NOK (price in August 2024) but has much more parking spots than the previous one. In addition, here you’ll find some restrooms and drinking water.

EQUIPMENT NEEDED
Ryten is quite an “easy hike” for Lofoten standards. However, this doesn’t mean you will not need any equipment. Here is what I would recommend to bring if you’re planning on doing Ryten Hike.
- Hiking shoes with a good grip: Hiking shoes are very important in Lofoten. Particularly, if you’re planning on doing this hike after it has been raining. The terrain will be quite muddy so hiking shoes that are waterproof will come in very handy.
- Hiking poles: Hiking poles are also very helpful on this hike. Even though this hike is easier than other famous hikes in Lofoten, it is still quite steep. Hiking poles, will give your tired legs some extra support.
- A reusable water bottle: Hydration while hiking is key and during the summer months even more. Make sure to bring enough water to complete this hike as there is no water source along the way.
- A hat and sunscreen to protect you from the sun. If like us, you do this hike on a sunny summer day, a hat and plenty of sunscreen are a must. There is almost no shade available along the trail.
- Bring a waterproof jacket with you. In the Lofoten, the weather can be quite unpredictable. One moment is sunny and a few minutes later, it starts raining. Always bring with you a waterproof layer just in case. And even if it doesn’t rain, this hike is quite windy and exposed. You will be happy to have some wind protection.
WHEN IS THE BEST TIME TO DO THIS HIKE?
The best time to do this hike is between May and October when the weather starts to become milder. If you want to increase your chances of good weather, then your best option is July and August. We did this hike in August and we were very lucky with the weather.
During the winter months, this hike can only be done if you have snow shoes since the trail will be completely covered in snow.
Please do not attempt to hike Ryten in bad weather conditions. The trail is very exposed to strong winds and can get very slippery if it is rainy. Always be careful a the edge of the cliffs, especially with strong winds.
RYTEN HIKE
HIKE STATS
Trail Start/End – Ryten Parking (Price: 100 NOK)
Distance – 7.24 km
Elevation Gain – 586 m
Level – Moderate
Route Type – Linear Route
Estimated Time Needed – 4 hours. This includes plenty of time for a picnic at the top and relaxing while you enjoy the views over Kvalvika Beach.
Best Time To Visit – Between June and August, to increase your chances of good weather.
MY EXPERIENCE HIKING RYTEN
First Climb
The hike begins right of the parking lot by walking through some flower and grass fields. To prevent them from getting damaged and to help with some muddy areas, wooden pasarelles have been placed for you to walk on.
These fields are private property so please respect the area by staying on the platforms. If you cross someone along your way, small side planks are placed every 50 meters to let people pass without having to step out of them.
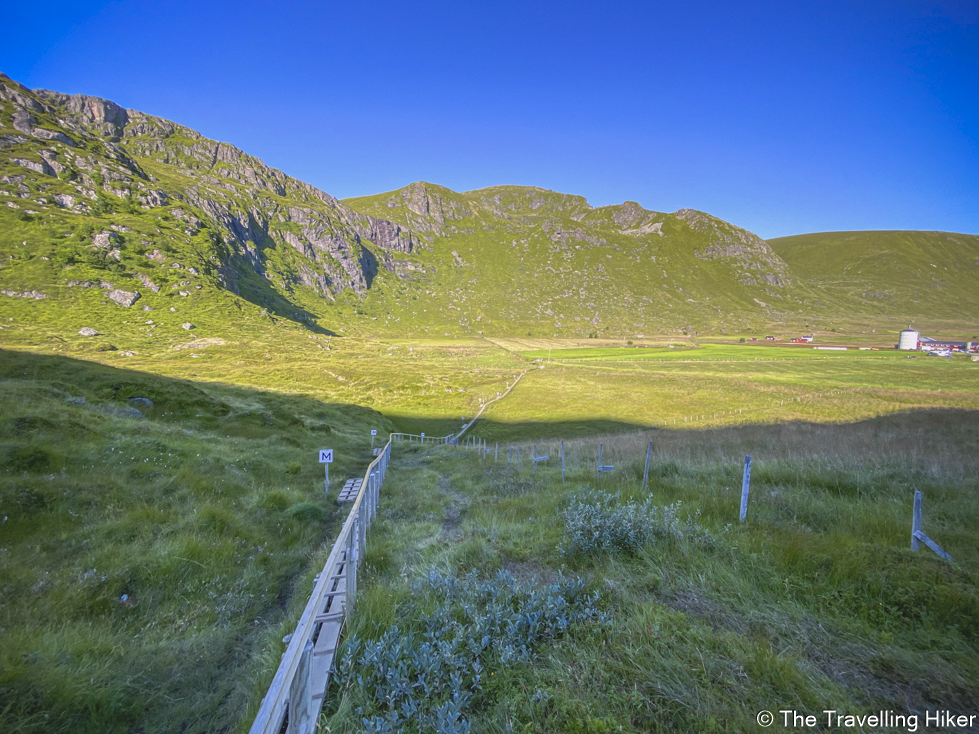
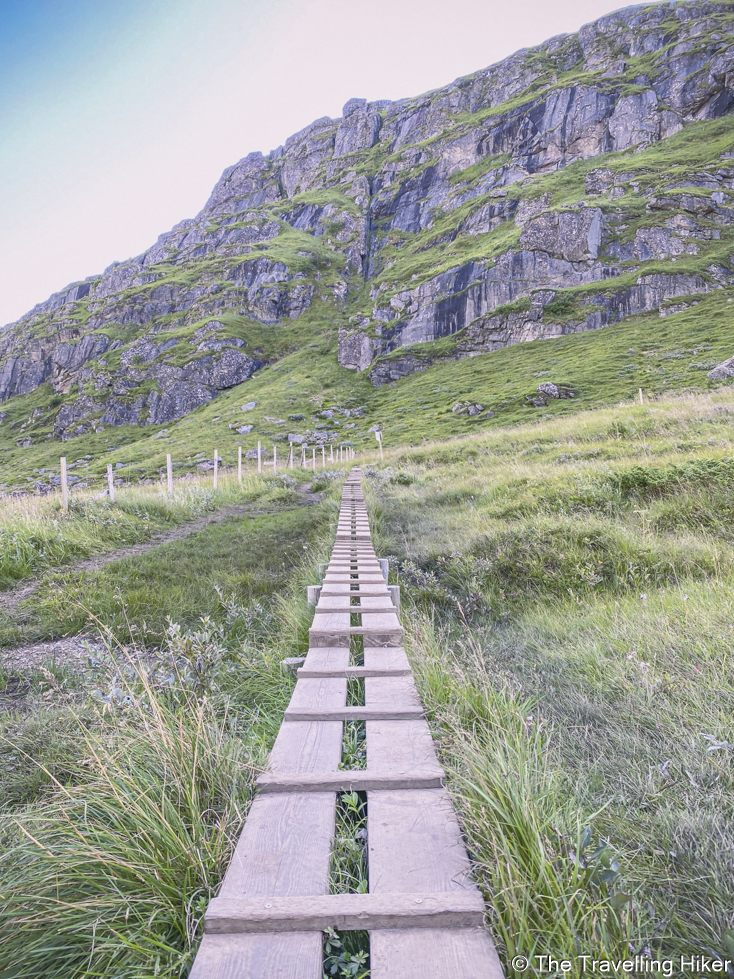
Soon enough, the trail turns right, the wooden planks end, and you have to start the first climb. This first climb is not very steep but there trail is quite rocky which makes it a little bit more difficult.
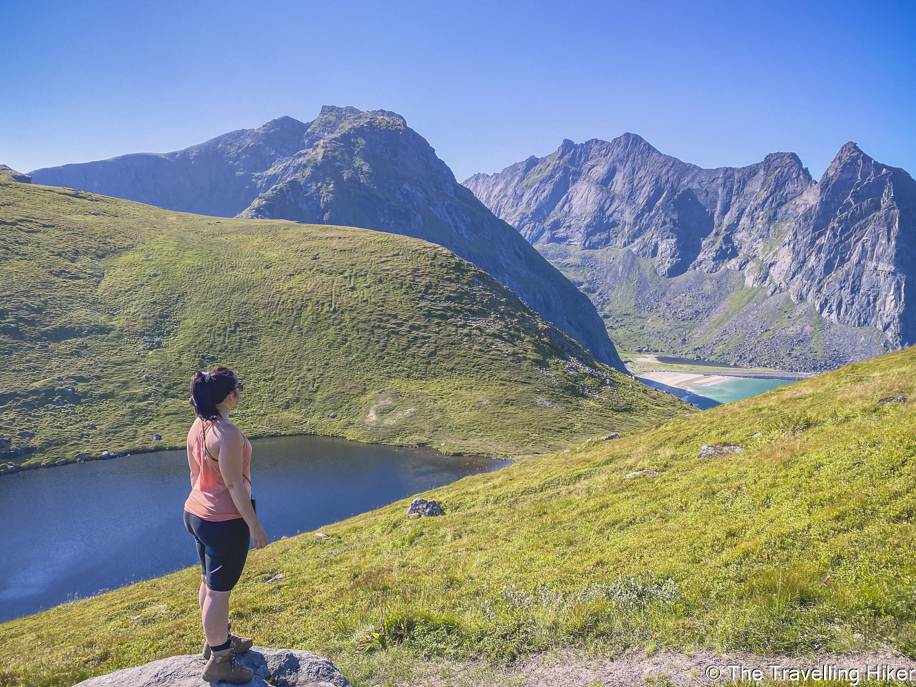
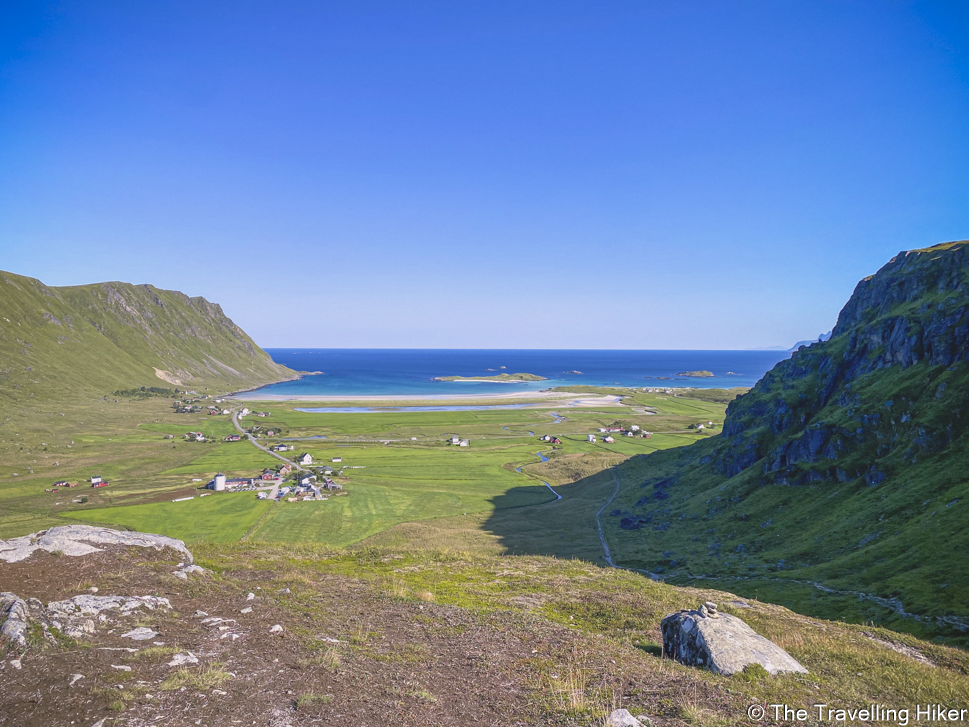
At the top, of the first climb you’ll find a small mountain lake, and if you turn around, you will be rewarded with some nice views of the valley and Fredvang Beach in the distance.
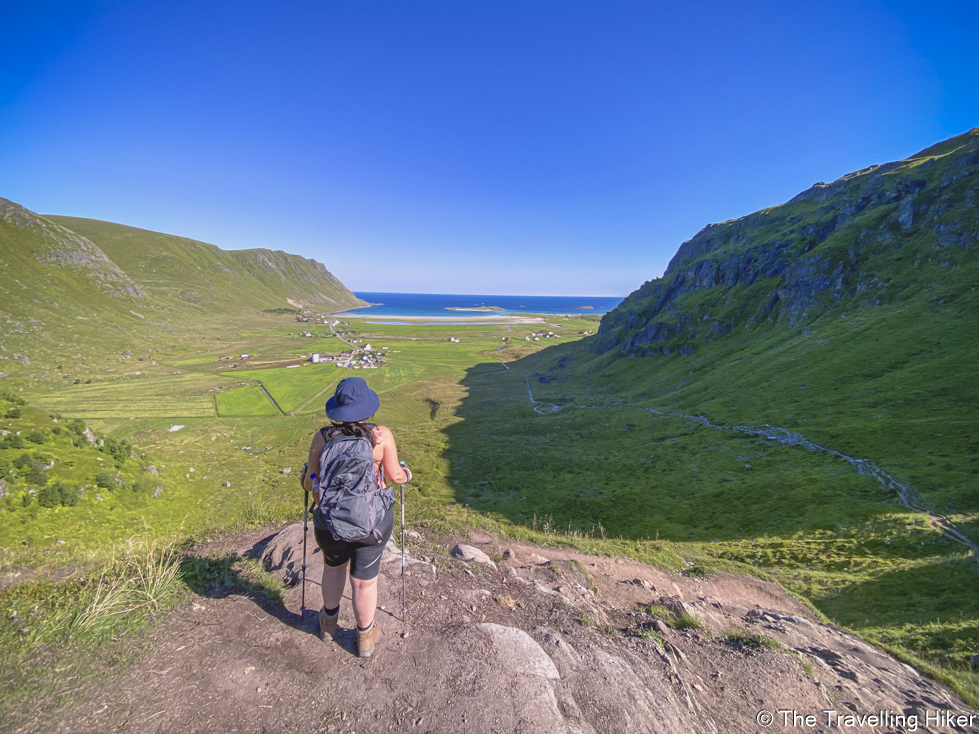
The Meadow Between The Lakes
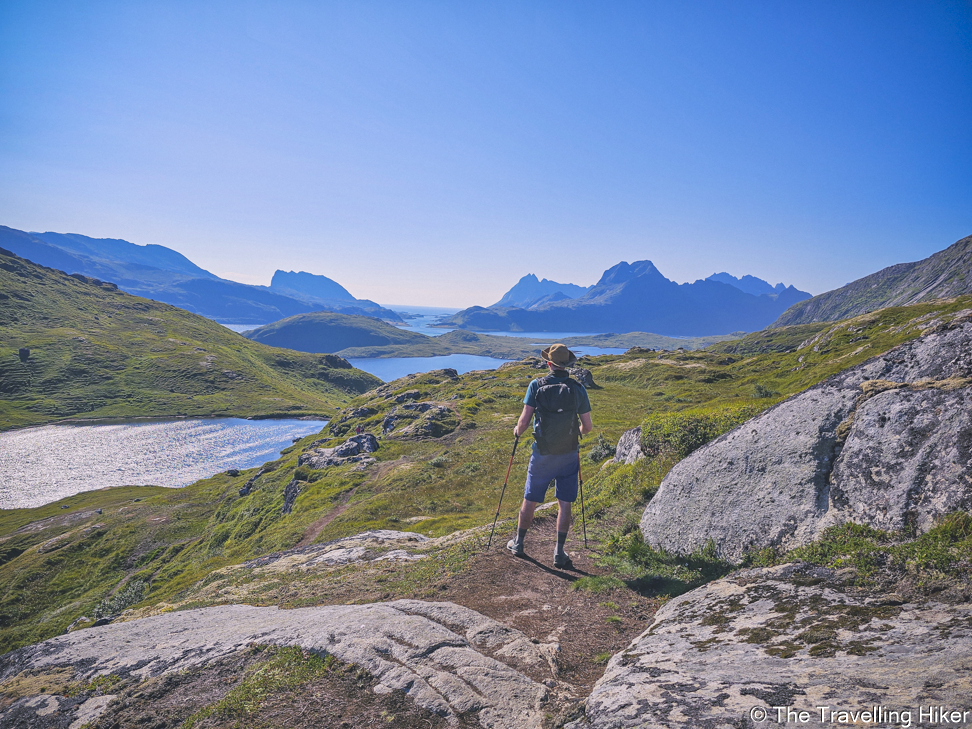
After this first climb, the trail heads west and you arrive to a relatively flat meadow. There are only two small rock scramblings that you will have to do (the only ones in this hike). There are some chains to hold on to on this part but if you are not comfortable with them, it is possible to avoid them with a small detour. If you notice, there is a small path on the left of these rocks. If you follow it, you can avoid this rocky part.
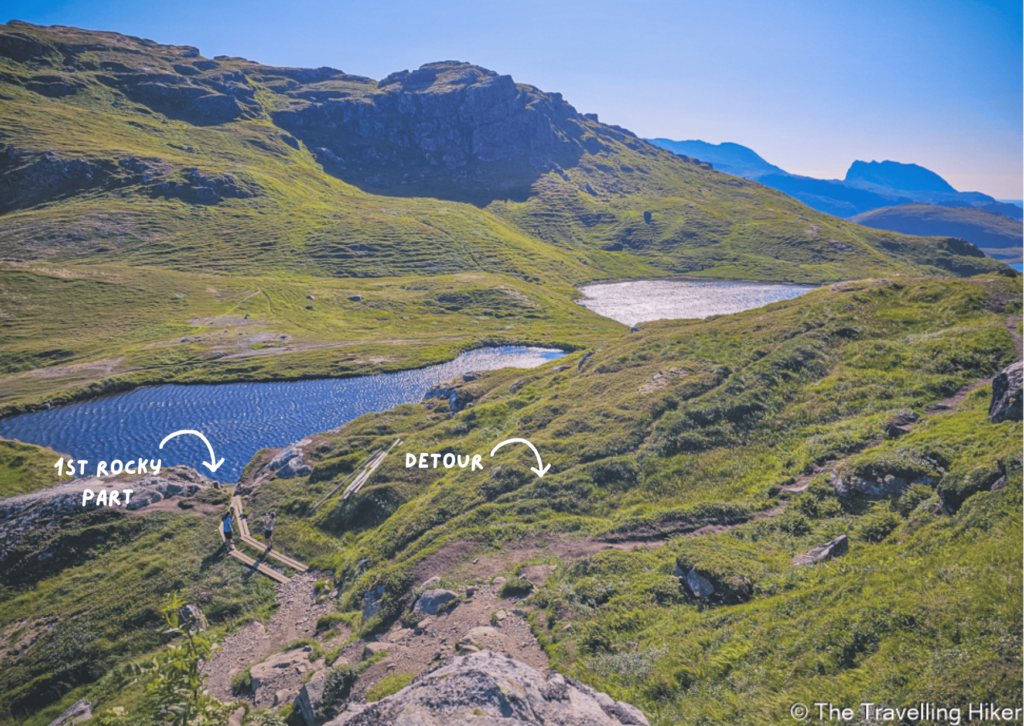
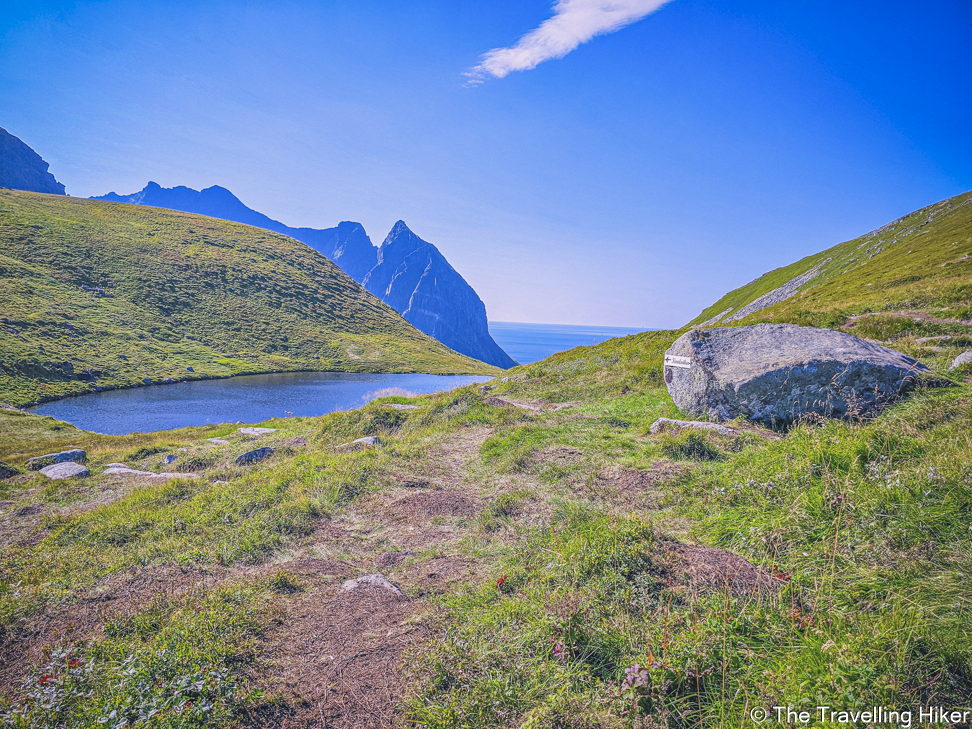
After this rocky part, the trail goes on relatively flat until you reach a second mountain lake, Forsvatnet. In this area, you will find several wooden platforms. These help you to avoid the soggy and muddy areas but are also there to protect the area.
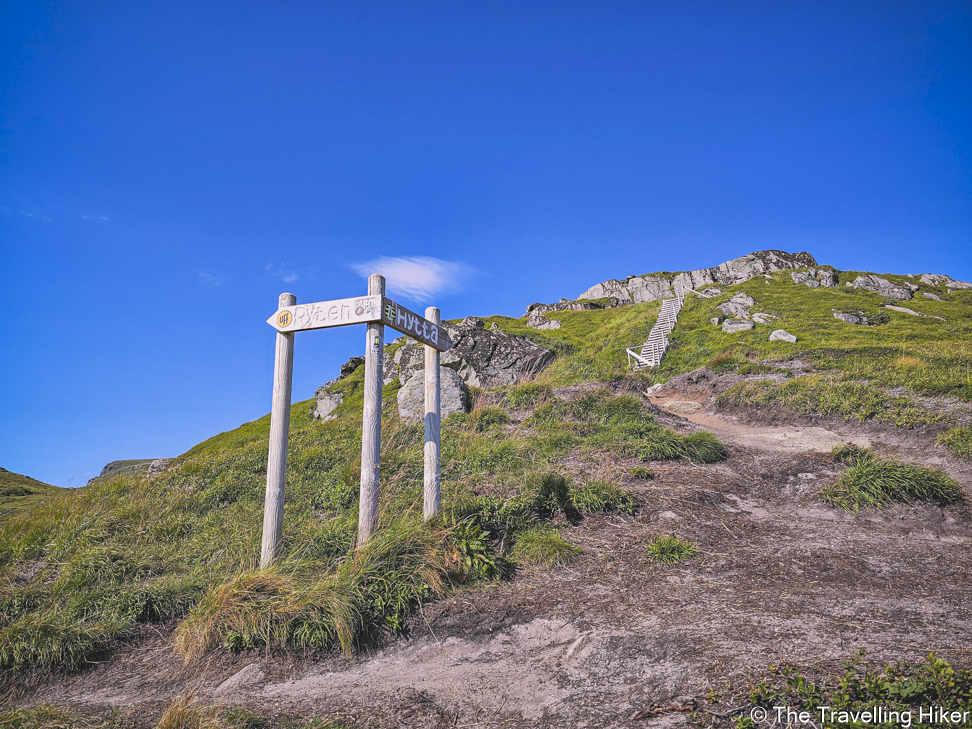
Right before the lake, the trail will split a few times. The first time, you will see a trail going right with a sign that says Hytta. This trail will take you to Fredvanghytta, a small mountain hut. Just keep following the trail towards Ryten. The second trail split, will be to the left right after Forsvatnet lake. You will recognize it because there will be a rock with a sign saying Kvalvika Beach. If you want to do visit Kvalvika, then you can follow this trail.
The Final Climb to Ryten
If like us, you’re just interested in reaching Ryten’s summit, then ignore these secondary trails and keep following the main trail. From here, you’ll now be able to see the final climb to the summit. You will probably see that there are three different trails that all lead to the same place. I recommend you follow the one on the left to get the best views over Kvalvika Beach while you go up.
It is impressive how the beach appears and you get better views the higher you go. You’ll find yourself stopping several times along the way to enjoy the views and take multiple photos. Just remember that the best views are always at the top!
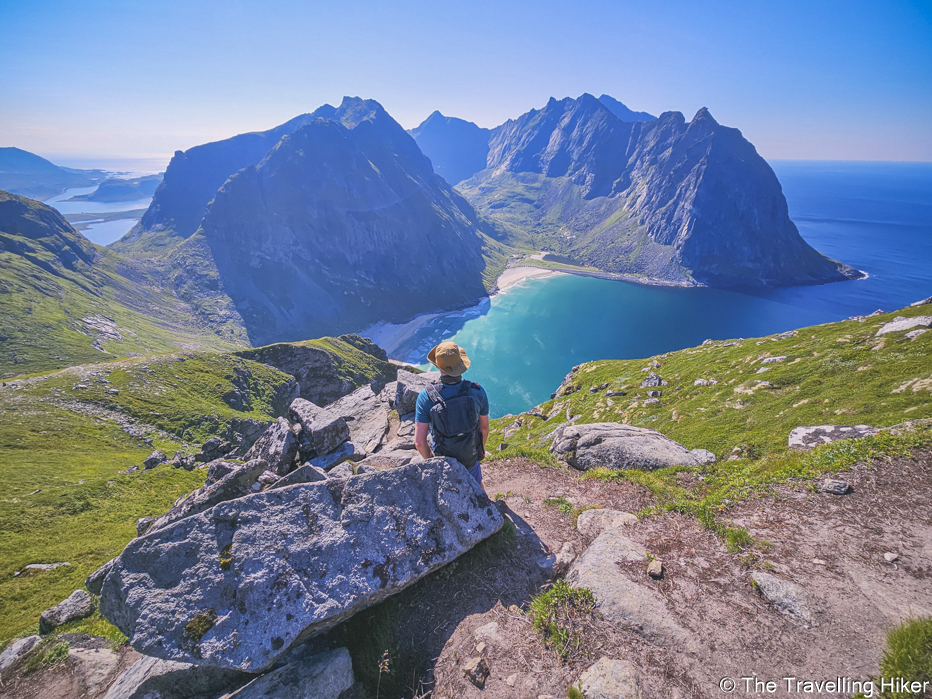
Right next to where we took this photo, there is a small rock that hungs out and is sometimes called “The mini Trolltunga“. If you play with the camera angle, you can pretend like there is nothing underneath you. However, there was a big waiting line to take the photos so we decided to just skip it.
Important: If you do decide to take a photo here, please remember that, even though there is no direct fall underneath this rock, you are still very close to the edge. Always be careful when getting close to the edge as it is usually quite windy here.
From this viewpoint, there is still a few hundred meters to climb until you reach the official Ryten summit. Don’t forget to hike them to complete your trail.
The Return Hike
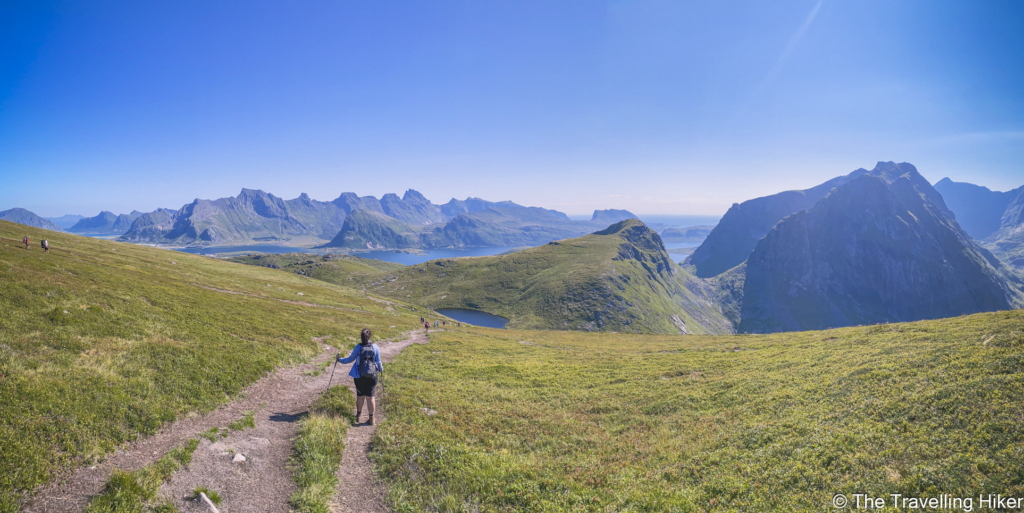
To return, you have to hike back down the same way you came. It is possible to take a detour and visit Kvalvika Beach, but this will add considerable distance to your hike and elevation gain. Since we were still tired from our hike to Helvetestinden and Bunes Beach the day before, we decided to skip it.
On the way back, you will also get amazing views of the valley and Fredvang.
OTHER THINGS TO DO NEAR RYTEN
Looking for other ideas to do after your hike? Here are some other things you can do to complete your day.
- Hike to Kvalvika Beach. As mentioned before, you can complete your hike by visiting Kvalvika Beach. You can either do this by doing a circular route that connects both sites or, by doing a separate hike to Kvalvika Beach. Relaxing at this beautiful beach is the perfect way to complete your day.
- Visit Ramberg Beach or Vikten Beach. If you don’t feel like hiking anymore for the day, you can also just visit some of the other nearby beaches that are immediately accessible from the road.
- Fuel up and eat the best fish burgers in Lofoten at Anita’s seafood.
PLACES TO STAY NEAR RYTEN
Ryten mountain is located half way between Reine and Leknes so I recommend booking an accommodation in one of these two locations. Here are the two locations we stayed at:
- Reine Bed & Breakfast: Great value for its price and one of the cheapest accommodations you’ll find in Reine.
- Cozy private bedroom in Leknes: This place is very basic but it is a great option if you don’t mind a basic accommodation and want to save some money during your stay in Lofoten.
MAP WITH LOCATIONS
HOW TO USE THIS MAP: Click the star next to the map title to add this map to your google maps account. To view it on your phone while traveling, open Google Maps, click on the menu button and go to “Your Places”, click on Maps and you’ll see this map in your list.
HIKE SUMMARY AND INFOGRAPHIC
No time to read the full blog post? Here’s an infographic I’ve created with the most important information about this hike.
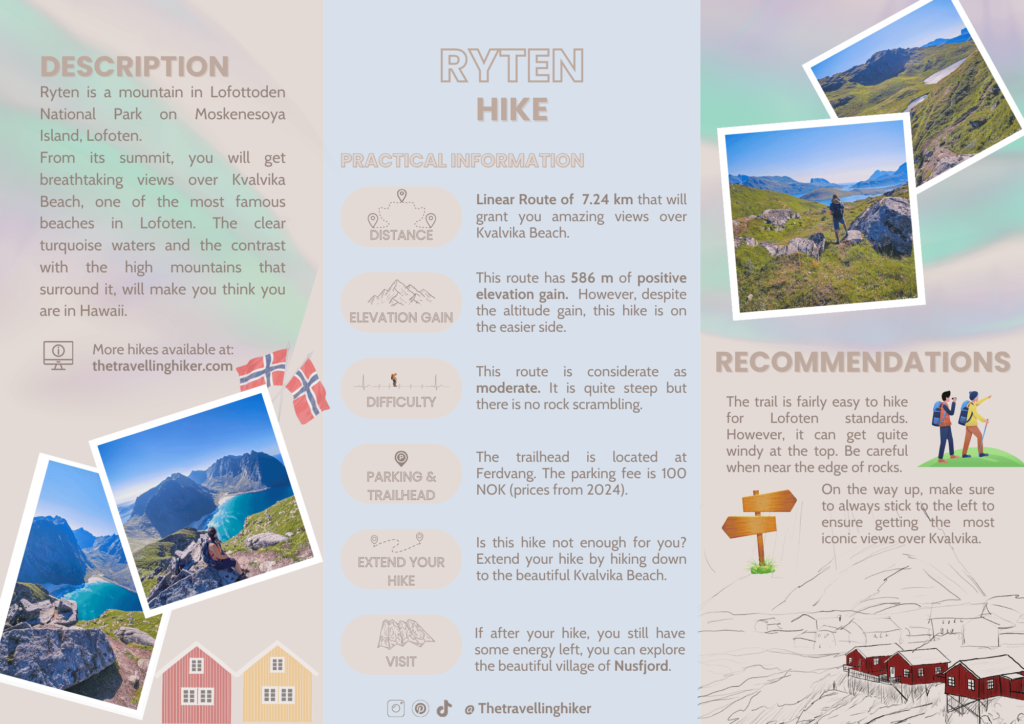
And that’s it for my blog about Ryten. I hope you liked it and found it useful. Let me know what you think in the comments!
Happy hiking!
DISCLAIMER: Did you know? This blog uses affiliate partnerships. When you click and book or make a purchase through one of my blog posts, I may receive a small commission (at no extra cost to you). Thank you for supporting The Travelling Hiker!
OTHER ARTICLES ABOUT NORWAY
- PLAN A TRIP TO LOFOTEN
- 12 DAY LOFOTEN ITINERARY
- REINEBRINGEN, THE MOST FAMOUS VIEW IN LOFOTEN
- ACCOMMODATION IN LOFOTEN
- HELVETESTINDEN AND BUNES BEACH HIKE
- THE BREATHTAKING RYTEN HIKE
- THE 10 BEST HIKES IN LOFOTEN
- VOLANDSTINDEN HIKE
- OFFERSOYKAMMEN HIKE
- OSLO – TWO DAY ITINERARY
- THE 21 BEST THINGS TO DO IN BERGEN
- MANNEN HIKE
- THE 10 BEST THINGS TO DO IN BODO
- HIKING TO HORSEID BEACH
ENJOYED THIS GUIDE? PIN IT FOR LATER!
