THE BEST VOLANDSTINDEN HIKE GUIDE – LOFOTEN ISLANDS
December 8, 2024
Volandstinden is another beautiful hike we did during our trip to the Lofoten Islands in Norway. It is less popular than other hikes in Lofoten since it it doesn’t have views over one of Lofoten’s beautiful white sand beaches but it is still quite an impressive hike to do. From its summit, you’ll get fantastic 360 degree views over the surrounding fjords.
Want to know more about this hike? Then keep reading to learn all there is to know about Volandstinden Hike. From a brief description about the mountain and the area surrounding it, to the trailheads (yes, there are 2 different ones), equipment needed, an my experience completing this hike! All you’ll have to do is put on your hiking boots and enjoy your hike!
TABLE OF CONTENTS
VOLANDSTINDEN
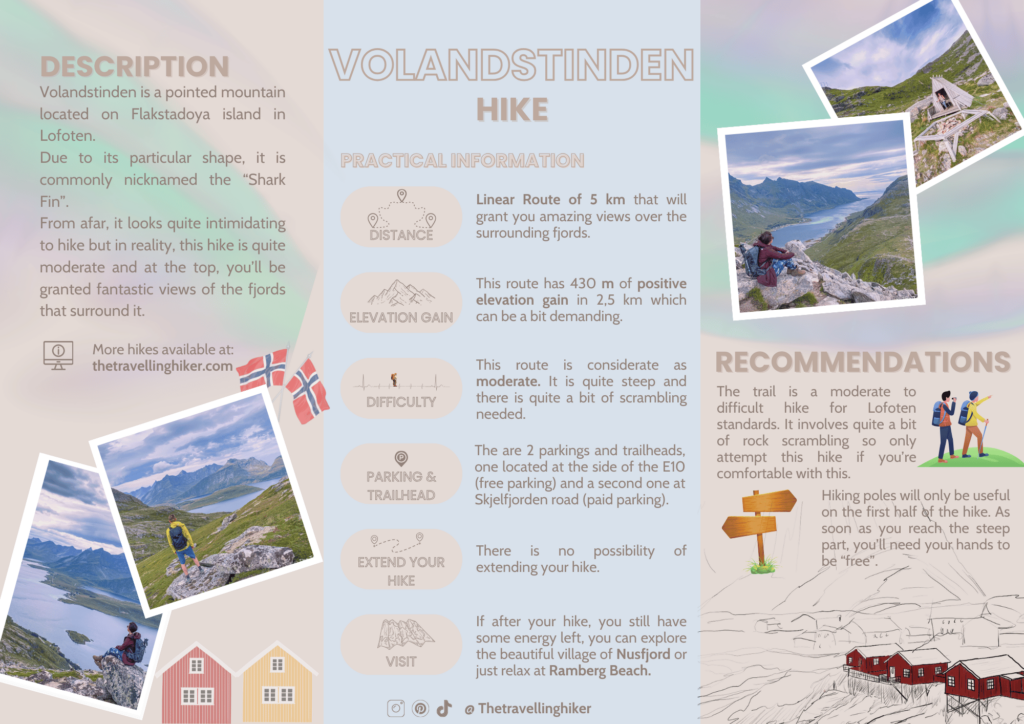
Volandstinden is a 457 meters high mountain located in Flastadoya island in Lofoten, Norway. It is also popularly known as “the Shark Fin” due to its pointy shape. It’s shape also makes it look a bit impressive and intimidating to hike, but the hike itself is not extremely difficult. However, it does involve some rock scrambling on the higher areas.
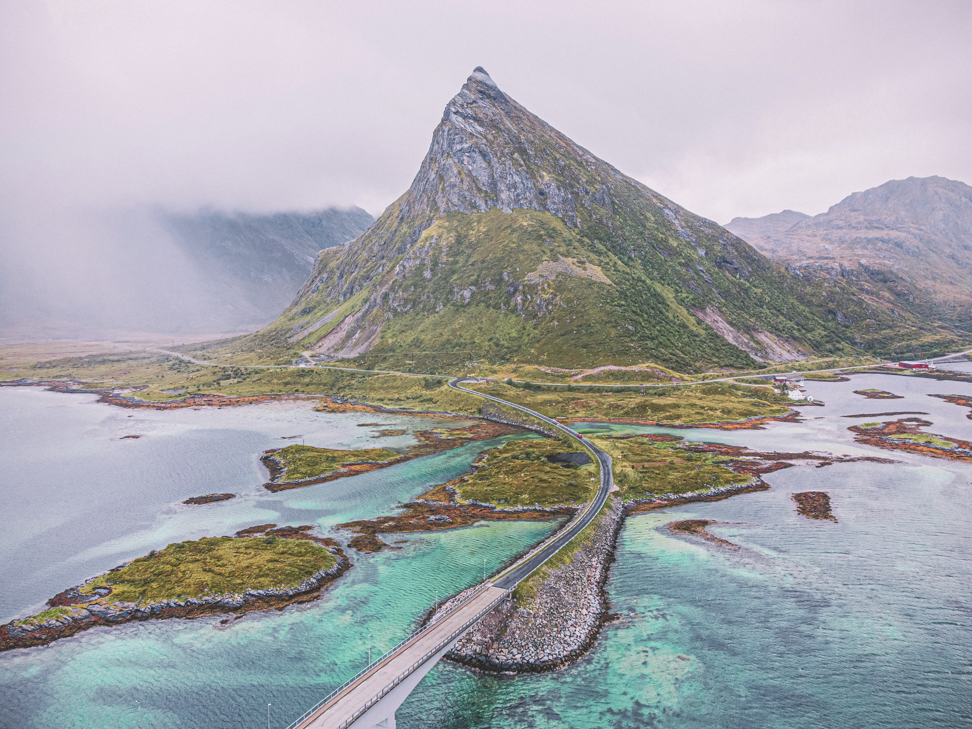
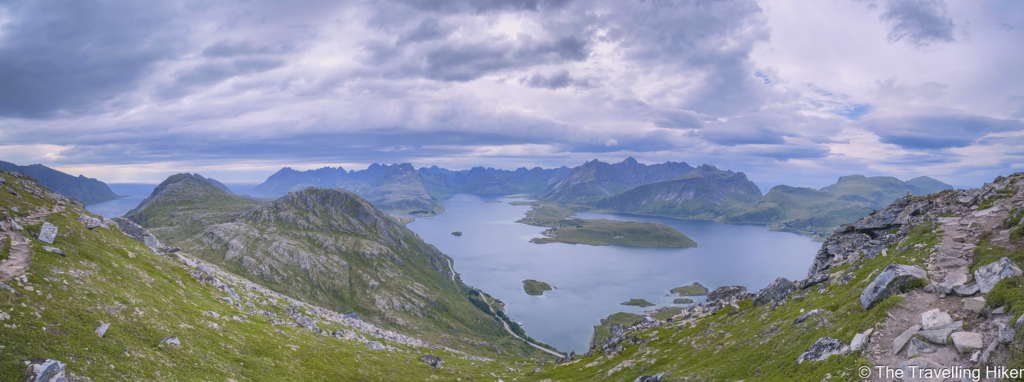
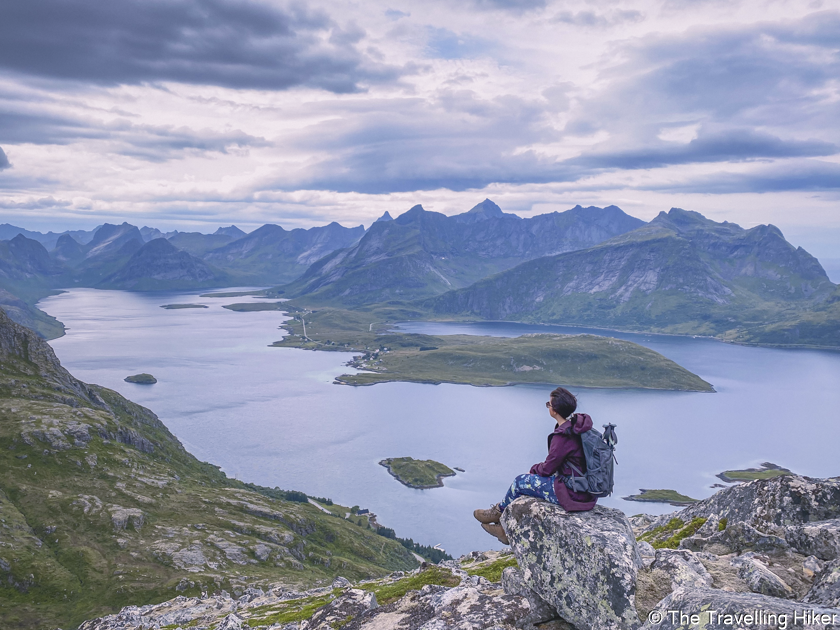
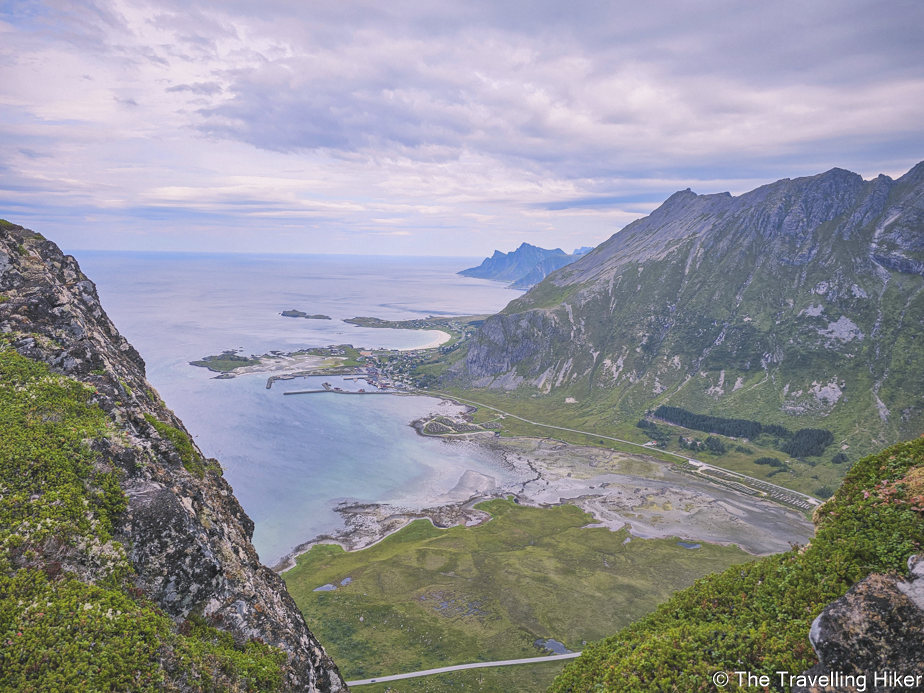
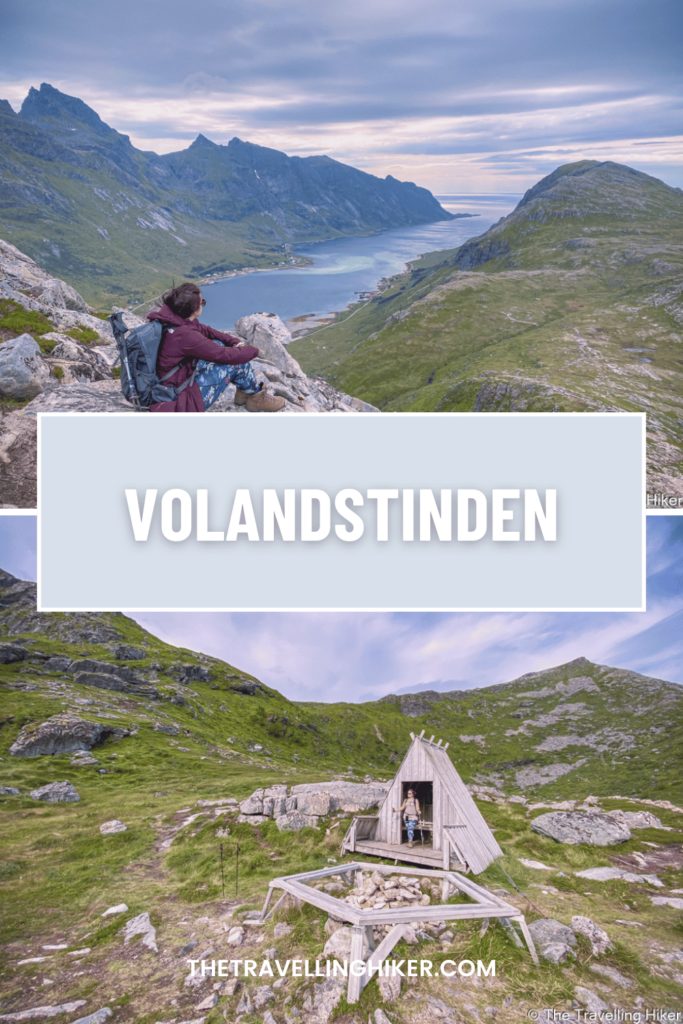
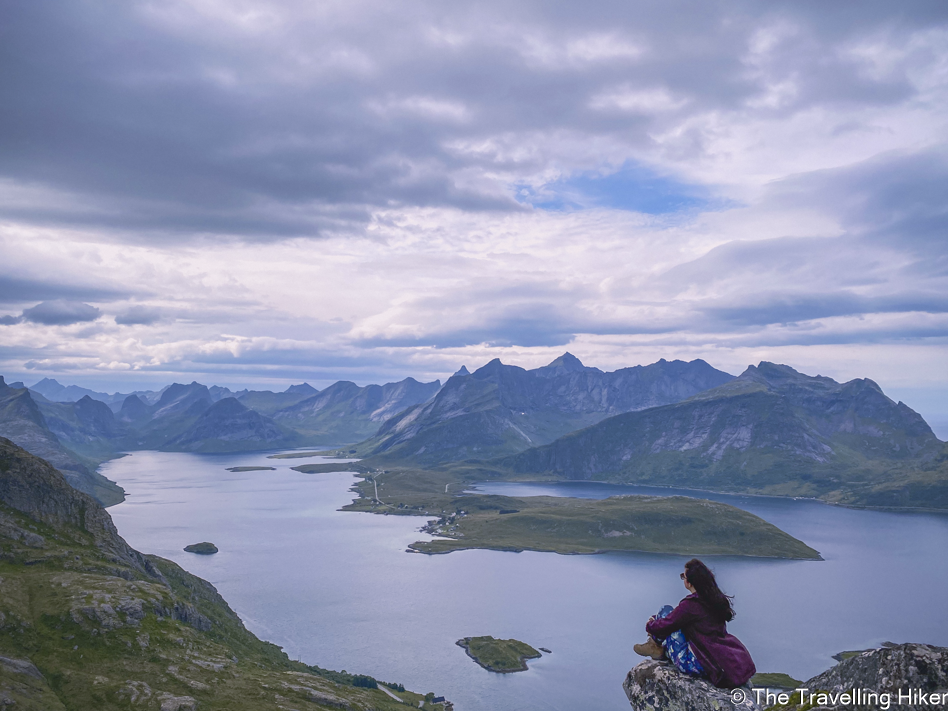
From the mountain summit, you’ll be rewarderd with beautiful 360 degree views of the two fjords that surround it: Skjelfjorden and Selfjorden. A little bit further in the trail, there is a second lower summit, that will also grant you views to the Fredvang bridges.
Fun Fact: Did you know that in Lofoten, all mountains with a pointed peak, have the ending “tinden” added to its name?
Before I start talking about the hike itself, I would like to share some practical information that will be very useful the day you go on this hike.
TRAILHEADS AND PARKINGS
There are two different parking lots for this trail and, depending on which one you choose, two different trailheads. However, both are very similar in difficulty so it doesn’t really matter which one you choose. Both parking lots are pinned in the map at the end of this blog.
Option 1: Trailhead next to E10 main road. The parking lot next to this trailhead is very small and it only has places for a few cars. On the positive side, it is completely free.
Option 2: Trailhead in Skjelfjord road. The parking lot next to this trailhead is bigger than the other one but it is supposedly a paying parking lot.
We choose Option 2 but the place to pay was closed the day we visited, so in the end we didn’t have to pay the parking lot.
EQUIPMENT NEEDED
Volandstinden is more or less a “moderate hike” for Lofoten standards. The first part of the hike is relatively easy and not too steep. However, the final part before the summit, does require quite a bit scrambling. The following equipment, will make your hike easier.
Hiking shoes with a good grip: Hiking shoes are very important in Lofoten. Particularly, if you’re planning on doing this hike on a rainy day. The terrain will be quite muddy so hiking shoes that are waterproof will come in very handy.
Hiking poles: I am a bit torn with the use of hiking poles for this hike. Hiking poles were quite helpful in the first part of this hike. However, as soon as we reached the rocky part of the hike, we had to put them away as I needed my hands free.
A reusable water bottle: Hydration while hiking is key and during the summer months even more. Make sure to bring enough water to complete this hike as there is no water source along the way.
A hat and sunscreen to protect you from the sun. The day we did this hike it was very cloudy and it ended up raining so we didn’t need to protect ourselves from the sun. However, if you do this hike on a sunny day, please take into consideration that there is no shade at all along the trail.
Bring a waterproof jacket with you. In the Lofoten, the weather can be quite unpredictable. One moment is sunny and a few minutes later, it starts raining. Always bring with you a waterproof layer just in case. And even if it doesn’t rain, this hike is quite windy and exposed. You will be happy to have some wind protection. In our case, we were lucky we had our rain jackets with us since it started raining quite hard while we were returning to the car.
WHEN IS THE BEST TIME TO HIKE VOLANDSTINDEN?
The best time to do this hike is between May and October when the weather starts to become milder. If you want to increase your chances of good weather, then your best option is July and August. We did this hike in August during a very clouded day but it was not cold at all and enjoyed a very nice hike for the most part. We only got rain during the last 20 minutes of the hike.
During the winter months, it is not recommended to do this hike as it can be very dangerous with the snow covering the rocky parts.
VOLANDSTINDEN HIKE
HIKE STATS
Trail Start/End – Parking at Skjelfjord (Paying Parking)
Distance – 5 km
Elevation Gain – 432 m
Level – Moderate
Route Type – Linear Route
Estimated Time Needed – 3 to 4 hours. This includes plenty of time for a picnic at the top and relaxing while you enjoy the views.
Best Time To Visit – Between June and August, to increase your chances of good weather.
HIKE MAP
MY EXPERIENCE HIKING VOLANDSTINDE
Reaching The Wind Shelter
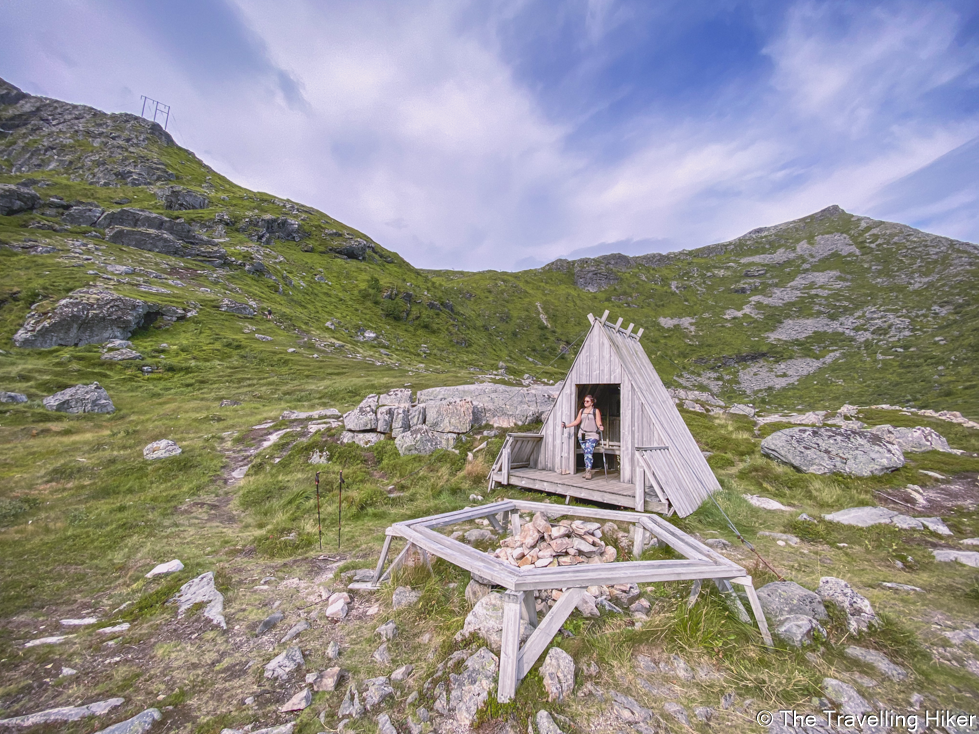
The trail starts right off the parking lot and immediately we had to cross a fence. The trail started to slowly gain altitude but it was relatively easy and the trail was in very good condition. Soon enough we reached a small creek and a wind shelter overlooking Skjelfjord. The views from here, were not bad but the only downside of this side is that there are power lines constantly in your way.
Climb Until The Ridge
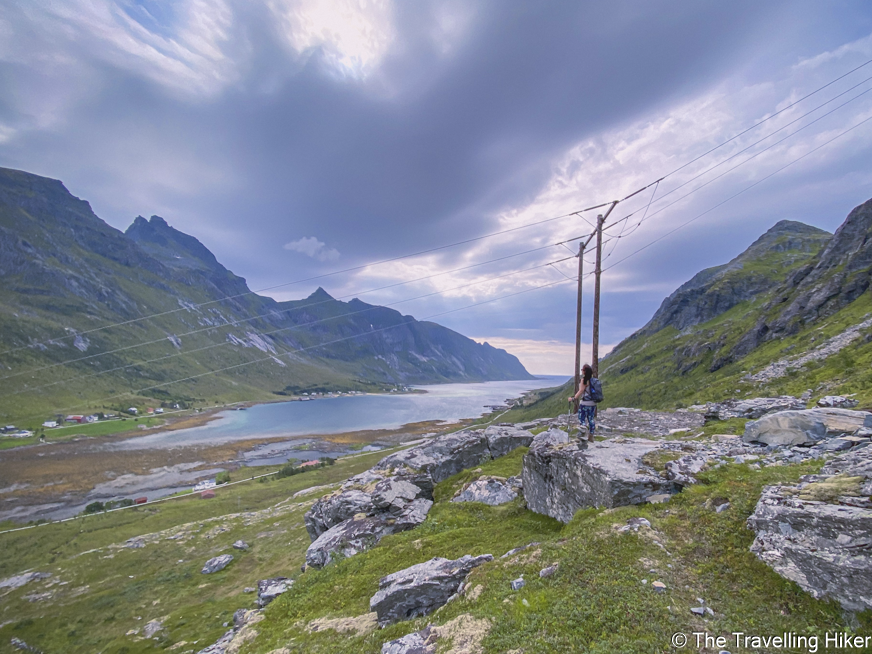
After the wind shelter, the trail starts to get steep and it began to zig zag uphill. The turns of the trail also followed the power lines as we gained elevation. Fortunately, this part didn’t last long and soon enough the trail flattened again. Now, we could see Volandstind ridge in front of us.
We crosed another small stream and the trail coming from the other trailhead joined. At this point we were at approximately 225 m of altitude and it was time to start climbing the ridge.
The Ridge
From this point onwards, the trail started to get really rocky and steep. The trail itself was not too difficult but we had to put away our hiking poles to have our hands free to help ourselves. The rocks have big gaps between them so you have to be very careful where you step. I have to admit that some parts were a bit challenging and the thought of turning around did cross our minds a few times.
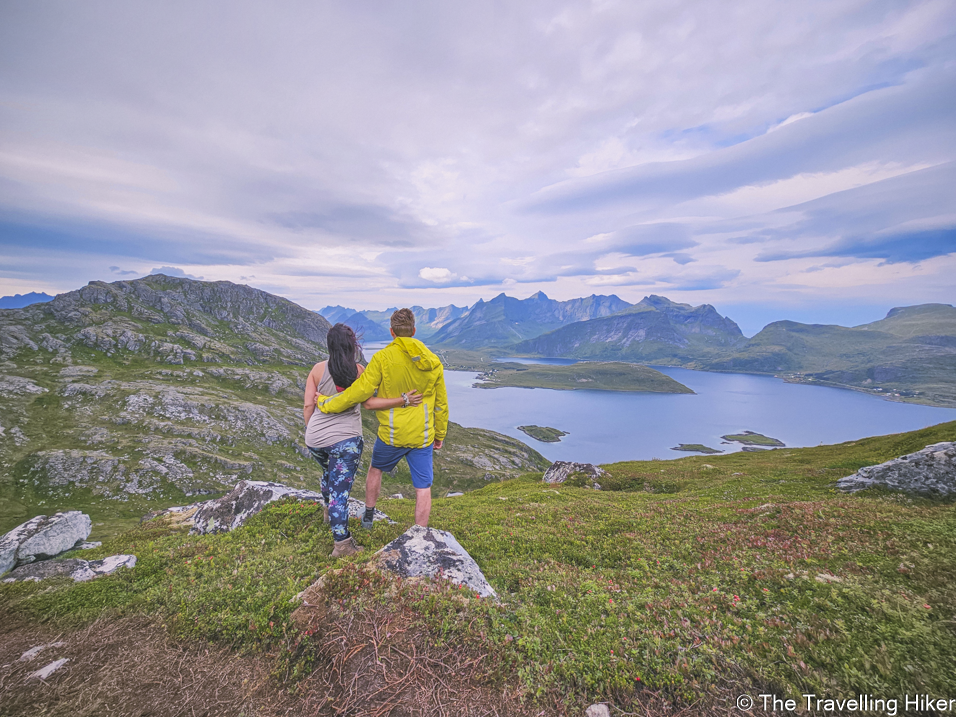
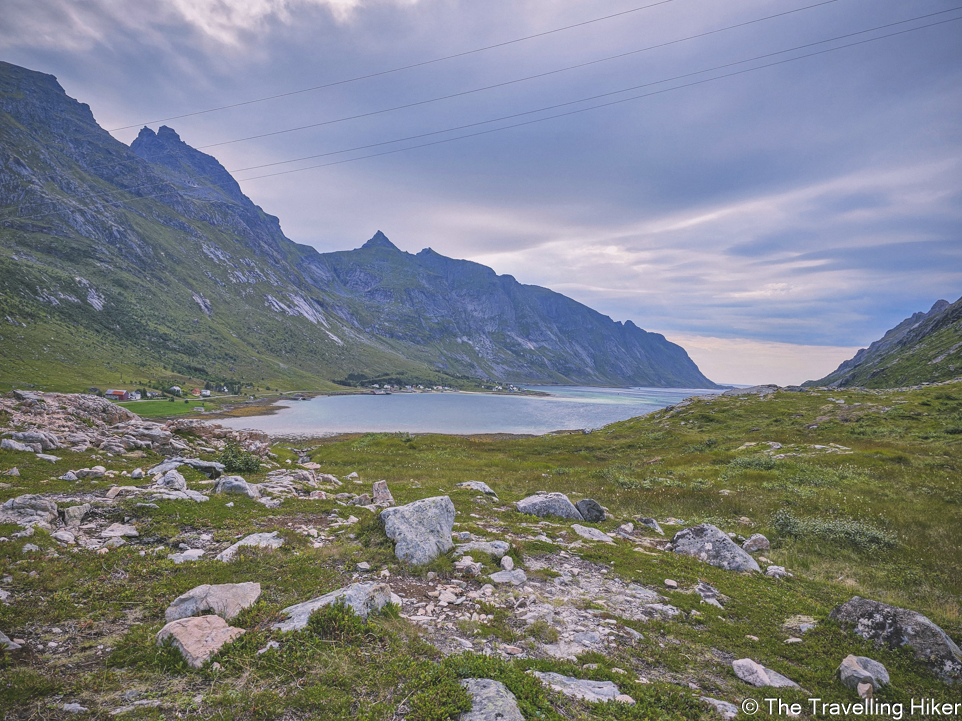
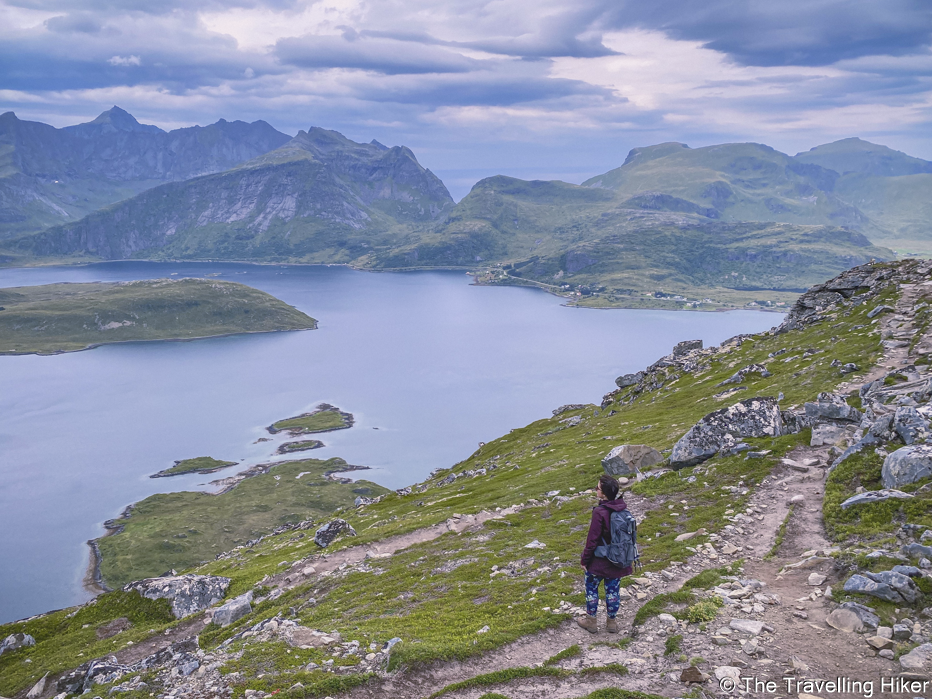
On the positive side, as soon as you start gaining some elevation, the views open up on both sides and you get spectacular views of both Skjelfjord and Selfjord (without power lines).
The Summit
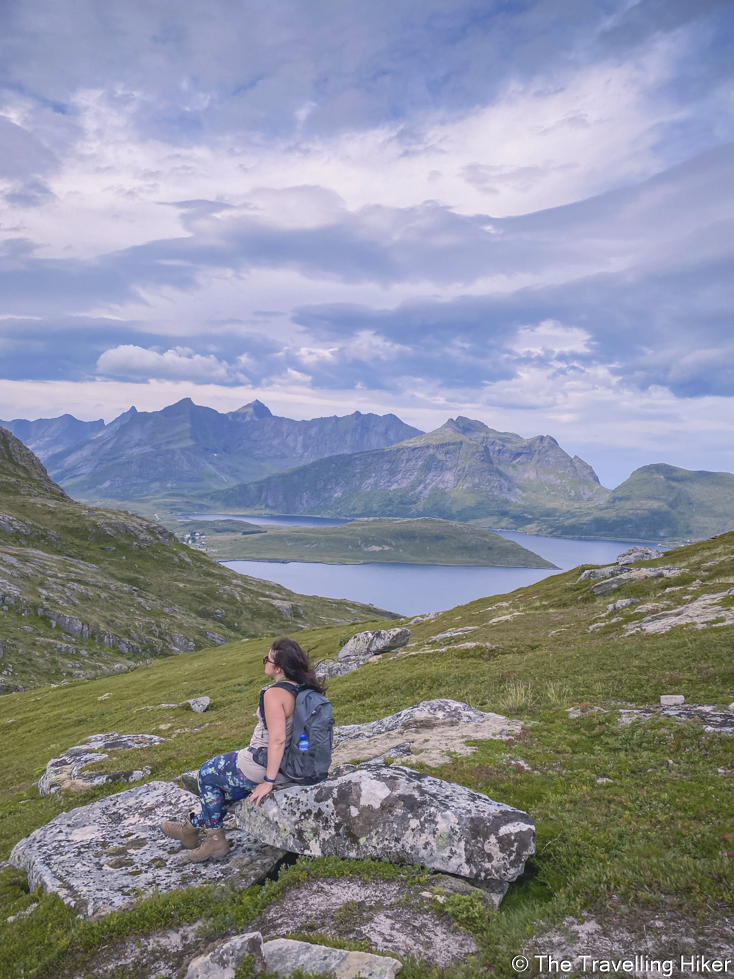
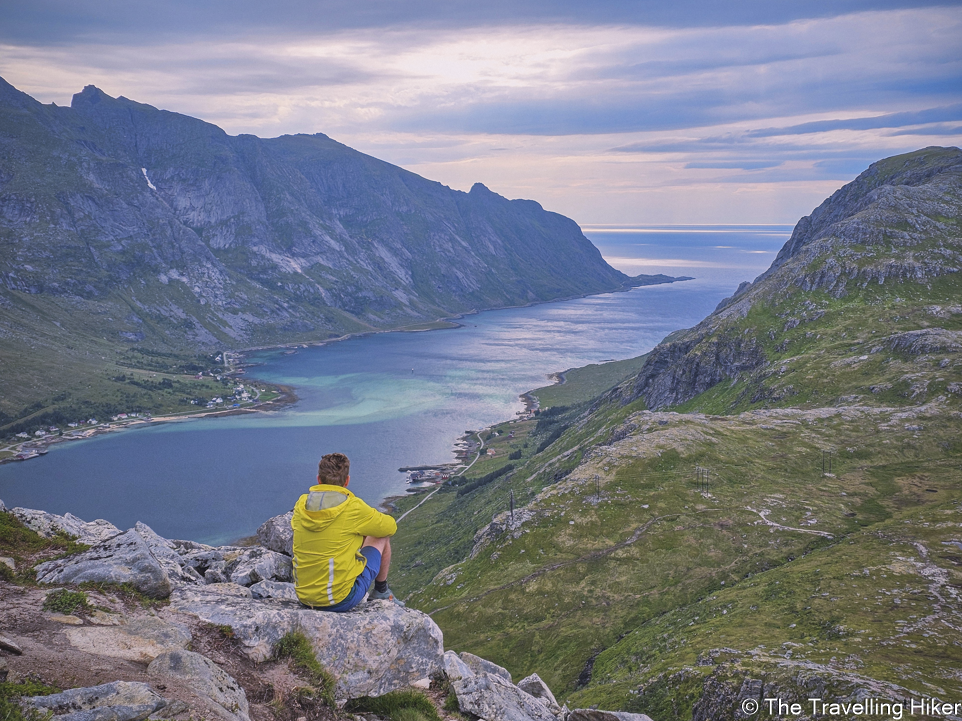
After the rocky part, the trail flattened out again and it was just an easy walk on the top of the crest until the summit. The views on both sides were fantastic. Nevertheless, on one side the ridge is quite exposed so always be very careful when approaching the edges.
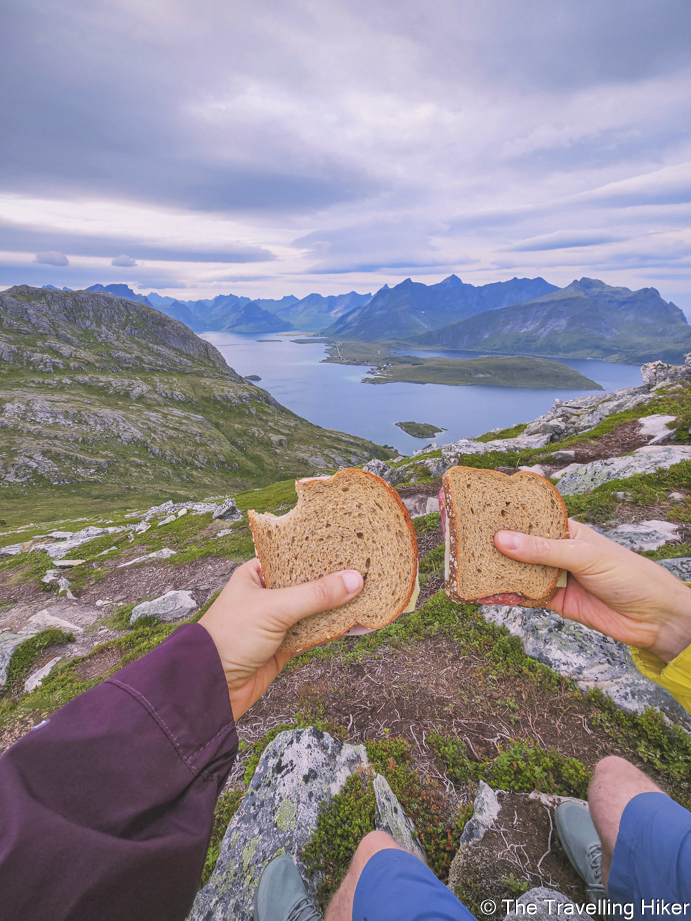
We were so happy that we pushed through and made it to the top! We spent quite some time enjoying the views up there and eating our sandwiches before starting the descent.
The Descent
The return to the car was just going back the same way we had arrived. The most challenging part was again the rocky area but once this part was over it was quite a pleasant walk for the most part. Unfortunately, during the last kilometer or so, it started to rain quite hard so the end to this hike was a bit bittersweet for us.
OTHER THINGS TO DO NEAR VOLANDSTINDEN
Looking for other ideas to do after your hike? Here are some other things you can do to complete your day.
Relax at Ramberg Beach. There is nothing better than relaxing at the beach after a hike. If you find yourself with a sunny afternoon, I definitely recommend spending some time at Ramberg Beach.
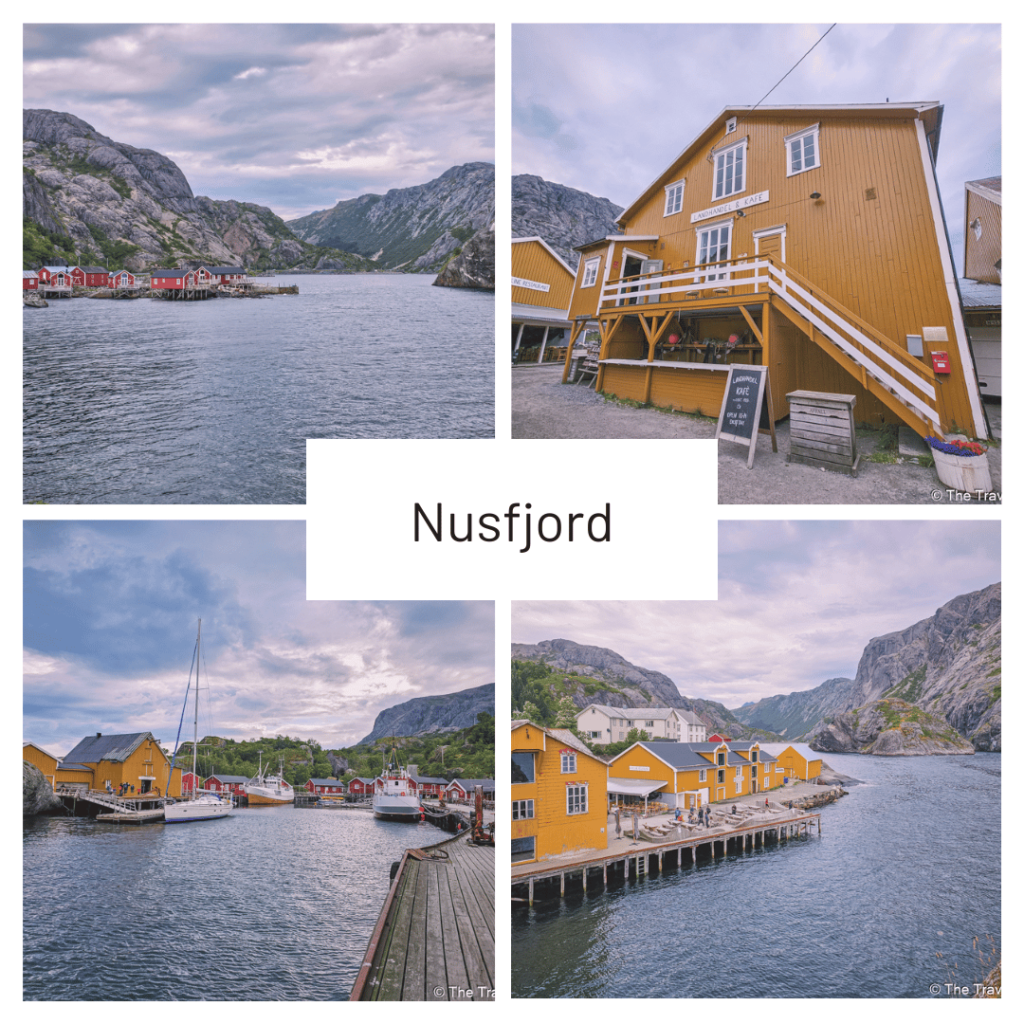
Visit Nusfjord Village. Nusfjord is the best preserved fishing village in Lofoten and a must-visit if you want to get a good idea of how life was in these villages. The whole village is a sort of open air museum explaining the normal life in the past and it is very interesting to see. You’ll just have to pay a small entry fee of 100 NOK per person.
PLACES TO STAY NEAR VOLANDSTINDEN
volandstinden is located half way between Reine and Leknes so I recommend booking an accommodation in one of these two locations. Here are the two locations we stayed at:
Reine Bed & Breakfast: Great value for its price and one of the cheapest accommodations you’ll find in Reine.
Cozy private bedroom in Leknes: This place is very basic but it is a great option if you don’t mind a basic accommodation and want to save some money during your stay in Lofoten.
MAP WITH LOCATIONS
HIKE SUMMARY AND INFOGRAPHIC
No time to read the full blog post? Here’s an infographic I’ve created with the most important information about this hike.
And that’s it for my blog about Volandstinden. I hope you liked it and found it useful. Let me know what you think in the comments!
Happy hiking!
DISCLAIMER: Did you know? This blog uses affiliate partnerships. When you click and book or make a purchase through one of my blog posts, I may receive a small commission (at no extra cost to you). Thank you for supporting The Travelling Hiker!