THE STUNNING SANTIAGO DEL TEIDE TO MASCA HIKE IN TENERIFE
June 8, 2025
The hike from Santiago del Teide to Masca is one of the best hikes you can do in Tenerife. This stunning route takes you through the heart of the Teno Mountains, offering a breathtaking mix of dramatic ravines, sweeping ocean views, endless cactuses, and charming Canarian villages.
Starting in teh peaceful mountain town of Santiago del Teide, the trail winds its way up and over rugged peaks before descending into the iconic village of Masca, a postcard perfect location nestled among the steep cliffs. Sounds interesting? Then pack some snacks, lace up your shoes, and get ready for a hike you won’t forget!
TABLE OF CONTENTS
INTERESTING FACTS ABOUT TENO RURAL PARK
Planning to visit Teno Rural Park? Then here’s a list of interesting facts that will surprise you about this part of Tenerifie.
The Teno Mountains are some of the oldest mountains in Tenerife. They were formed over 7 million years ago by volcanic activity.
Teno Rural Park has a surprising variety of microclimates and ecosystems. This is thanks to the rugged terrain and changing altitudes.
The mountains have remote and charming villages like Masca, Teno Alto, and El Palmar. Their isolation has helped preserve the traditional Canarian life in them.
Looking for stunning views? The park will not only grant you panoramic views of the mountain peak but on a clear day you will also be able to see La Gomera and El Hierro islands.
PRACTICAL INFORMATION ABOUT THE HIKE
HOW DO YOU REACH THE SANTIAGO DEL TEIDE TO MASCA TRAILHEAD?
The hikes begins at Santiago del Teide town and there are two different possibilities to reach the trailhead.
🚗By Car
The easiest and fastest way to reach the trailhead is by renting a car and driving there. Just search on your GPS Santiago del Teide and follow its directions. The driving times will depend on where you’re driving from.
From Santa Cruz de Tenerife it will take approximately 1 hour and 5 minutes.
From Puerto de la Cruz it will take 53 minutes.
From the Tenerife South Airport it will take approximately 33 minutes.
🅿 Parking – Park your car in Avenida de La Iglesia (Church Avenue). There are parking spots on both sides of the road. The exact location is available in the map at the end of the blog.
If you don’t feel comfortable driving, it is also possible to reach this hike with the island’s public transport. It will just take longer to reach the trailhead.
The bus line 460 connects Santiago del Teide with Icod de Los Vinos and Costa Adeje. This will allow you to connect with both the northern and southern part of the island.
EQUIPMENT NEEDED
This hike is not very demanding but the the following equipment, will help you enjoy your hike from Santiago del Teide to Masca.
Sturdy hiking shoes. The trail can be rocky and uneven, so good grip and ankle support are a must.
Hiking poles. Although hiking poles are not mandatory, they might come in handy if you have them. Your knees will thank you for them.
Plenty of water. There are no refill spots along the way, so make sure to bring as much water as you need, especially on sunny days.
Snacks or a Light Lunch. There is no better feeling than having lunch with panoramic views over the mountains and the sea.
Layered Clothing. The weather can change quickly in the mountains. Layered clothing will allow you to be prepared for all shorts of weather.
Sun Protection. The day we did this hike was, unfortunately, quite cloudy. However, on a sunny day you’ll need to have sun protection.
Trail Map or GPS App. I always use AllTrails App to ensure I stay on the trail and don’t get lost.
Camera or Smartphone. Trust me, you’ll want to capture the views.
BEST TIME TO DO THIS HIKE
Good news! This hike can be done all year long!
However, if I had to recommend a season to do this hike, I would choose Spring (April to June) and Autumn (September to November). These months offer the most favorable hiking conditions with milder temperatures, and fewer crowds.
THE STUNNING SANTIAGO DEL TEIDE TO MASCA HIKE
HIKE STATS
Trail Start/End – Start: Santiago del Teide ; End: Masca.
Distance – 8,9 km
Elevation Gain – 386 m
Level – Moderate
Route Type – Point to Point
Estimated Time Needed – 2 to 3 hours. You will want to stop every few meters to enjoy the views and take plenty of photos.
Best Time To Visit – Spring or Fall, to get the most favorable weather conditions and fewer crowds.
SANTIAGO DEL TEIDE TO MASCA HIKE - STEP BY STEP GUIDE
Hiking To Risco Verde
Once you’ve parked your car at Santiago del Teide, it’s time lace up your hiking shoes and start the hike. The first part of the hike is a bit difficult to find the trail, since there is some construction on going in the area (in 2024 and 2025). Be careful, as you will have to cross the road a few times with little visibility.
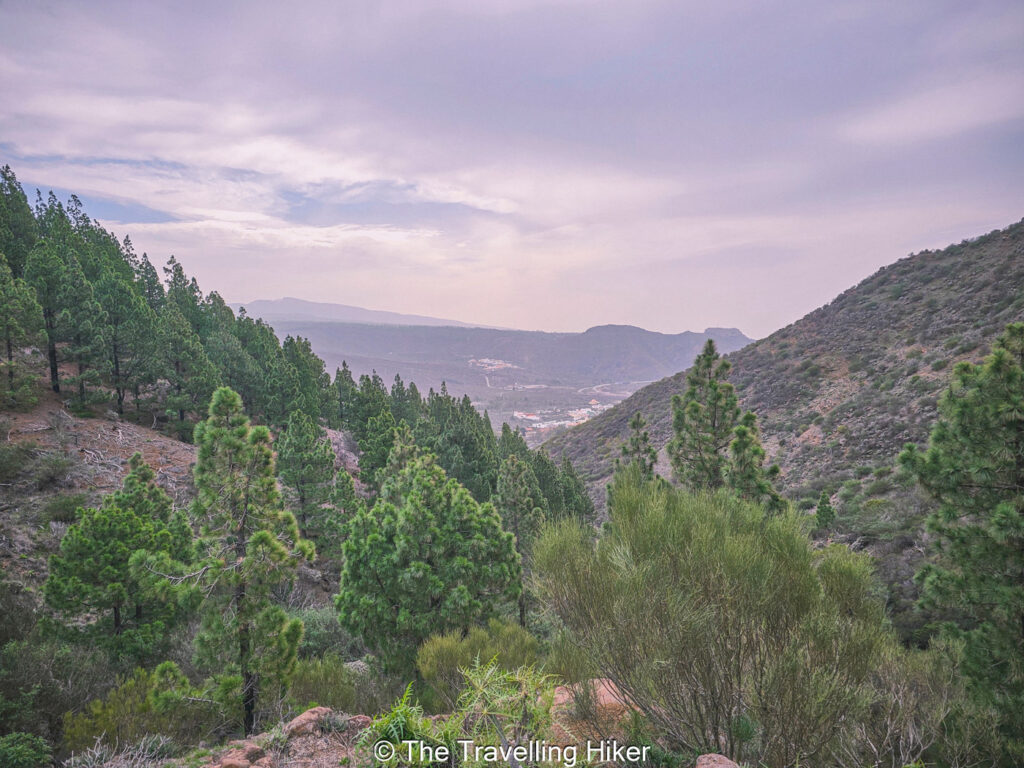
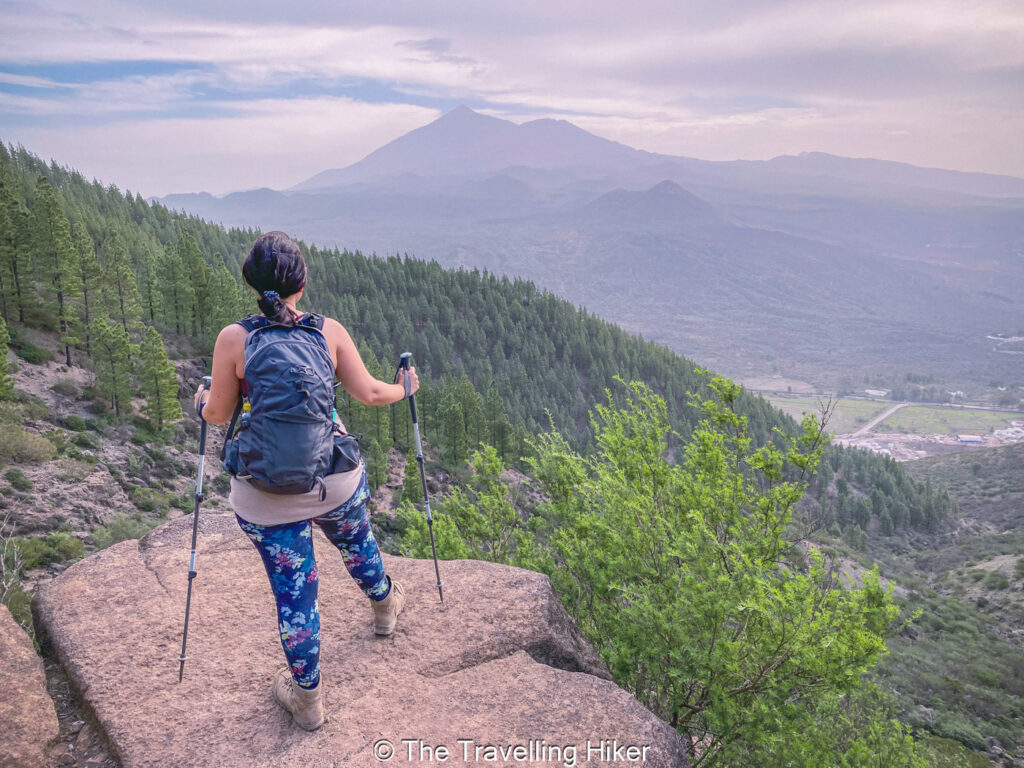
As soon as you have bordered the construction site, you start hiking uphill through a pine forest. This firts part of the hike is pretty stepforward, it’s not too steep but it is a bit over 2 km uphill non stop, so take as many breaks as you need. During these brakes, make sure to turn around and enjoy the valley view with Santiago del Teide at your feet as well as Teide Volcano on a clear day.
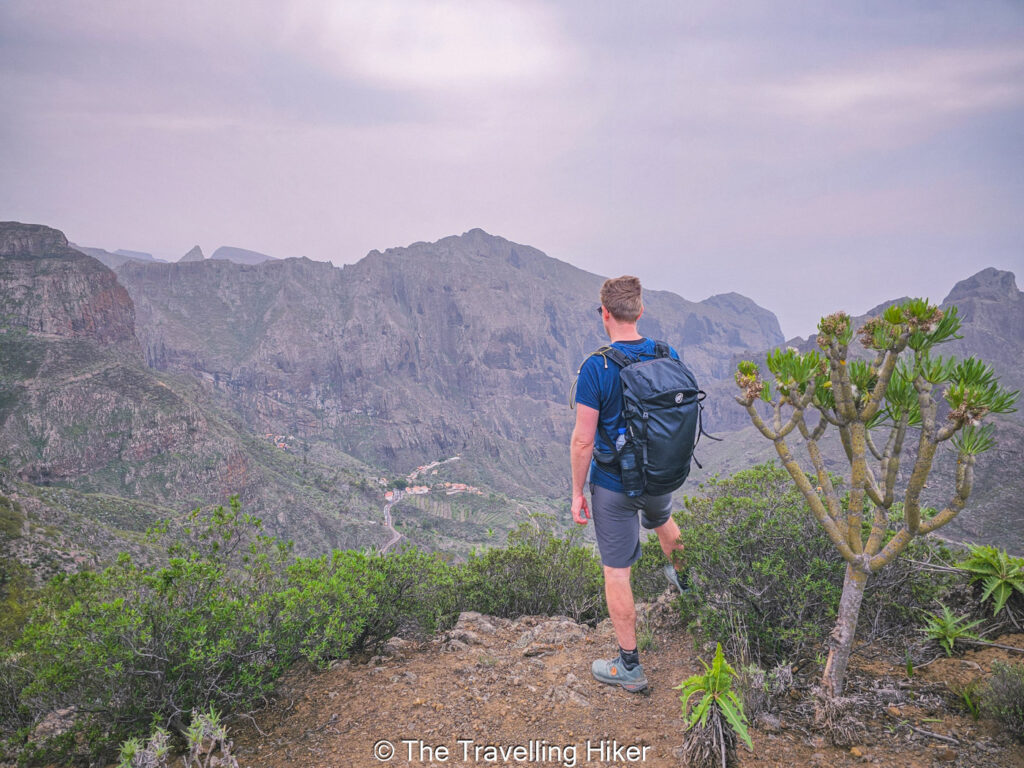
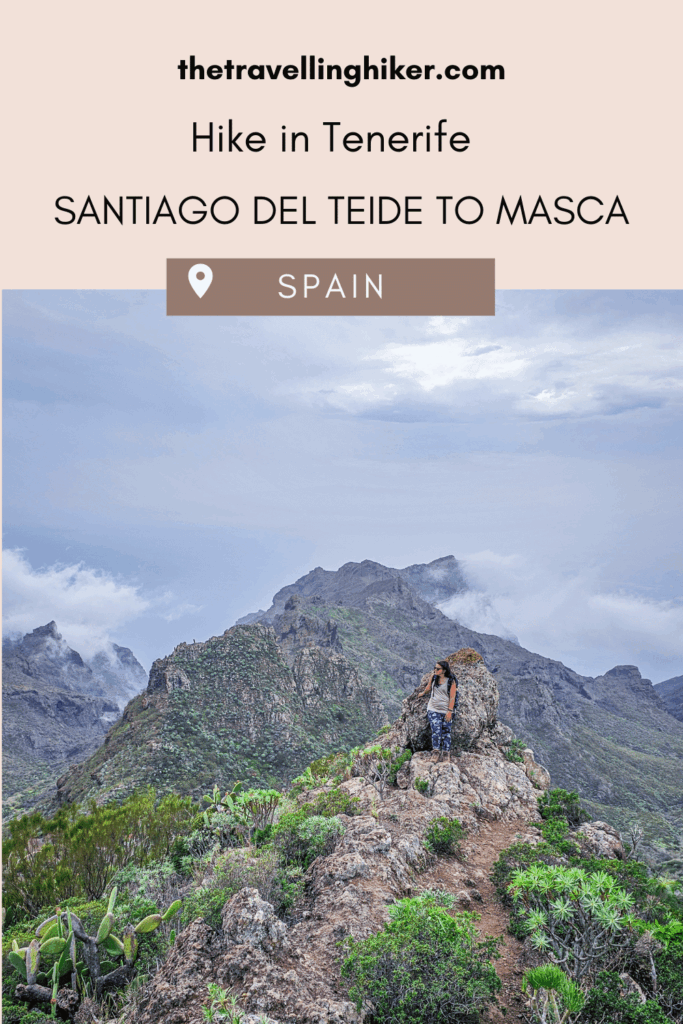
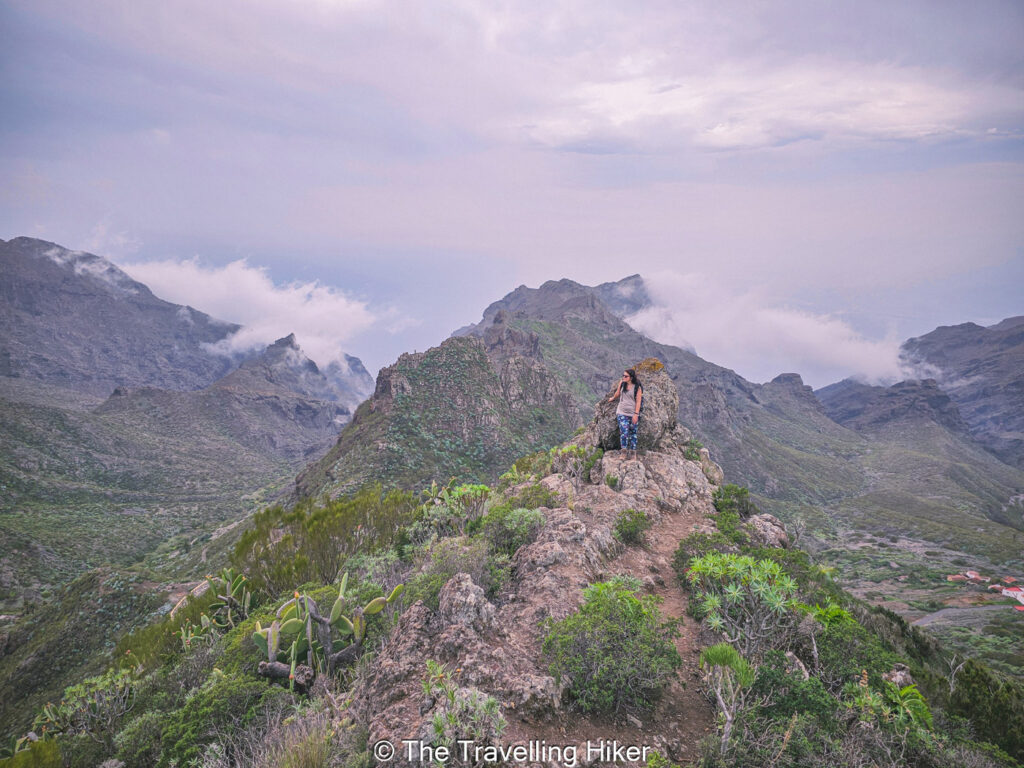
Risco Verde
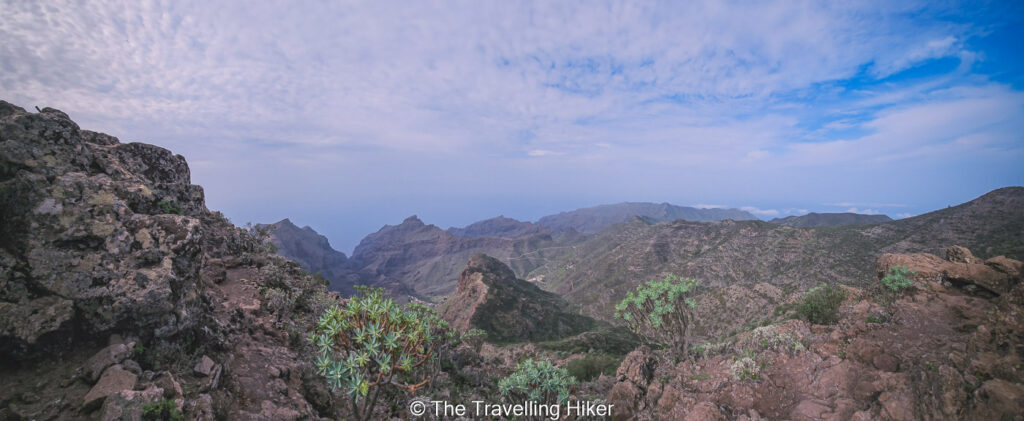
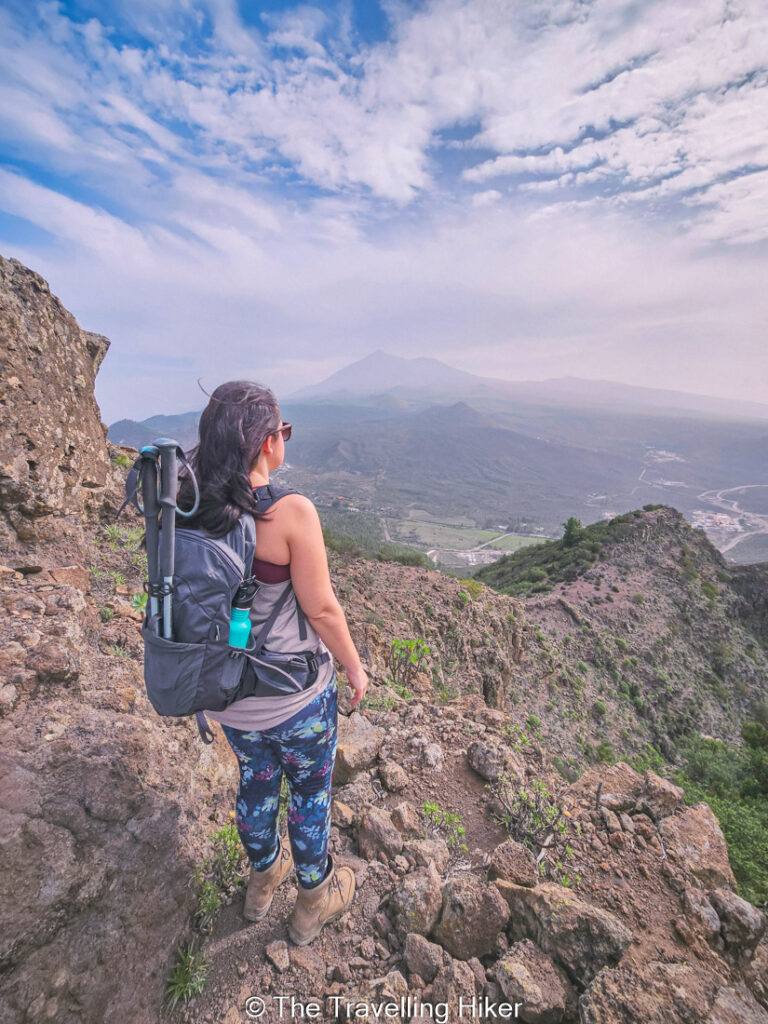
Once you have reached the top of the mountains, you will take a short detour to Risco Verde, one of the peaks in Teno Natural Park. It towers around the surrounding landscape, granting you a beautiful view of the valley, its mountains and the ocean. The view from Risco Verde will not leave you indifferent.
We loved the views so much that we decided to eat our lunch here and enjoy a picnic with a view.
The Descent Into The Valley
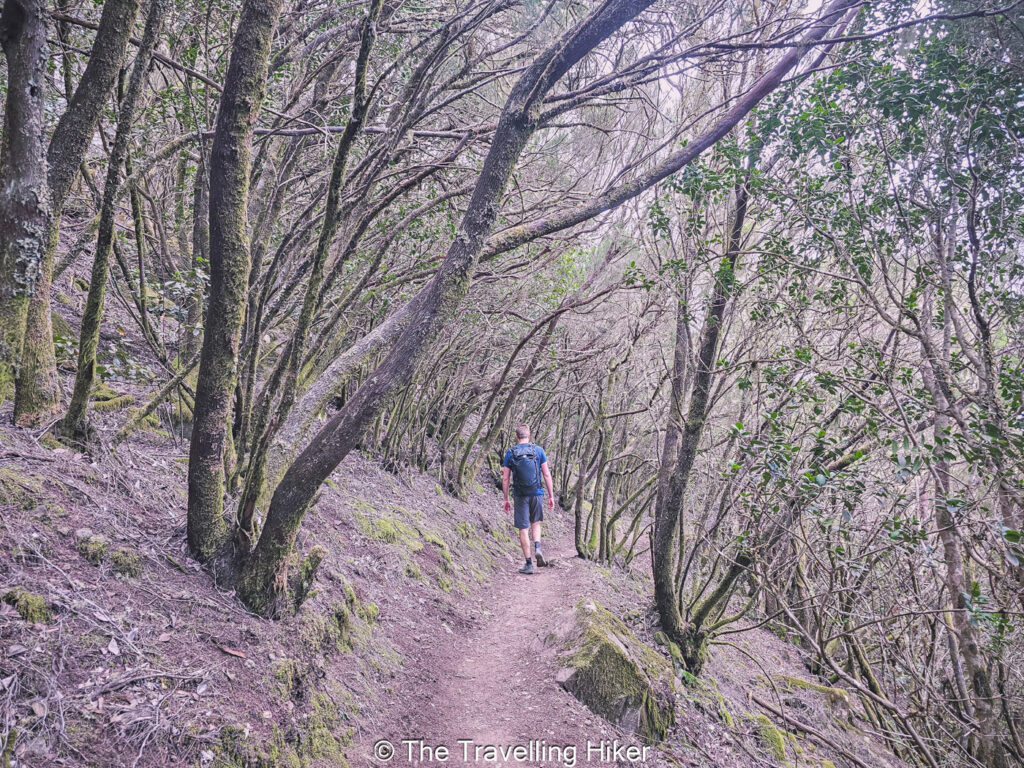
From Risco Verde, you will steadily descend along the valley until you reach the charming Masca village. You will first go through some laurel forests with trees that twist and create magical archways.
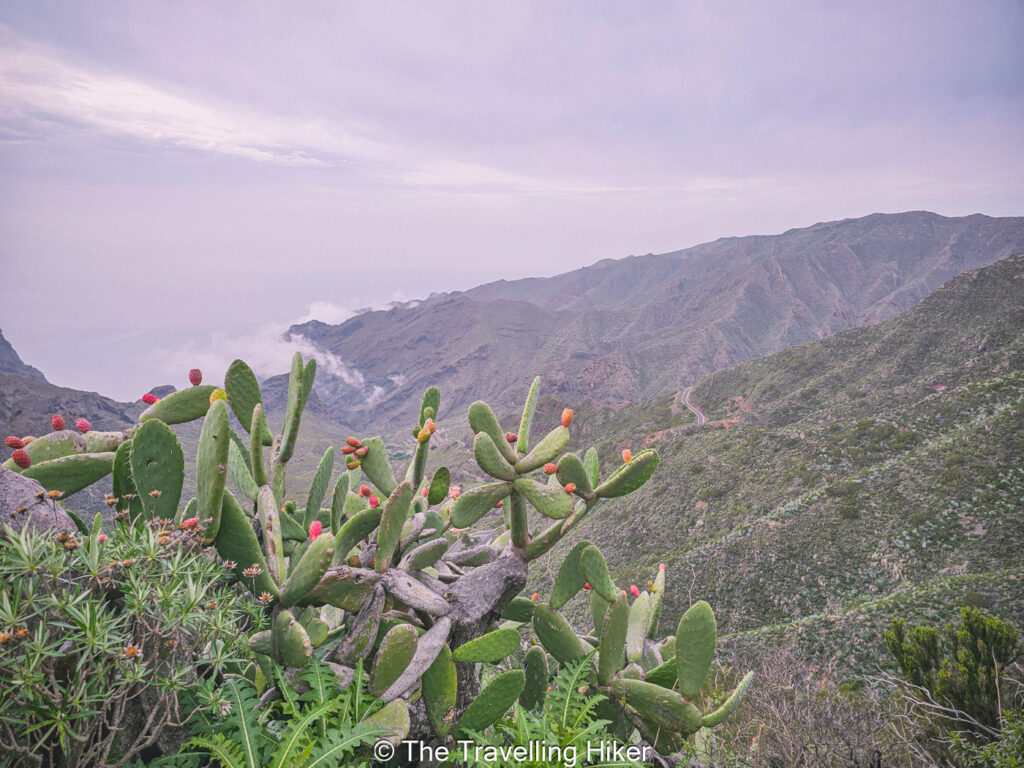
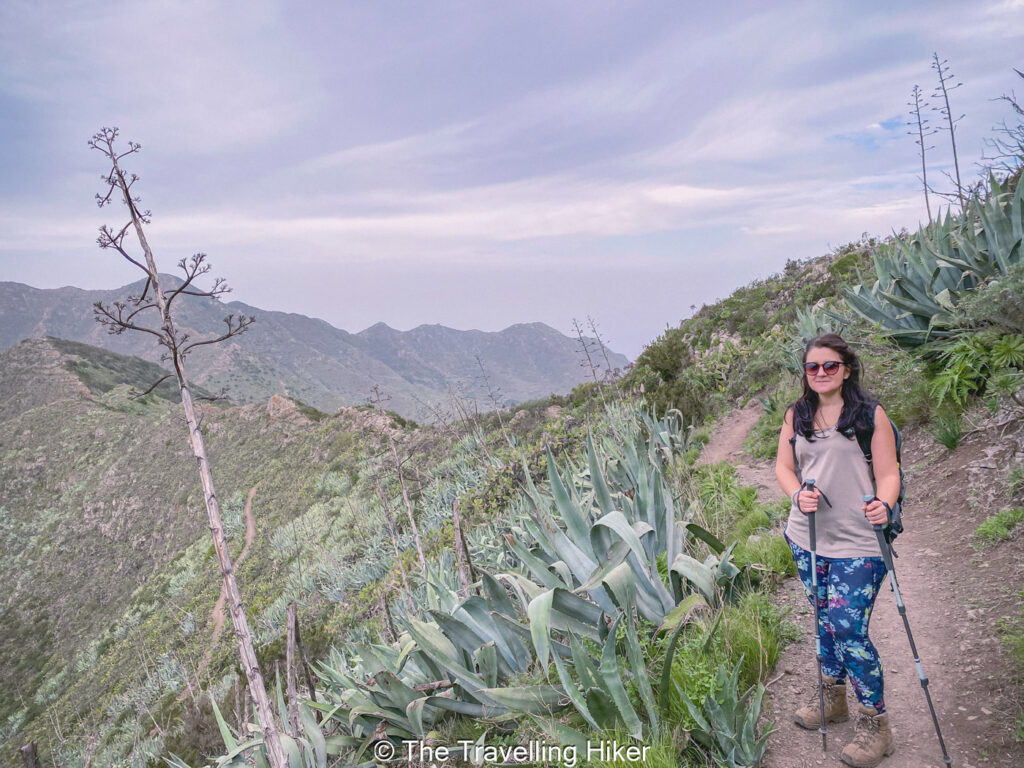
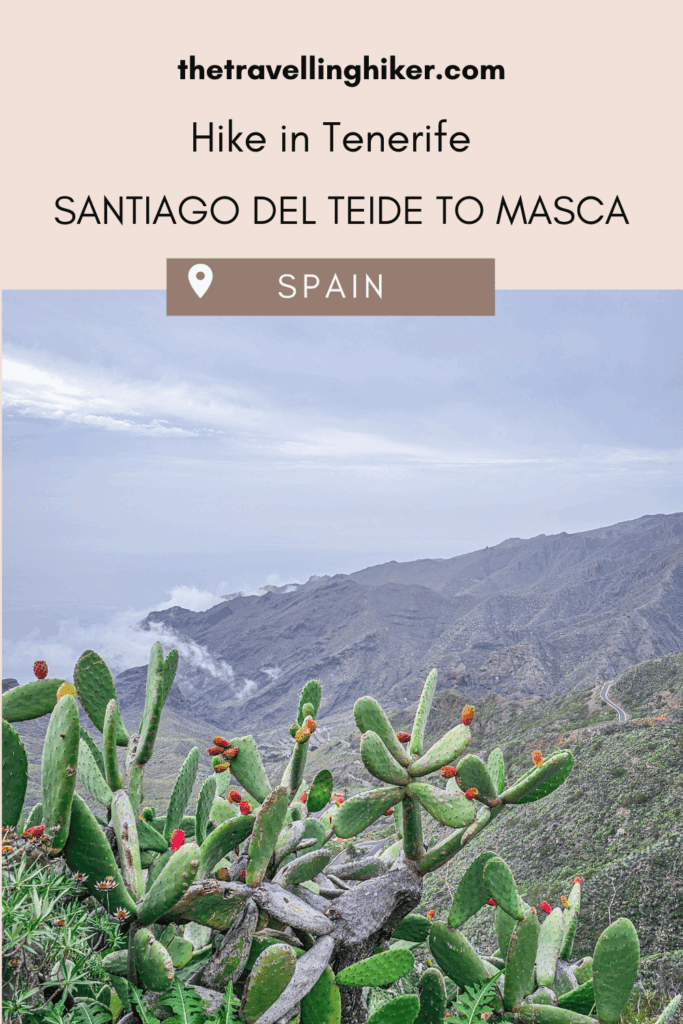
After the trees, the trail opens up and mostly descends next to the edge of the mountain, with magnificient views of the Teno Mountains and the valley at your feet. On both sides, the trail is surrounded by aloe vera plants and cactus with their traditional red fruits.
We were basically stopping every few 100 meters to get plenty of photos! The views were fantastic!
Important: Don’t try to get them with your bare hands! They are covered in many tiny thorns and you will be stung!
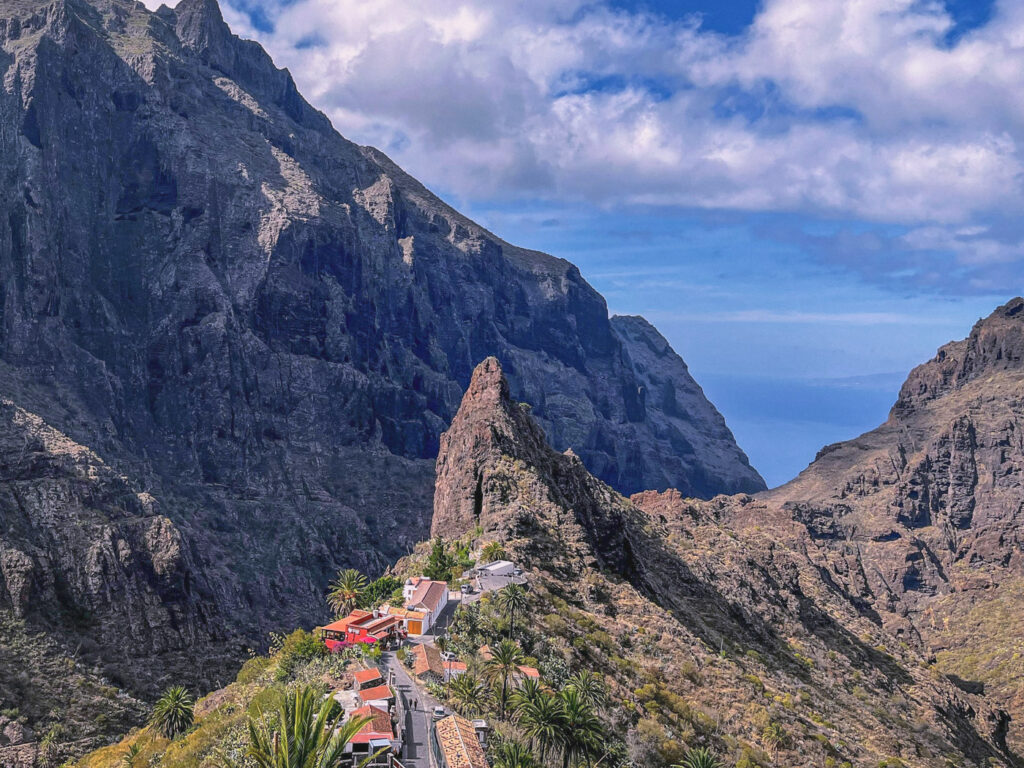
Cruz de Hilda Viewpoint and Masca
Eventually, you will reach Cruz de Hilda Viewpoint, where you will get the famous photo of Masca with the mountain peak behind it. From here is just, descending through some private farms and houses until you reach Masca village.
Once in Masca, we rested and drank a cactus limonade while we waited for the bus to arrive.
This hike is a point to point hike, which means once you arrive in Masca, you have three options:
Hike back the way you came. This will double the distance and time but if you’re looking to save some money, its the way to go.
Arrange a private taxi to pick you up at Masca and drive you back to Santiago del Teide. This will be the most comfortable option but it will also be the most expensive one.
Hop on the public bus, or Gua Gua as they call the in the call them in the Canary Islands. The line that connects Masca with Santiago del Teide is Line 355. You can check the time tables when the bus passes through Masca here. Remember to bring some cash with you as you will not be able to pay the bus with your card.
OTHER THINGS TO DO NEARBY
Looking for ideas on what to do after your hike? Here is what I recommend you do.
Punta de Teno. Drive to the westernmost point in the islands and enjoy the views of the sea, and its iconic red and white lighhouse during sunset.
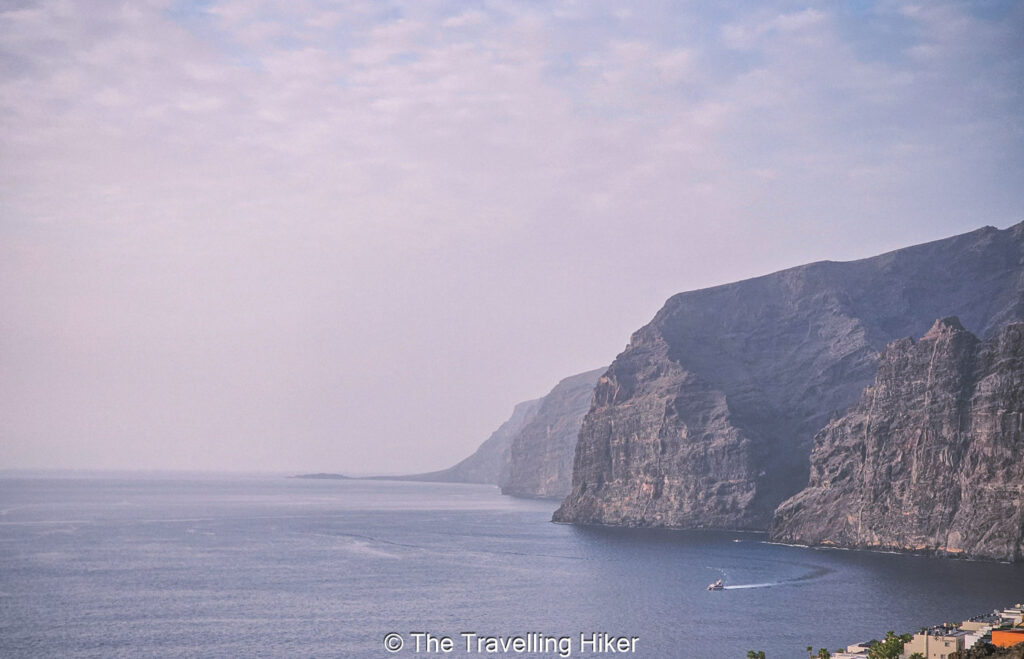
Admire Los Gigantes Cliffs. These are some massive walls that rise up to 600 meters from the Atlantic.
ACCOMMODATION NEAR THE HIKE
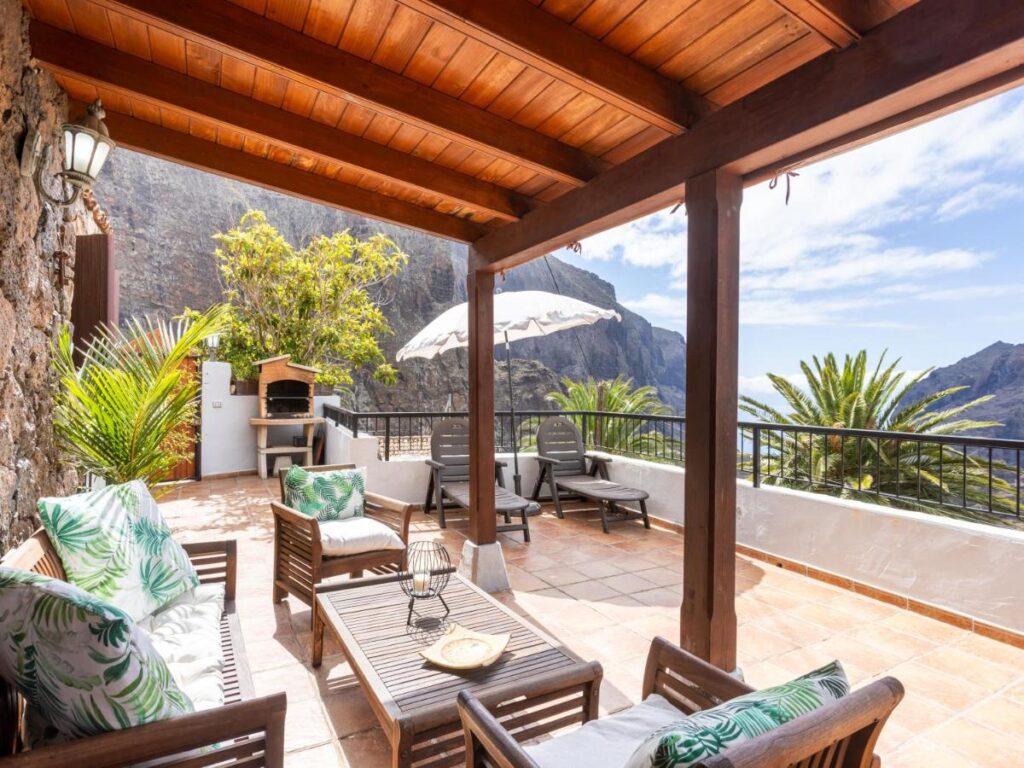
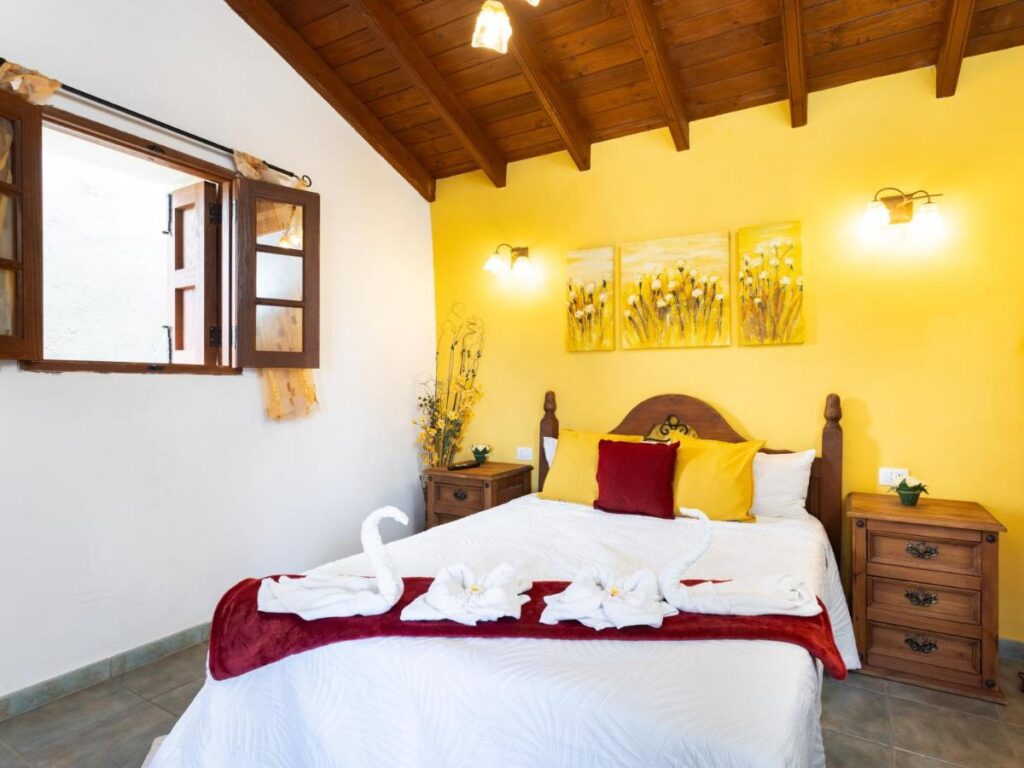
Looking for a nice place to stay after your hike? Why not spend one night in Masca, at Live Masca Casatarucho? The amazing villa is just what you need. With capacity for 4 people, you will have a breathtaking villa that has beautiful views over Masca Gorge.
HOW TO USE THIS MAP: Click the star next to the map title to add this map to your google maps account. To view it on your phone while traveling, open Google Maps, click on the menu button and go to “Your Places”, click on Maps and you’ll see this map in your list.
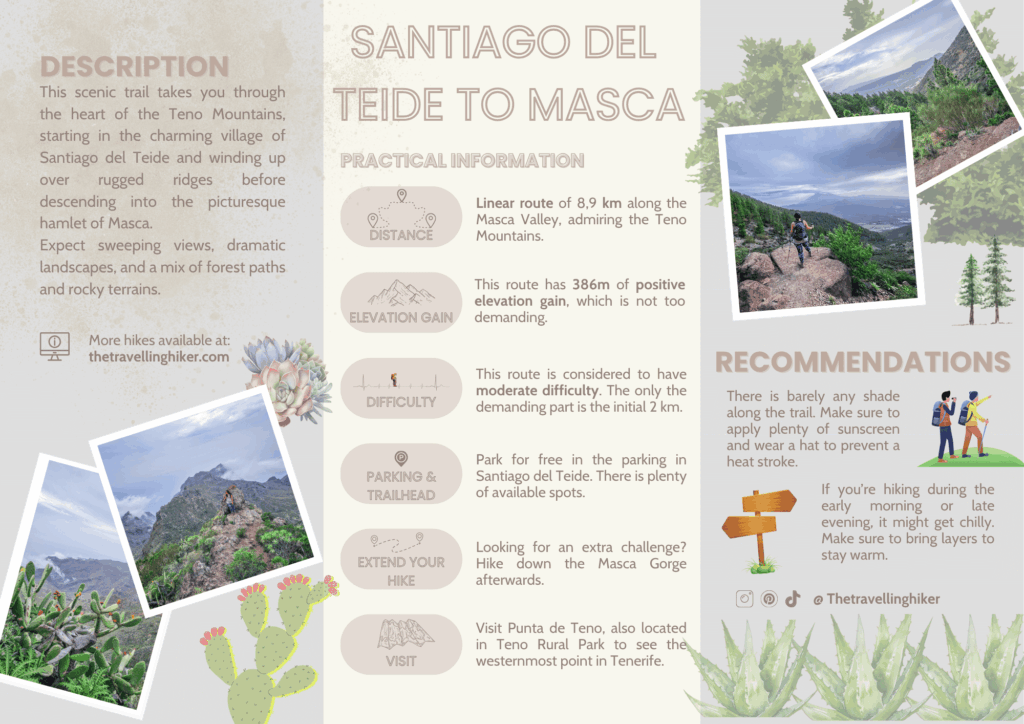
HIKE SUMMARY AND INFOGRAPHIC
No time to read the full blog post? Here’s an infographic I’ve created with the most important information about this hike.
And that’s it for this week’s blog. I hope you liked it and found it useful. Let me know what you think in the comments!
Happy hiking!
DISCLAIMER: Did you know? This blog uses affiliate partnerships. When you click and book or make a purchase through one of my blog posts, I may receive a small commission (at no extra cost to you). Thank you for supporting The Travelling Hiker!