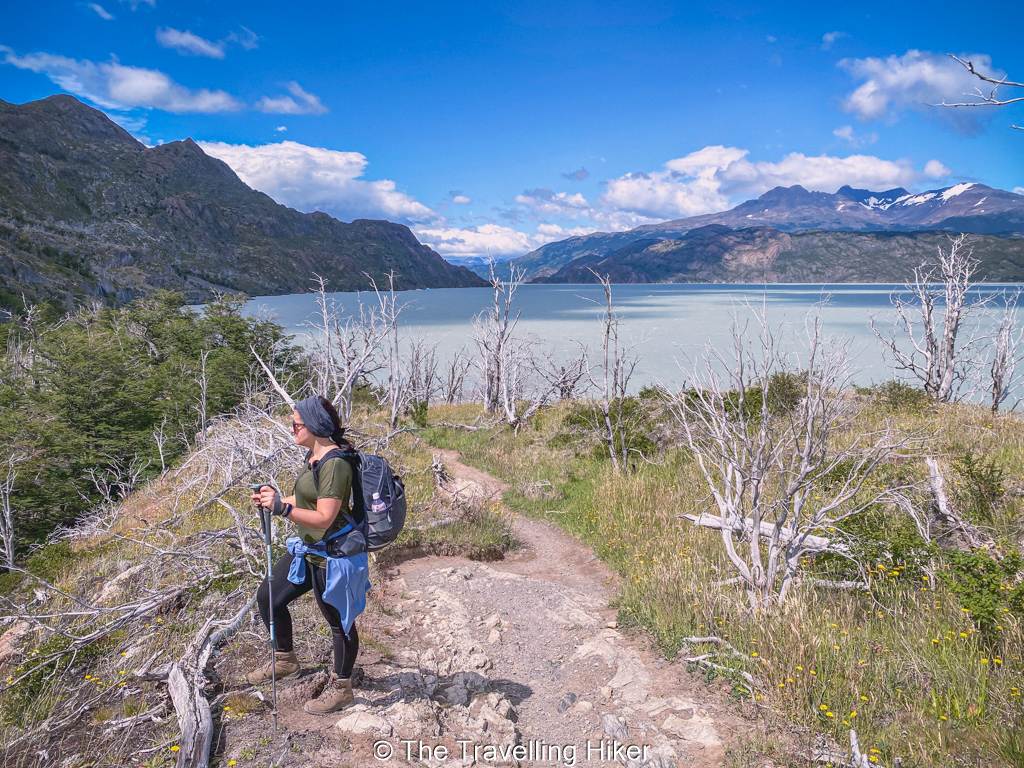
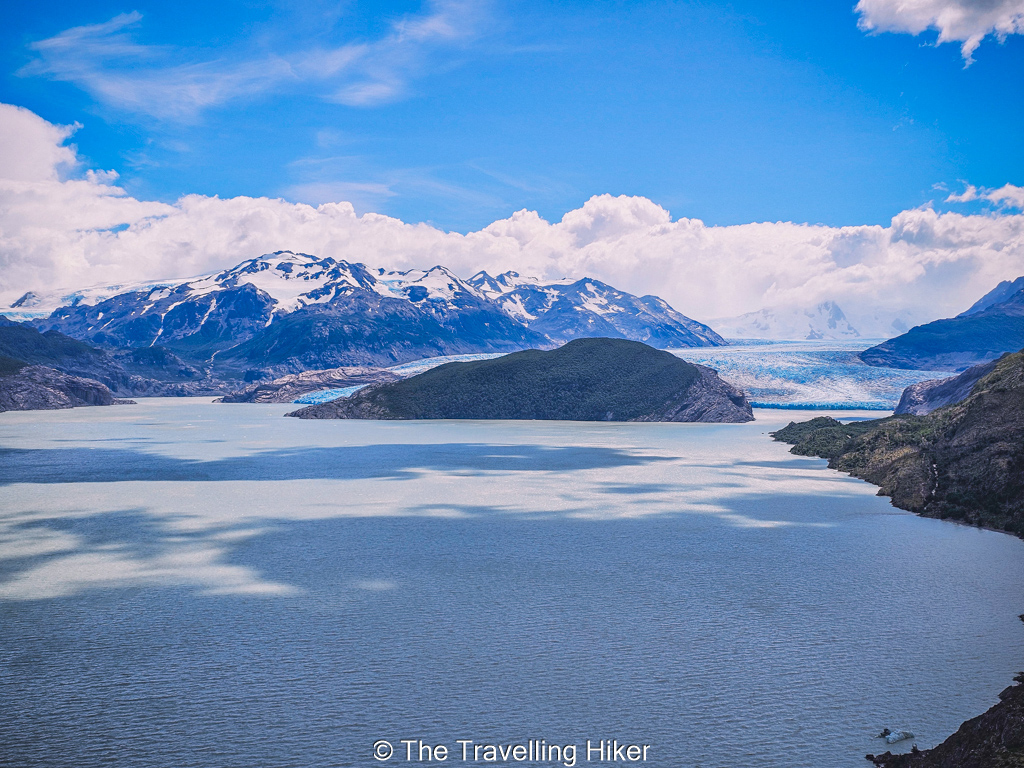
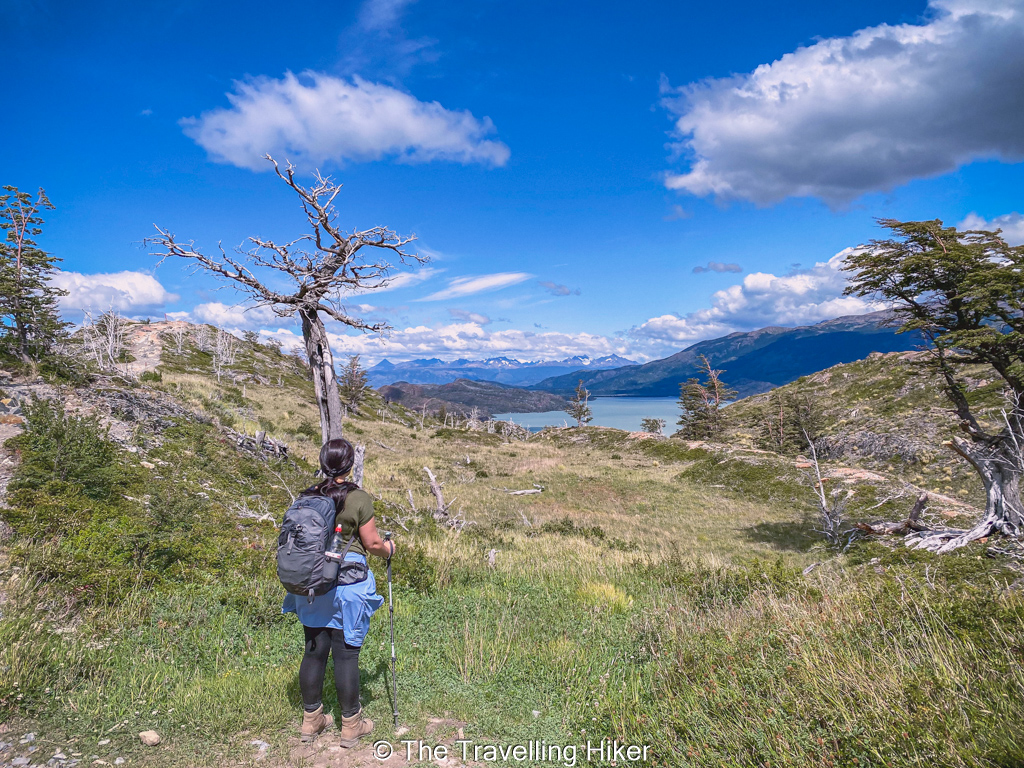
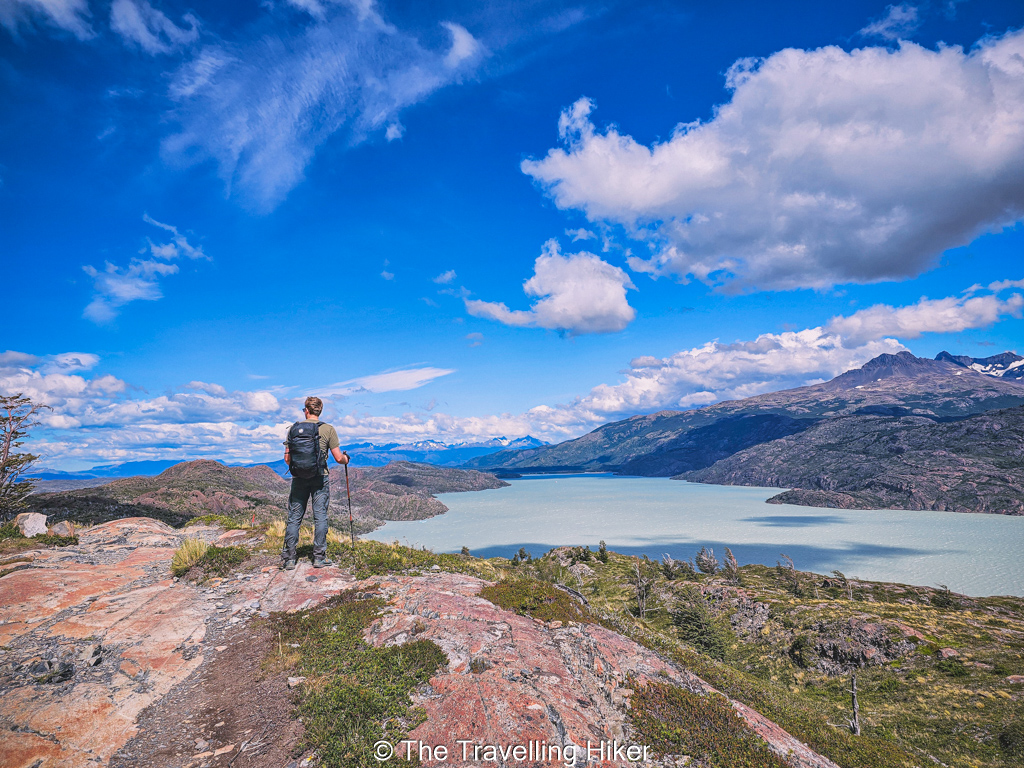
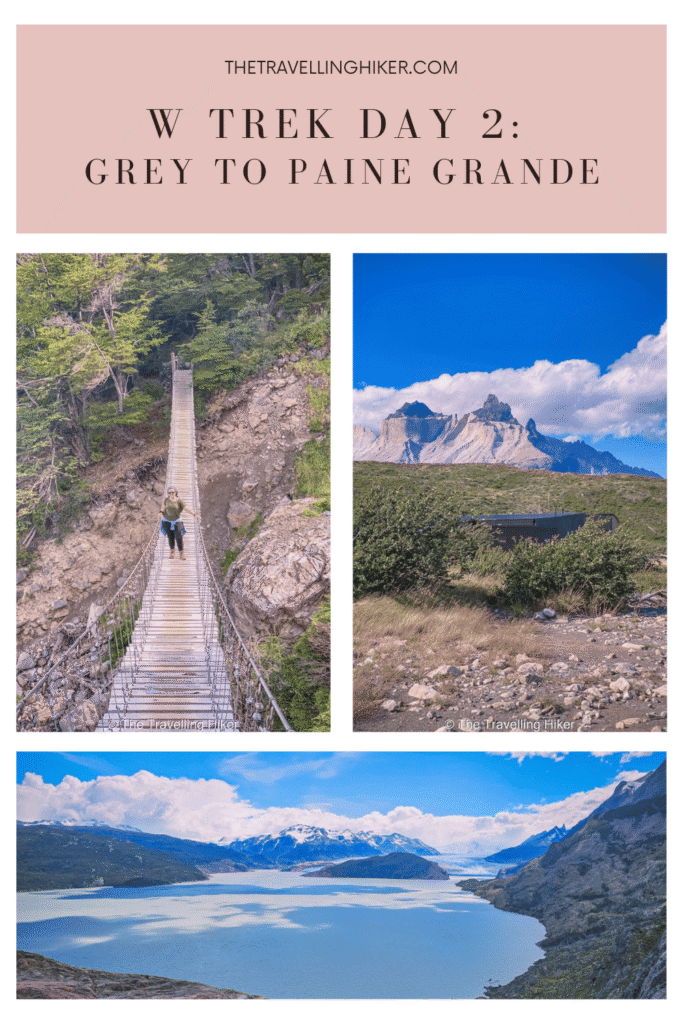
W Trek Day 2: Grey to Paine Grande turned out to be one of the most varied days of the trek. The day starts at Refugio Grey, where you can hike further towards the famous suspension bridges for some of the best views of Grey Glacier before returning to the main trail and continuing towards Paine Grande.
Adding the suspension bridges to your route makes this one of the longer hiking days, but it is totally worth it if you don’t want your day to just be a repetition of Day 1. In this guide, I’ll take you through the hike step by step, share the practical information you need to know before setting off, and explain what to expect along the way. I’ll also cover our stay at Refugio Paine Grande at the end of the day.
TABLE OF CONTENTS
DISCLAIMER: Did you know? This blog uses affiliate partnerships. When you click and book or make a purchase through one of my blog posts, I may receive a small commission (at no extra cost to you). Thank you for supporting The Travelling Hiker!
THE SUSPENSION BRIDGES
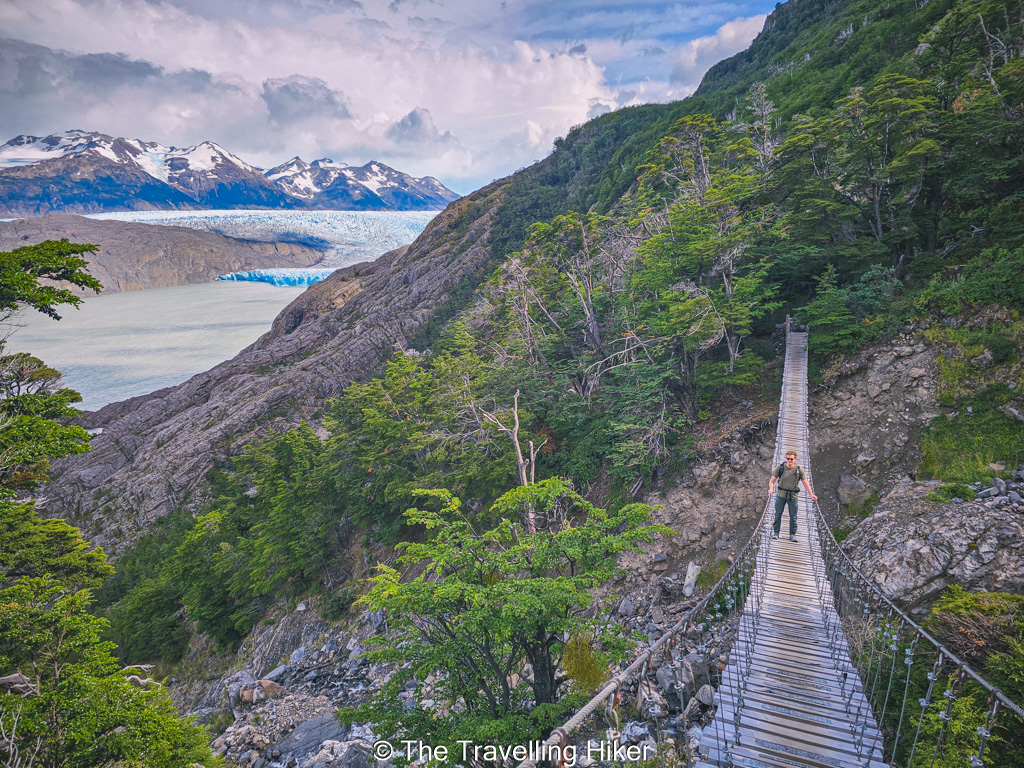
One of the highlights of this day is the series of suspension bridges beyond Refugio Grey. They are not actually part of the standard W Trek route, but if you don’t mind adding some extra kilometres to your day, I think they are well worth the extra effort.
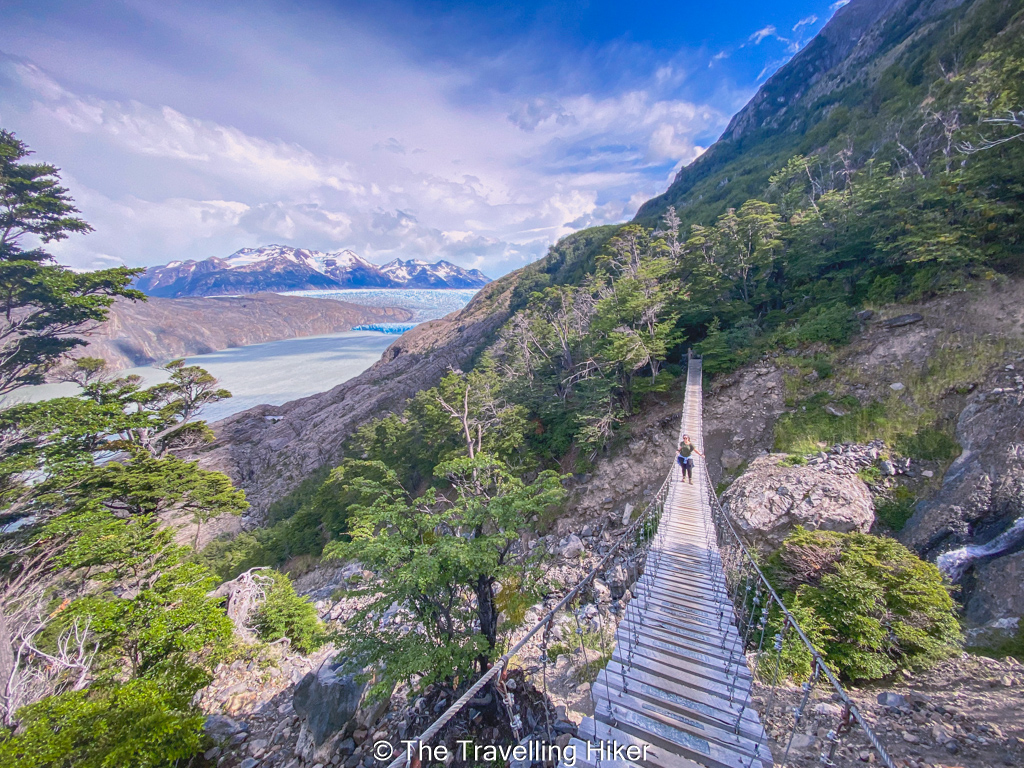
There are three scenic suspension bridges along this section of the trail towards Paso John Gardner, although most hikers heading back towards Paine Grande turn around after the second one. The bridges cross deep ravines and offer some impressive views of Grey Glacier, Grey Lake and the surrounding mountains.
The second suspension bridge is probably the most impressive. It crosses a much deeper gorge and, from here, you get a fantastic view towards the glacier. The higher you go, the more the landscape opens up, making the extra climb feel worthwhile.
INTERESTING FACTS ABOUT THE SUSPENSION BRIDGES
There is more to these bridges than just the views. Here are a few interesting facts that I found while researching this part of the trek.
The bridges were built with the help of a crew from Yosemite National Park.
In July 2024, a massive avalanche triggered by a harsh Patagonian winter severely damaged the 52-metre-long Las Guardas Bridge (the second suspension bridge).
The third suspension bridge, built near the El Paso basecamp, is 56 meters long.
Before these bridges were built between 2011 and 2015, hikers completing the O Circuit had to descend and climb back up incredibly steep, slippery and exposed wooden ladders built into the canyon walls. They were known as the “Ladders of Terror“. Suddenly, the suspension bridges don’t sound quite so intimidating!
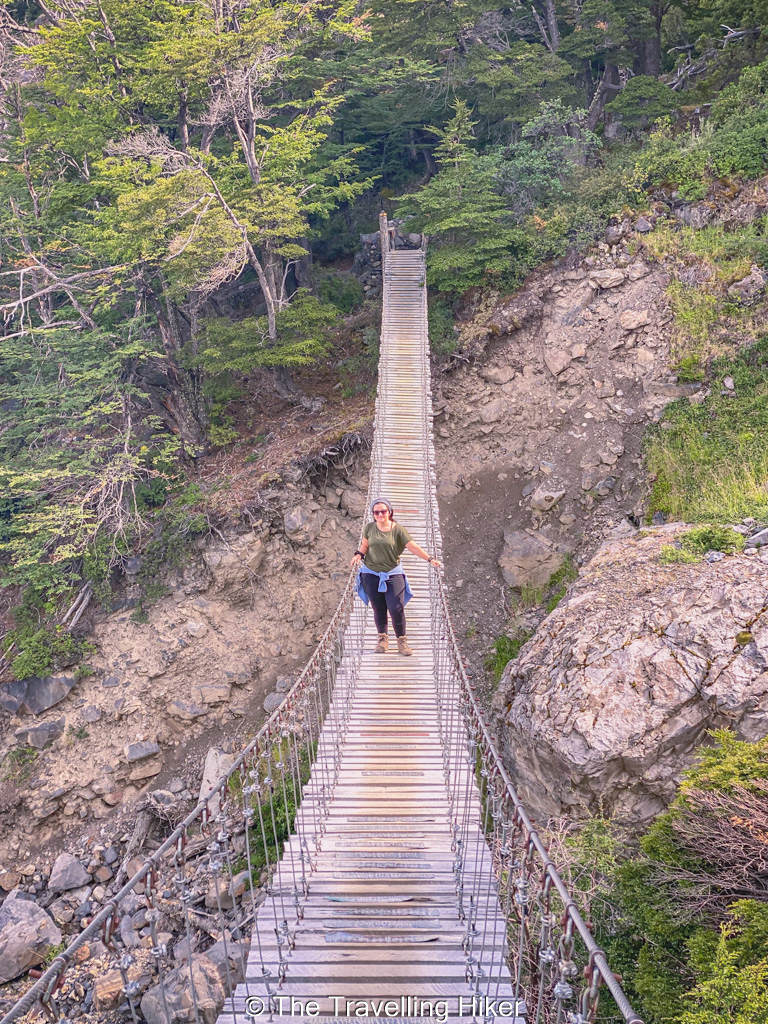
David on the first suspension bridge
PRACTICAL INFORMATION FOR THE HIKE
Before setting off on Day 2 of the W Trek, there are a few things worth knowing.
EQUIPMENT NEEDED
You don’t need any different equipment from Day 1 of the W Trek, but here is a recap of what you need:
Good hiking boots: The trail can be rocky, uneven and muddy in places, so proper hiking boots with good grip are important.
Waterproof jacket: Patagonian weather is unpredictable, and rain can arrive quickly. We had some light rain during the morning, so we were happy we had our rain gear.
Warm layers: Even if you start the day in sunshine, temperatures can drop quickly, especially when you are exposed to the wind.
Trekking poles: These are useful on the steeper and more uneven sections, particularly when heading back from the suspension bridges.
Water and snacks: The suspension bridge section adds extra kilometres to an already long day, so take enough food and water with you.
Sun protection: Don’t underestimate the Patagonian sun. Sunglasses, sunscreen and a hat are useful even on cooler days.
The impressive Grey Glacier
TIPS FOR THE W TREK DAY 2 HIKE
Start early. If you want to include the suspension bridges and still reach Paine Grande comfortably, give yourself plenty of time. The hike to the suspension bridges is continuously uphill, so don’t underestimate how long it takes.
Leave your heavy backpack at Refugio Grey. Since you will be returning to Refugio Grey on your way back, most people leave their heavy backpacks here and carry only the essentials in a lighter daypack. It makes a noticeable difference!
Check the weather before heading to the bridges. The views are a big part of the reason for doing this extra section, so if the weather is very poor, you may want to reconsider adding the extra kilometres.
Take your time on the bridges. They are not just somewhere to cross quickly and move on. Stop, enjoy the views and take some photos.
W TREK DAY 2: GREY TO PAINE GRANDE & SUSPENSION BRIDGES
HIKE STATS
Trail Start/End – Hike begins at Refugio Grey and ends at Refugio Paine Grande
Distance – 17,4 km (including the suspension bridges)
Elevation Gain – 650 m
Level – Moderate to Difficult
Route Type – Point to Point
Estimated Time Needed – Between 6 to 7 hours (including plenty of time to enjoy the views)
Best Time To Visit – December to February to ensure the best weather conditions.
This trail makes the hike as an out & back trail from Paine Grande. Some people opt for this option, but personally I don’t recommend it.
MY EXPERIENCE HIKING THE W TREK DAY 2 & SUSPENSION BRIDGES - STEP BY STEP GUIDE
Before continuing to Paine Grande, we decided to add a little out-and-back detour to the suspension bridges. Let’s begin with our day!
Grey Beach Viewpoint
On the second day of the W Trek, we got up early and had a surprisingly good breakfast. We picked up our lunch bags for the day and checked out of Refugio Grey. Since we were coming back to the refugio, we left our heavy backpacks there and only brought a light backpack with us.
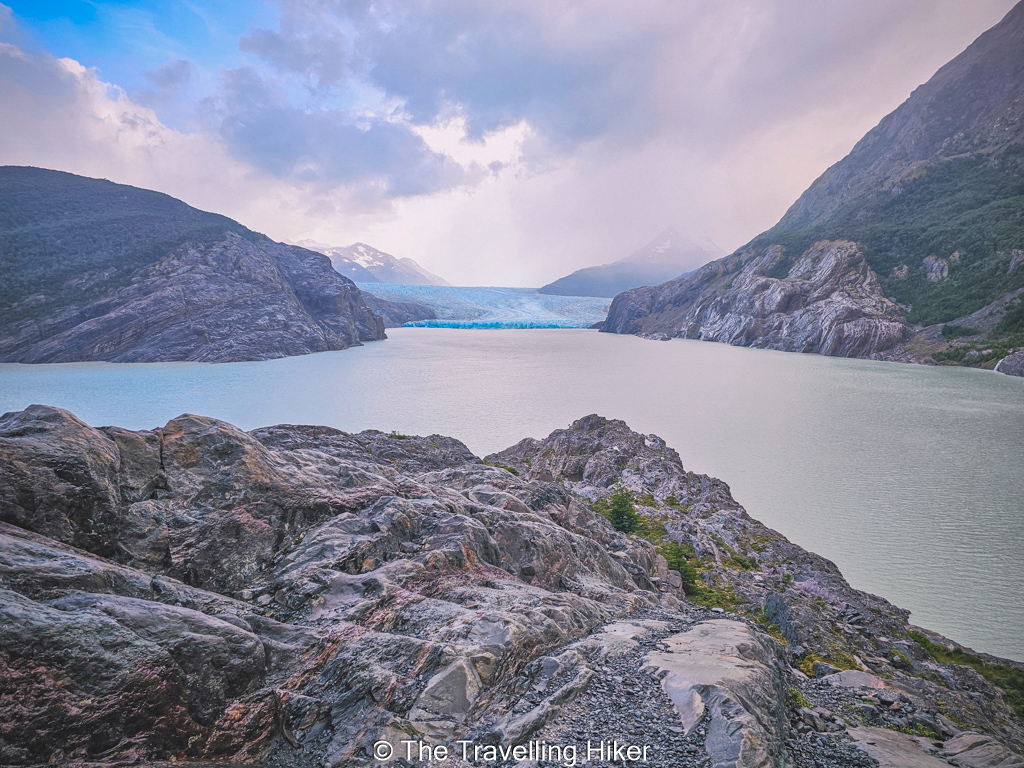
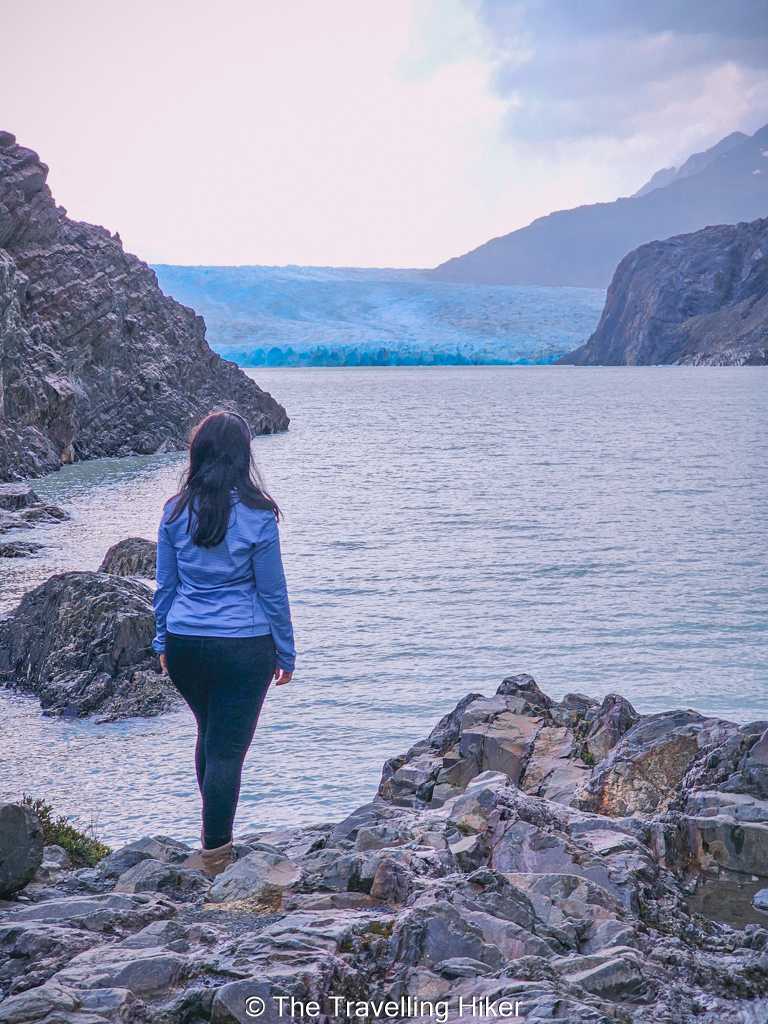
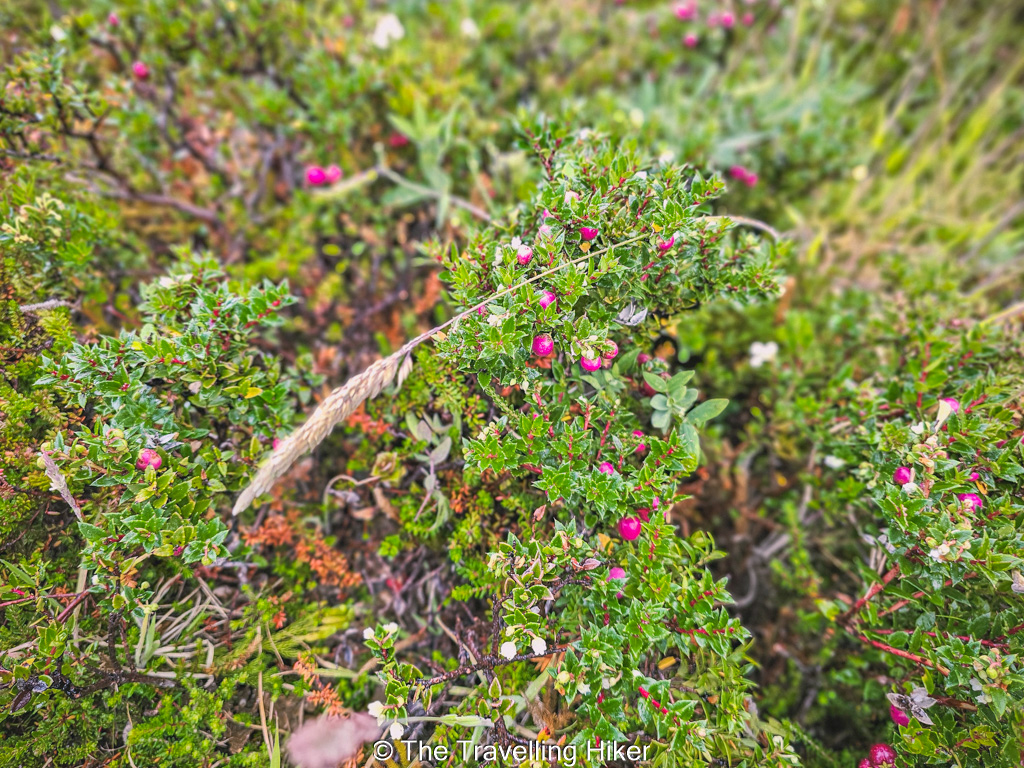
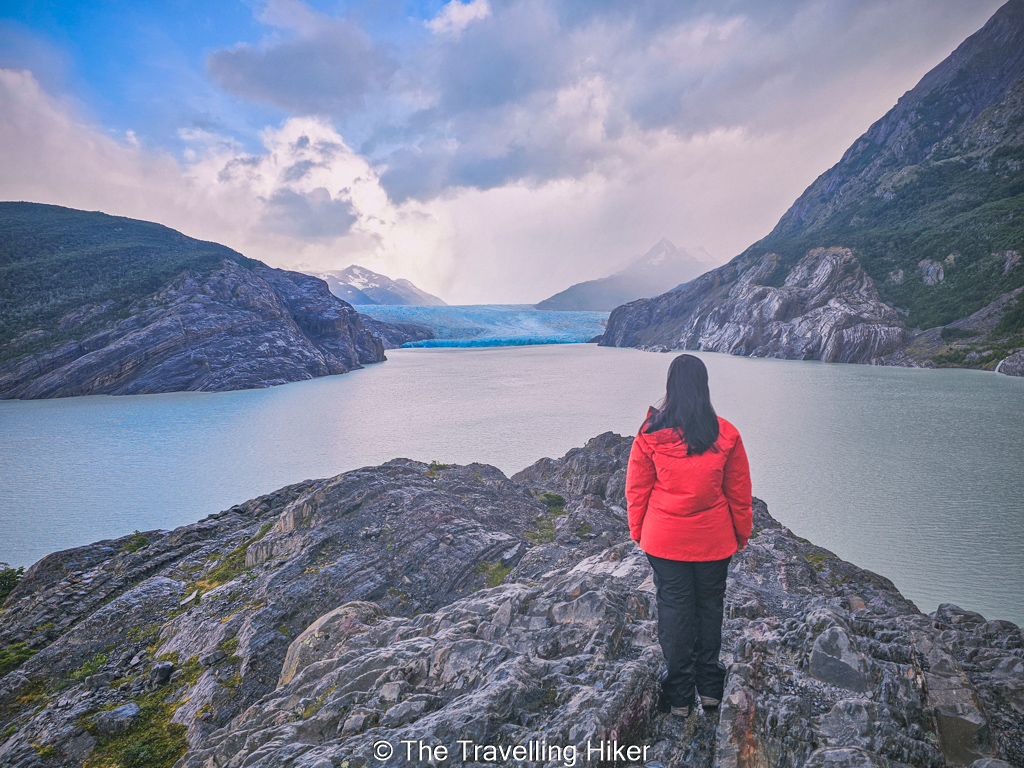
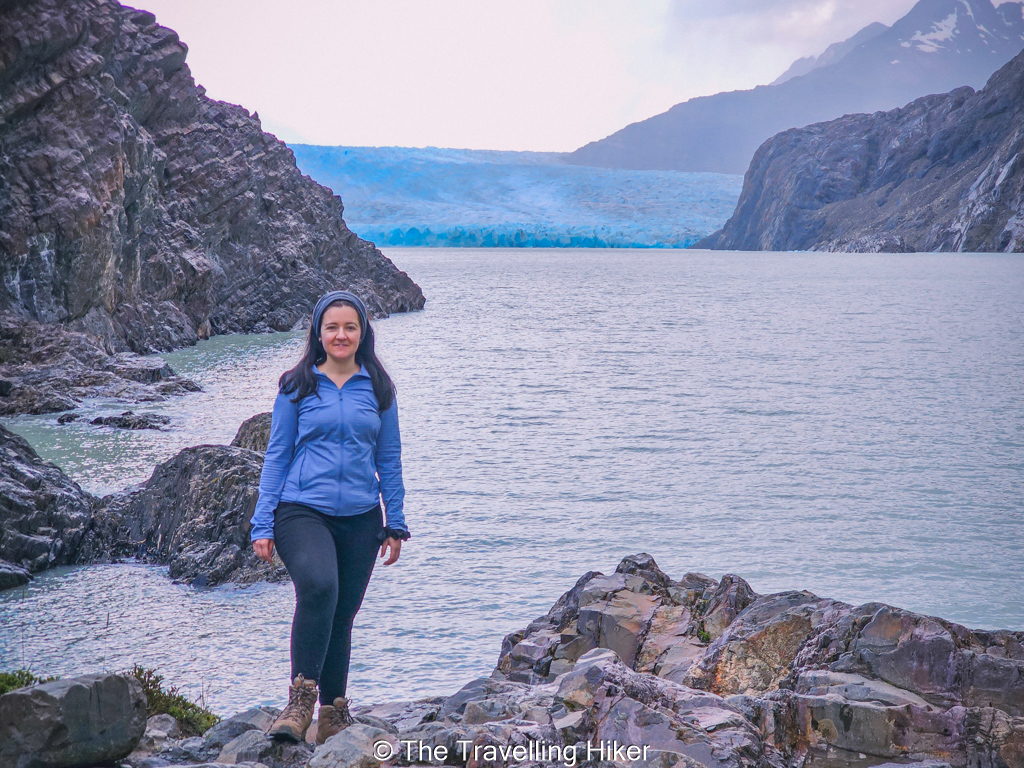
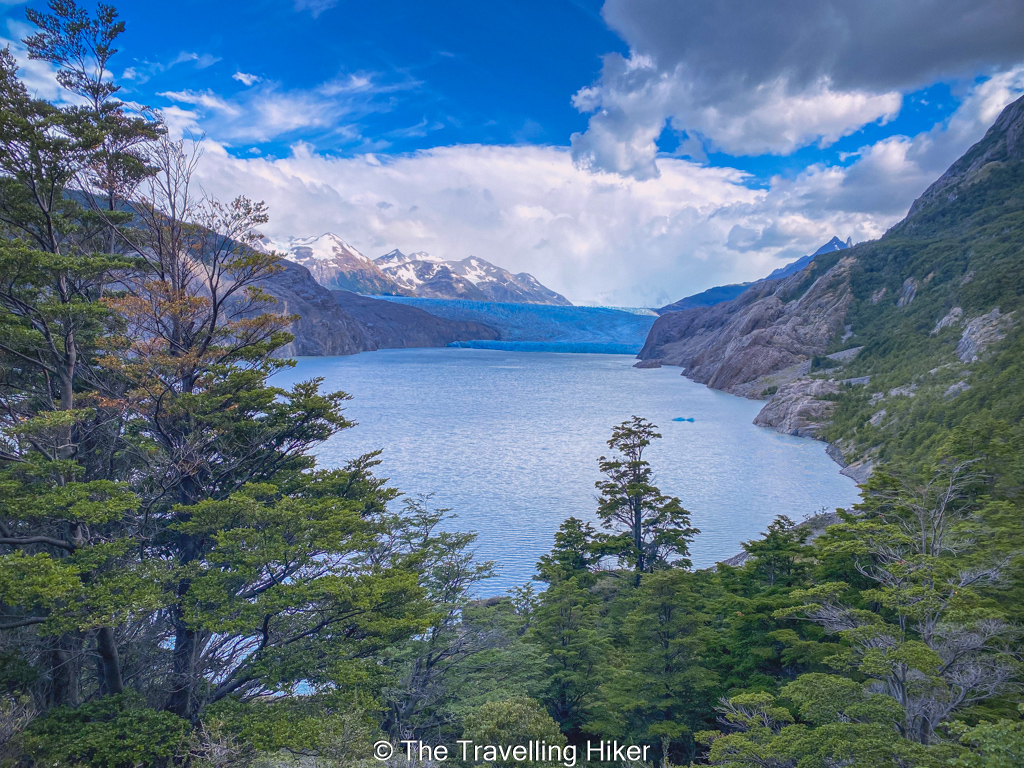
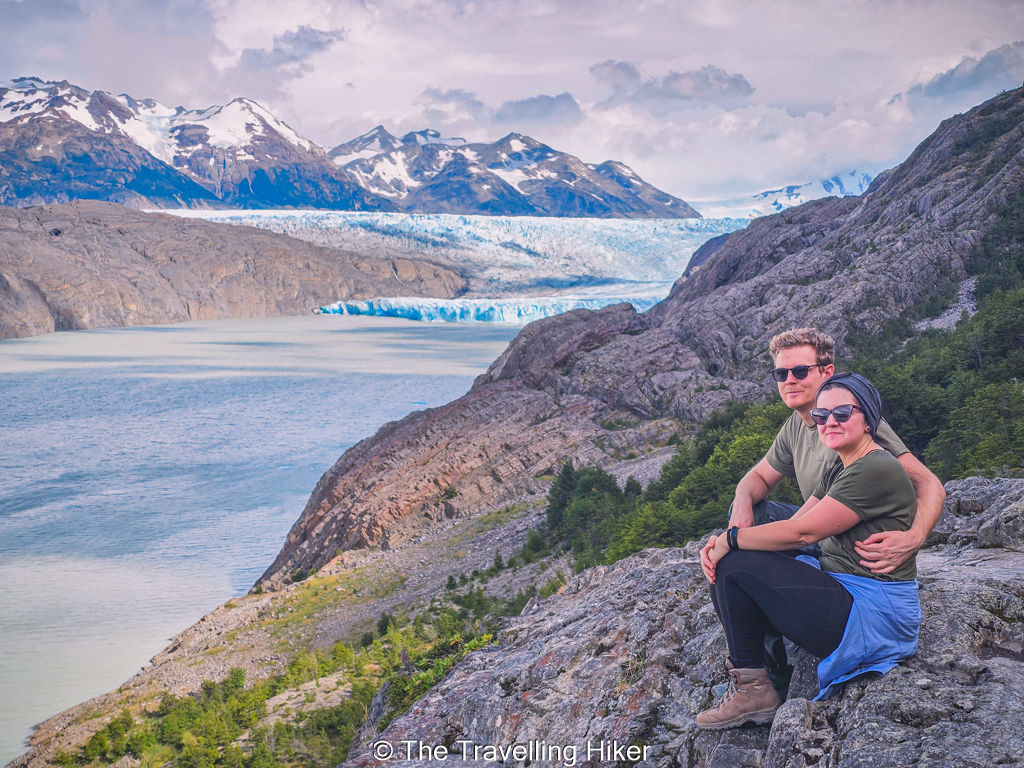
Our first stop of the day was Grey Beach viewpoint. From here, you get a different perspective of Grey Lake, with the glacier and its floating icebergs in the distance. The trail to get here was surrounded by bushes with calafate berries, which look a bit like pink blueberries. They are delicious, so you should definitely try them while in Patagonia!
Route to Grey Beach
El Calafate Berries
Unfortunately, it was raining a little bit that morning, but we still got some nice photos of the glacier. It was the perfect way to start our day!
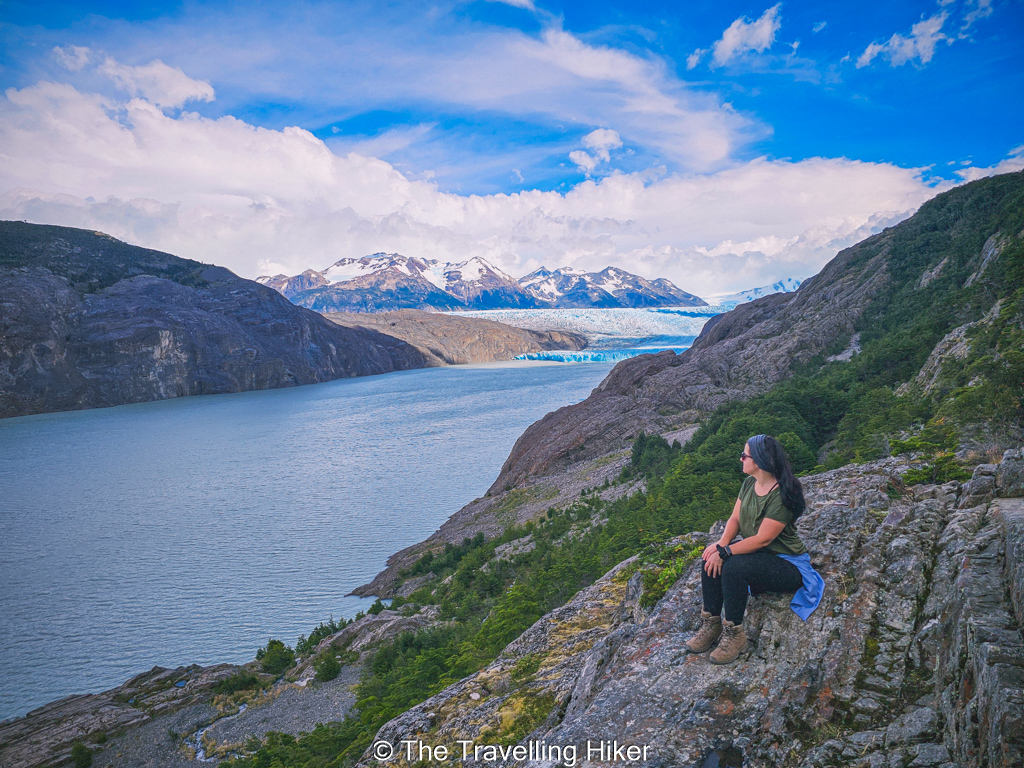
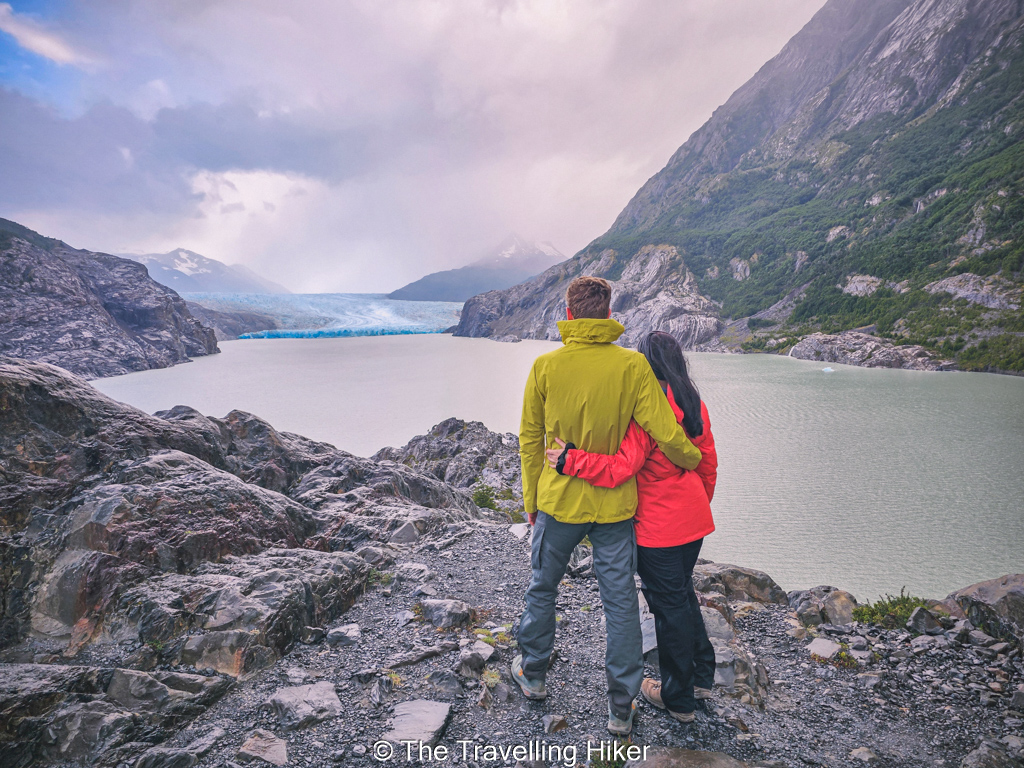
Admiring Grey Glacier
Grey Beach
Walking to the first Suspension Bridge
After this short detour, we continued towards the suspension bridges. This section is a continuous uphill, so don’t expect an easy walk just because the distance doesn’t look particularly long on the map.
As you gain elevation, the views over Grey Lake and Grey Glacier become better. The landscape also starts to feel more remote as you move further away from the main W Trek trail.
Trail to the Suspension Bridges
Getting closer to the glacier
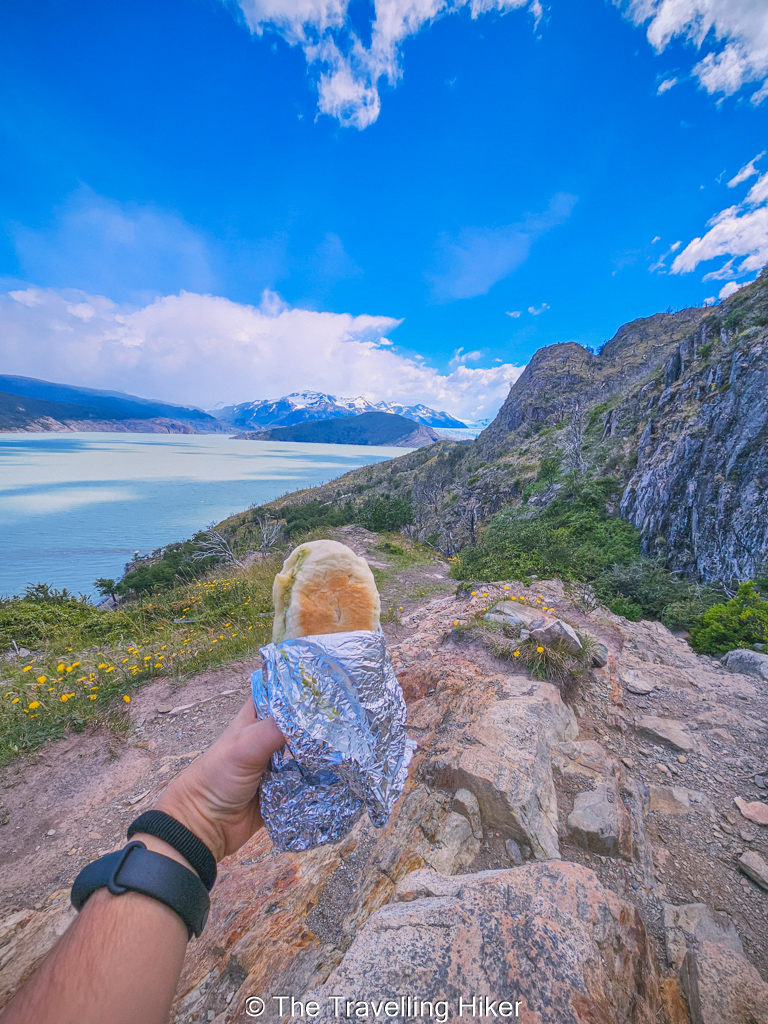
Before reaching the first suspension bridge, there is a really nice viewpoint which makes for a perfect spot to have a little energy snack. A bit further, you reach the first suspension bridge. It crosses a deep gorge and gives you your first real taste of what is coming further along the trail.
The bridge itself is quite an experience. Even if you are not afraid of heights, you will definitely notice the drop below you!
Frist Suspension Bridge
Standing in the middle of the bridge
Walking to the second Suspension Bridge
After crossing the first bridge, the trail continues uphill towards the second suspension bridge. This is the section where you really start to appreciate why the detour is worth doing.
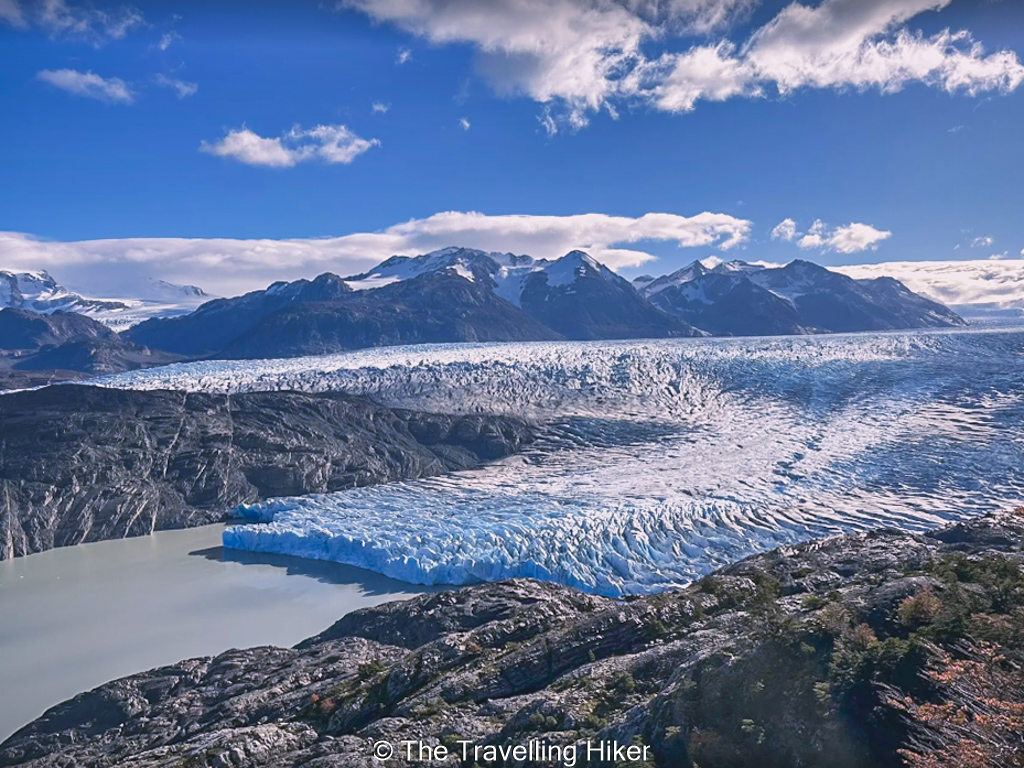
The second bridge crosses an even deeper gorge and offers some of the best views of Grey Glacier on this part of the trek. From here, you can look across the valley towards the glacier and see the ice stretching out between the mountains.
The trail continues beyond this point towards the third suspension bridge and eventually Paso John Gardner, but for our W Trek itinerary, the second bridge was our turning point.
Tip: If you have an extra day, I recommend sleeping for a second night at Refugio Grey and reaching the third suspension bridge. I really regret not thinking about this when I made the reservations for the W Trek!
View from the second bridge
Returning to Refugio Grey
After enjoying the views from the second suspension bridge, we turned around and followed the same trail back towards Refugio Grey. We stopped at the viewpoint before the first suspension bridge to have an energy snack and get one last close-up view of the glacier.
The return hike to Refugio Grey felt noticeably easier than the way up. You have already done the hardest uphill section, although there are still plenty of small ups and downs along the way.
Once back at Refugio Grey, we picked up our backpacks and took a short break before starting the second part of the day.
Enjoying a break right before the first suspension bridge
From Grey to Lake Grey
From Refugio Grey, the trail heads back towards Paine Grande, following the same route we had walked the previous day in the opposite direction.
Although it is the same trail, it looks surprisingly different when you are walking in the other direction. You now have Grey Glacier behind you, and the views towards the lake and surrounding mountains change as you move along the trail. On Day 1, we were so impressed by Grey Glacier that we didn’t notice how beautiful the rest of the park is!
Lunch spot for the day
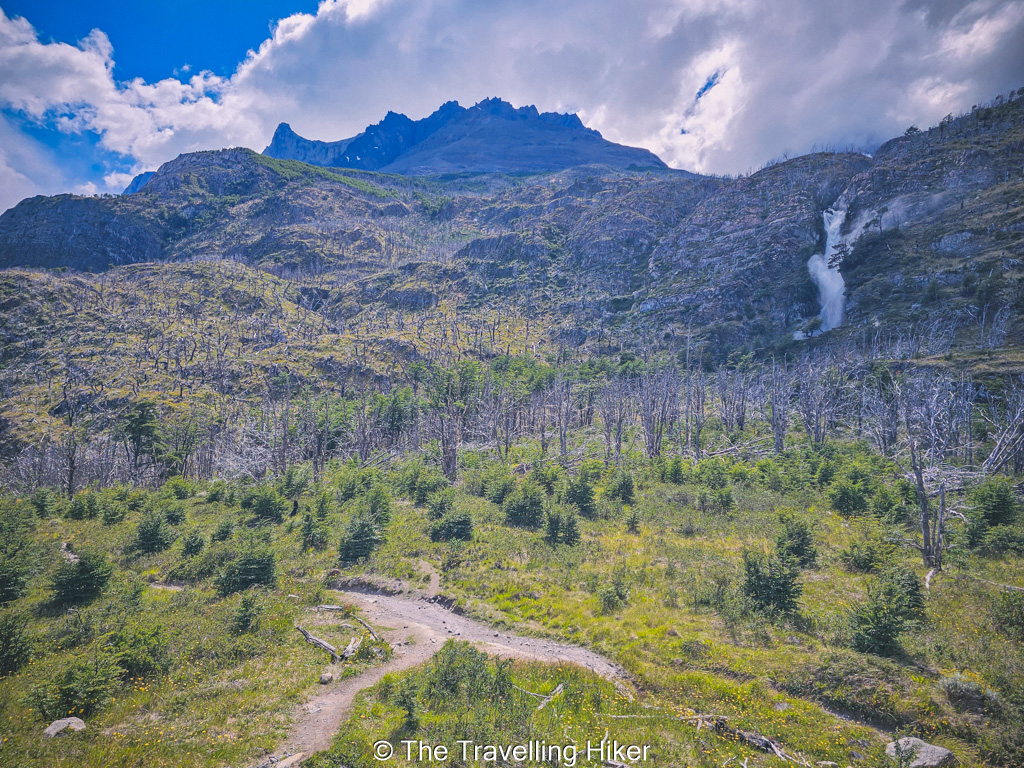
Waterfall made by Olguin River
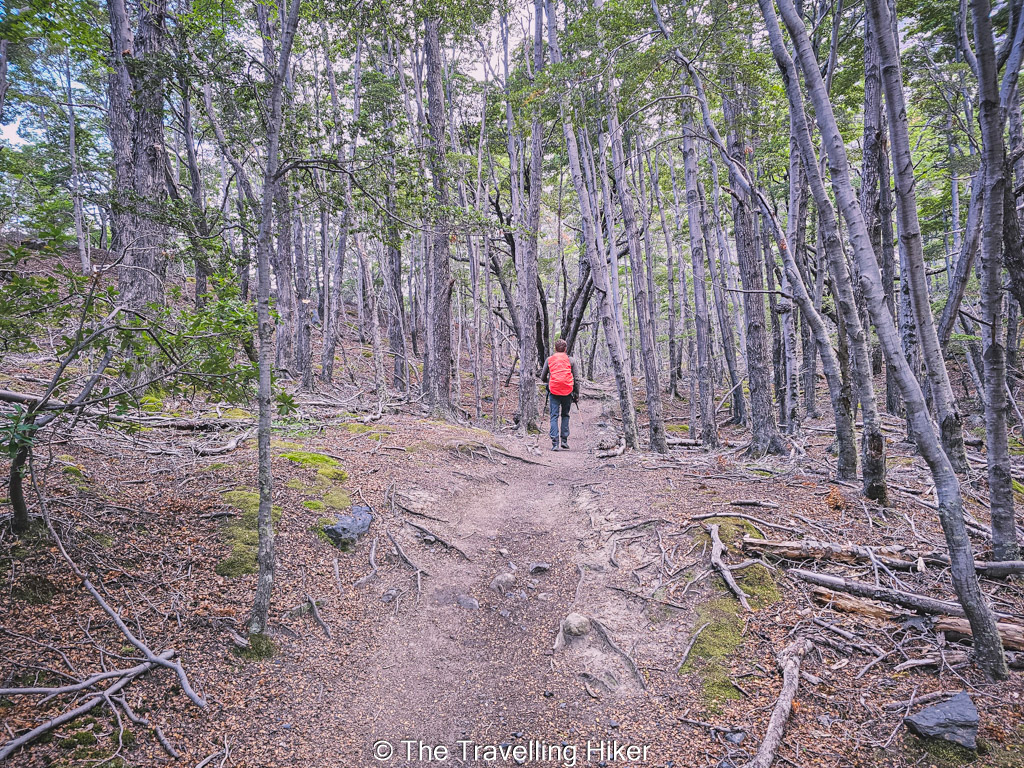
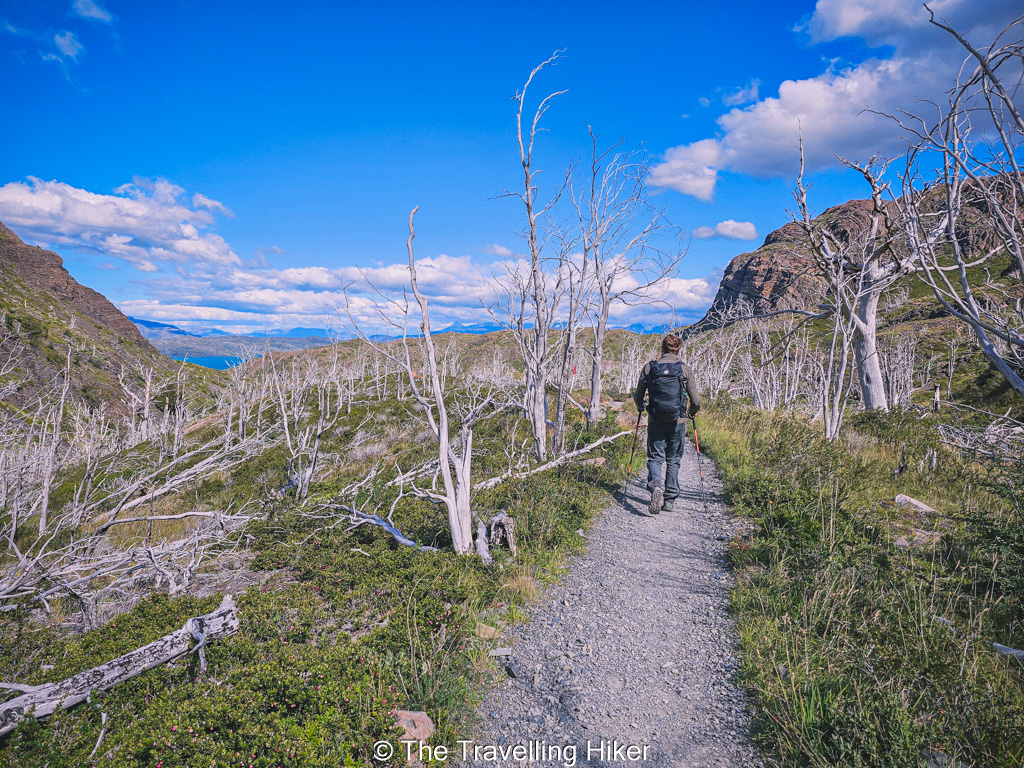
This section is mostly a combination of open terrain and forest, with some uphill and downhill sections. The trail can be uneven in places, so it is worth keeping your trekking poles handy.
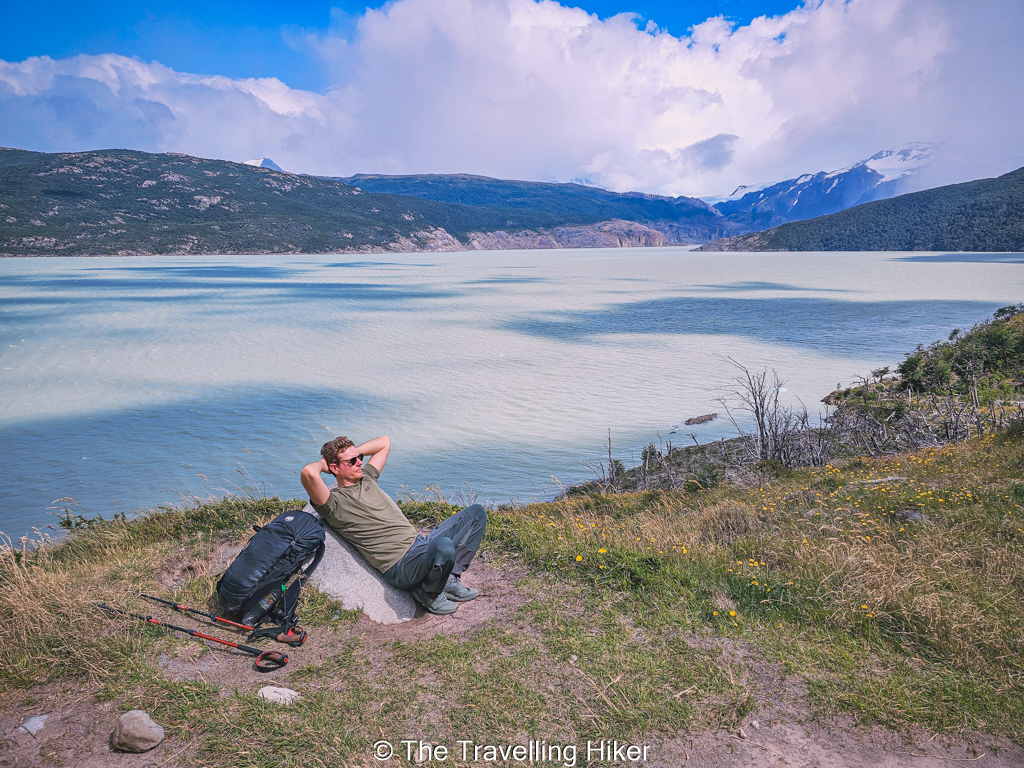
Of course, we took plenty of stops along the way to enjoy the views.
David taking a break next to Lake Grey
Enjoying the views
Mirador Grey
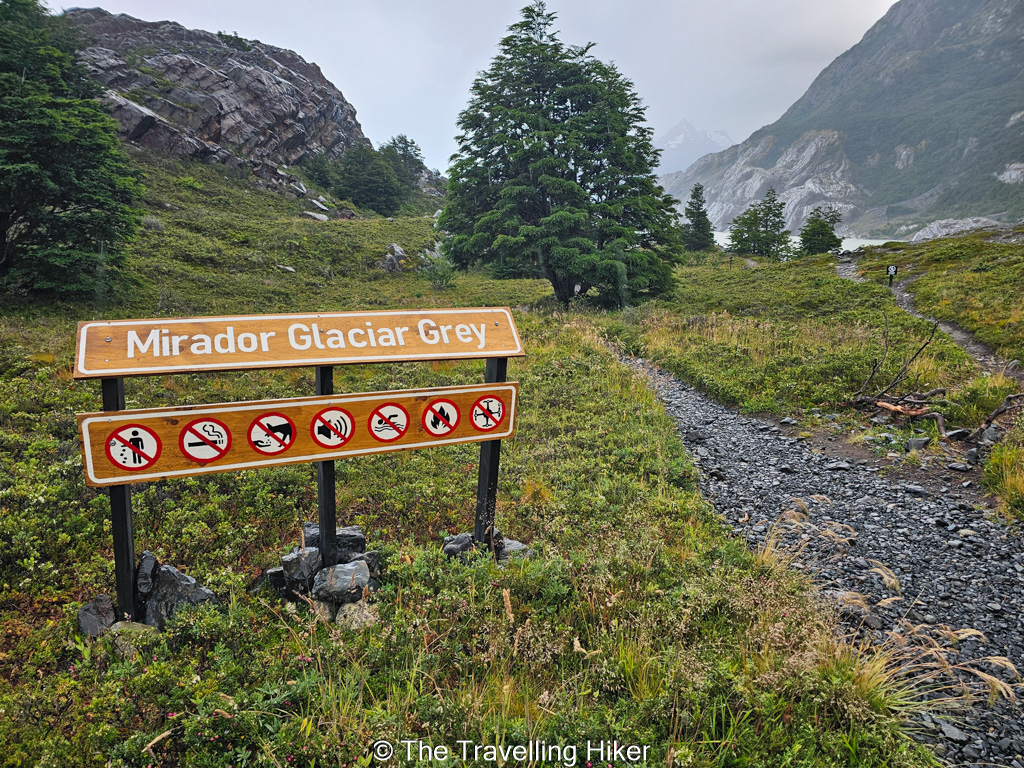
As you keep walking next to Lake Grey, you will eventually reach Mirador Grey. This was our last view of Grey Glacier, so we stopped here again to enjoy it one last time.
I actually liked seeing Grey Glacier from different viewpoints throughout these two days. You might think that once you’ve seen it from one viewpoint, you’ve seen it all, but the perspective changes quite a lot as you move along the trail.
Mirador Grey (Grey Viewpoint)
Reaching Laguna de los Patos
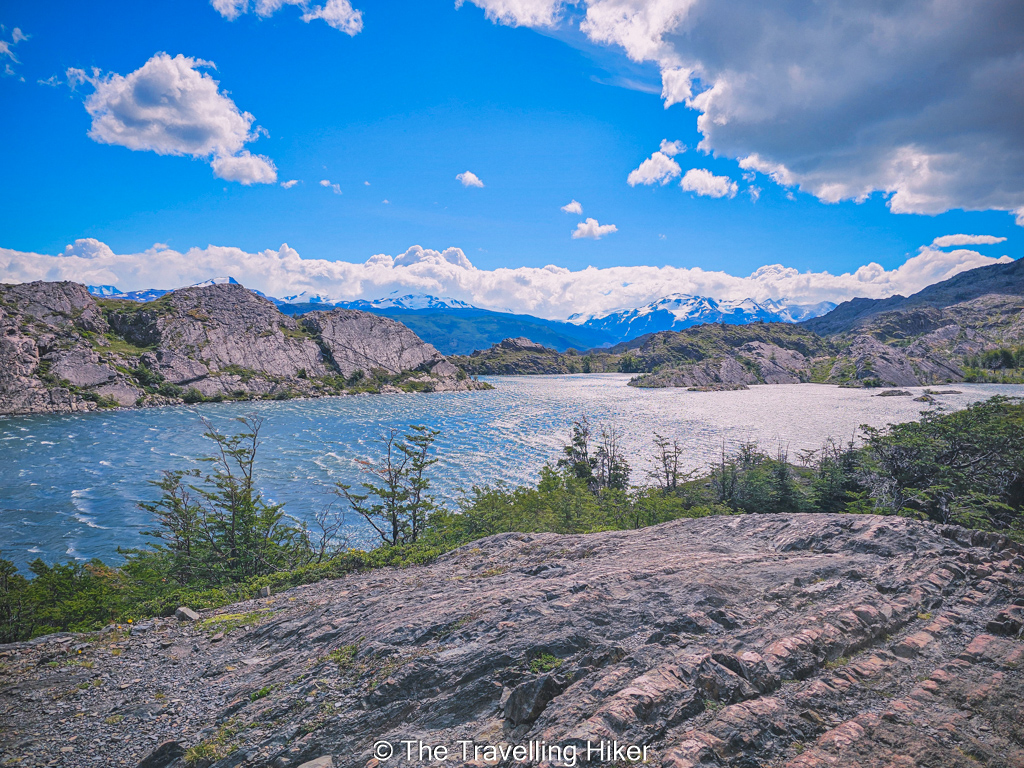
After leaving the Grey viewpoint behind, the trail continues next to Lake Grey until you reach Laguna de los Patos.
Walking towards Laguna de los Patos
One last look at Lago Grey
The small lagoon is surrounded by mountains and makes a nice change from the huge views of Grey Glacier. By this point, we were starting to get tired, so it was nice to know that the longest part of the day was almost behind us.
Laguna de los Patos
Descending to Paine Grande
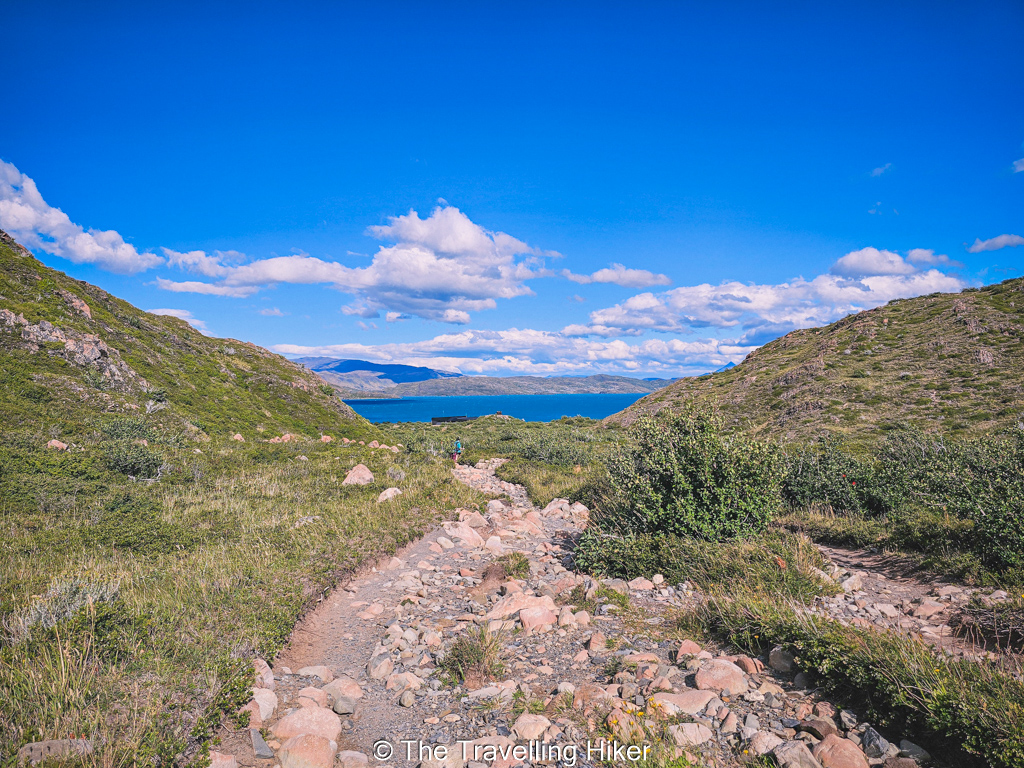
From Laguna de los Patos, the trail continues downhill towards Paine Grande. It is not too difficult, but you will be happy to have your hiking poles.
Starting the descent to Paine Grande
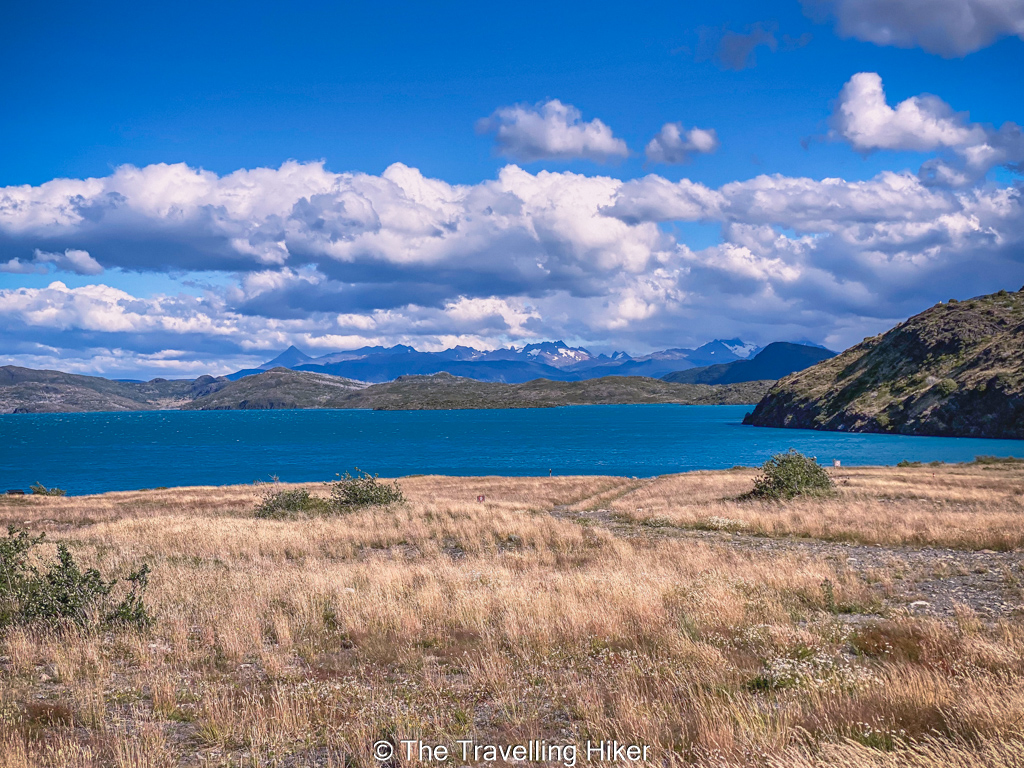
As you get closer to Paine Grande, the landscape opens up and you will see Lago Pehoé in the distance.
Eventually, you will see Refugio Paine Grande ahead. There is something very satisfying about seeing your accommodation after a full day of hiking!
Lake Pehoé getting closer
Check-in and Evening at Paine Grande
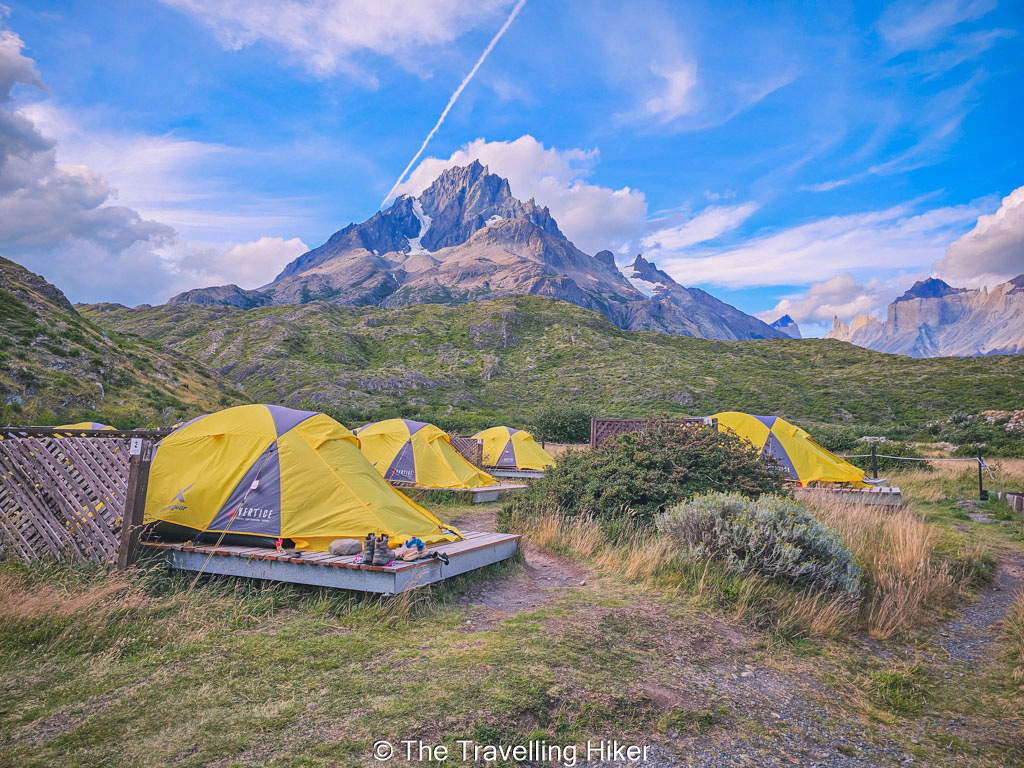
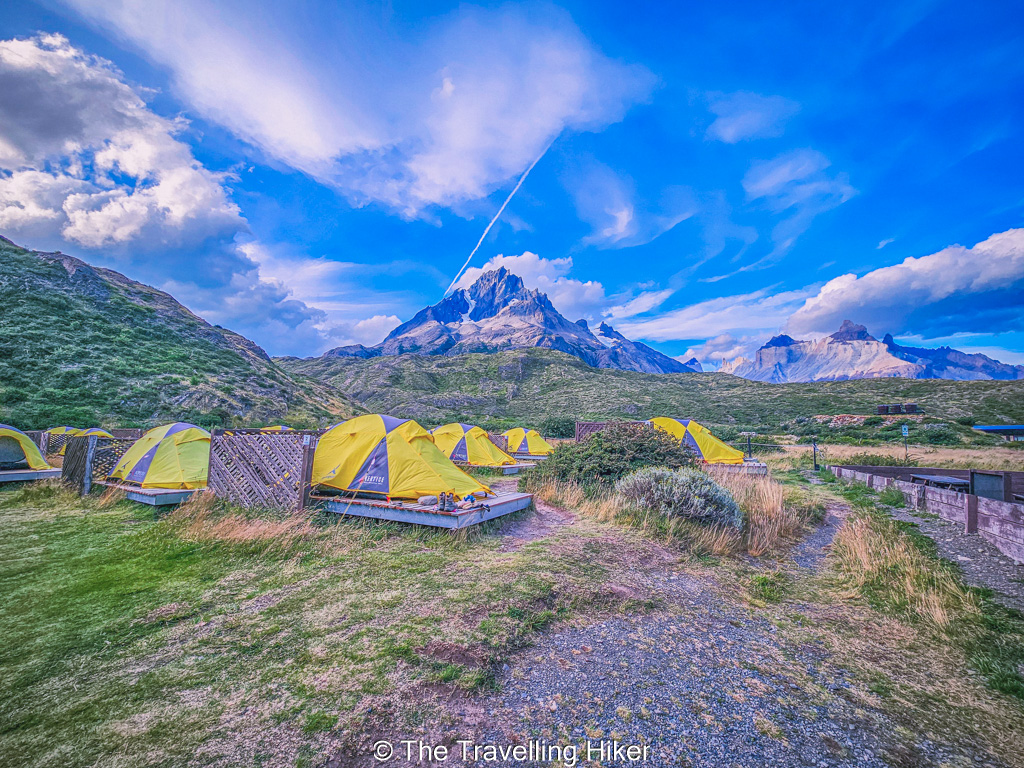
Once we reached Paine Grande, we checked in and were shown to our tent for the night. The views were amazing, with the Paine Grande massif rising behind the refugio and Lago Pehoé nearby.
We took a nice warm shower and spent our evening relaxing and enjoying the delicious buffet dinner at the refugio.
Our accommodation for the night
ACCOMMODATION AT REFUGIO PAINE GRANDE
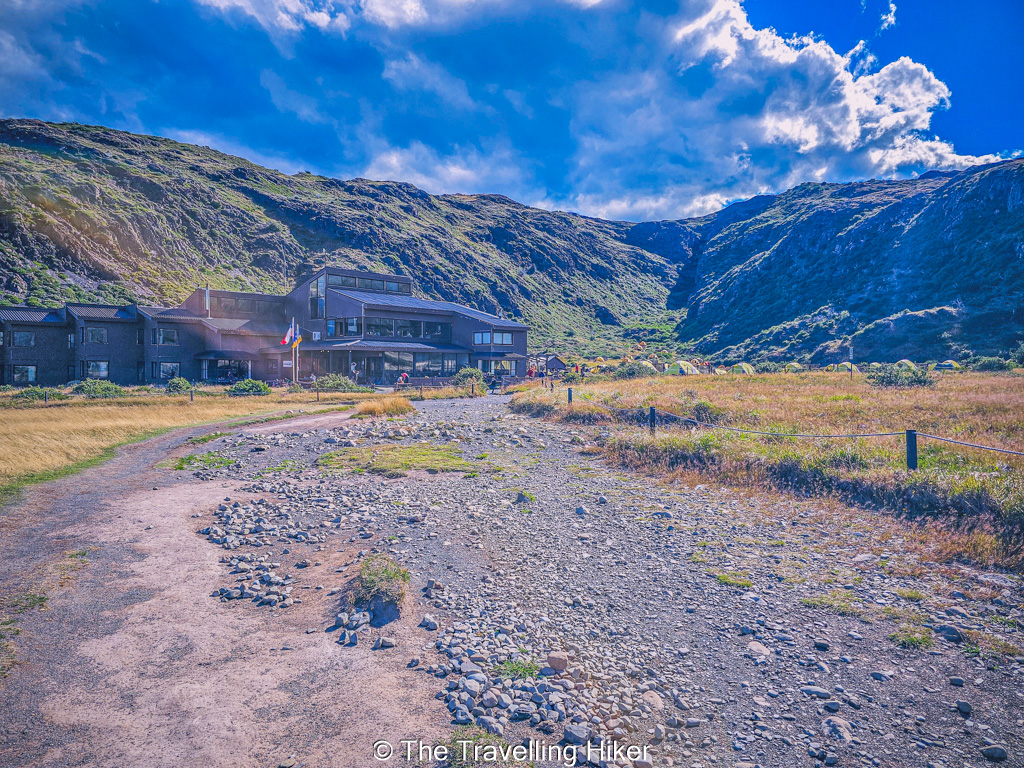
After a long day of hiking, we were happy to finally arrive at Refugio Paine Grande. The location is beautiful, with the Paine Grande massif rising behind the refugio and Lago Pehoé nearby.
Both Refugio Grey and Paine Grande are managed by the same company, Vertice, but there are some differences between them. Paine Grande is much bigger than Refugio Grey, so the facilities are bigger too.
REFUGIO PAINE GRANDE
As at Refugio Grey, the accommodation is fairly basic. You can sleep in shared bedrooms with bunk beds. However, the common areas at Refugio Paine Grande are much bigger.
CAMPING AT PAINE GRANDE
At Paine Grande, you can also rent a tent or bring your own camping equipment. I explain how this works in my dedicated blog post, How to Plan the W Trek on Your Own?.
We chose to rent a tent and sleeping bags. The tents were exactly the same as the ones at Refugio Grey, and we found them very comfortable.
Unfortunately, we didn’t sleep much that night, but it wasn’t because of the tent. It was incredibly windy, and our tent felt like it was going to fly away! Luckily, nothing happened, and the only real impact was on our sleep.
The location of this camping is amazing!
FOOD AT PAINE GRANDE
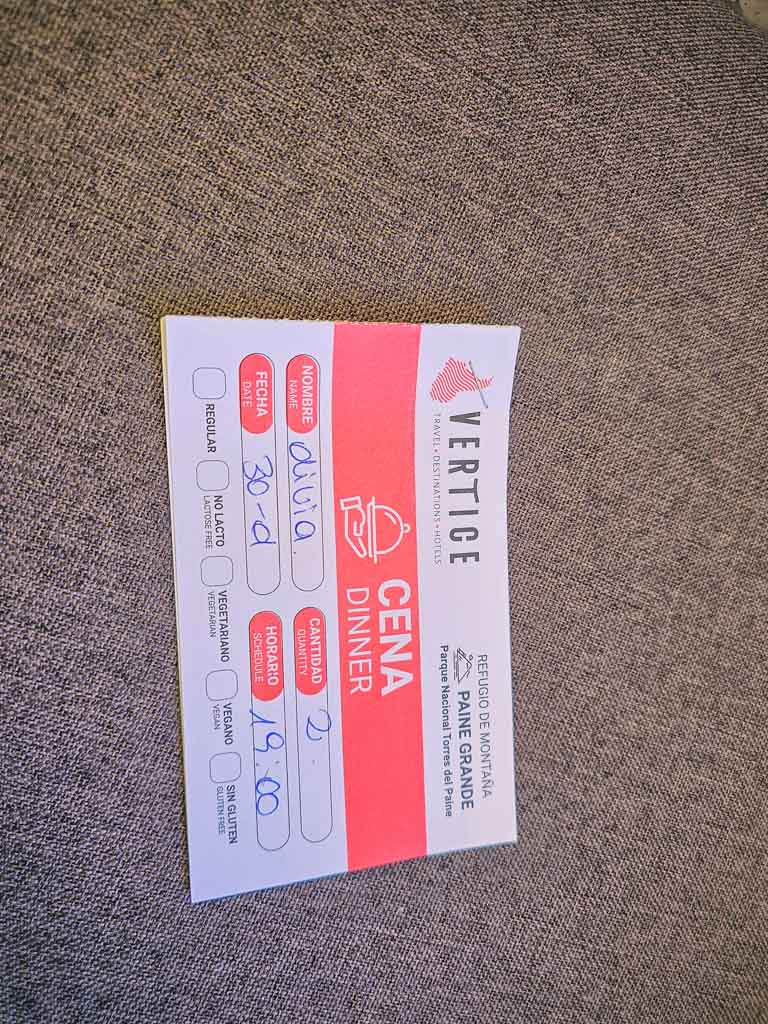
During check-in, we received our meal vouchers for the meals included in our stay. Dinner was organized in three shifts: 18:00, 19:00 and 20:00. For breakfast, you could show up anytime between 6:30 and 9:00.
We found the food at Paine Grande much better than at Refugio Grey, which was a nice surprise after a long day of hiking.
Meal Vouchers
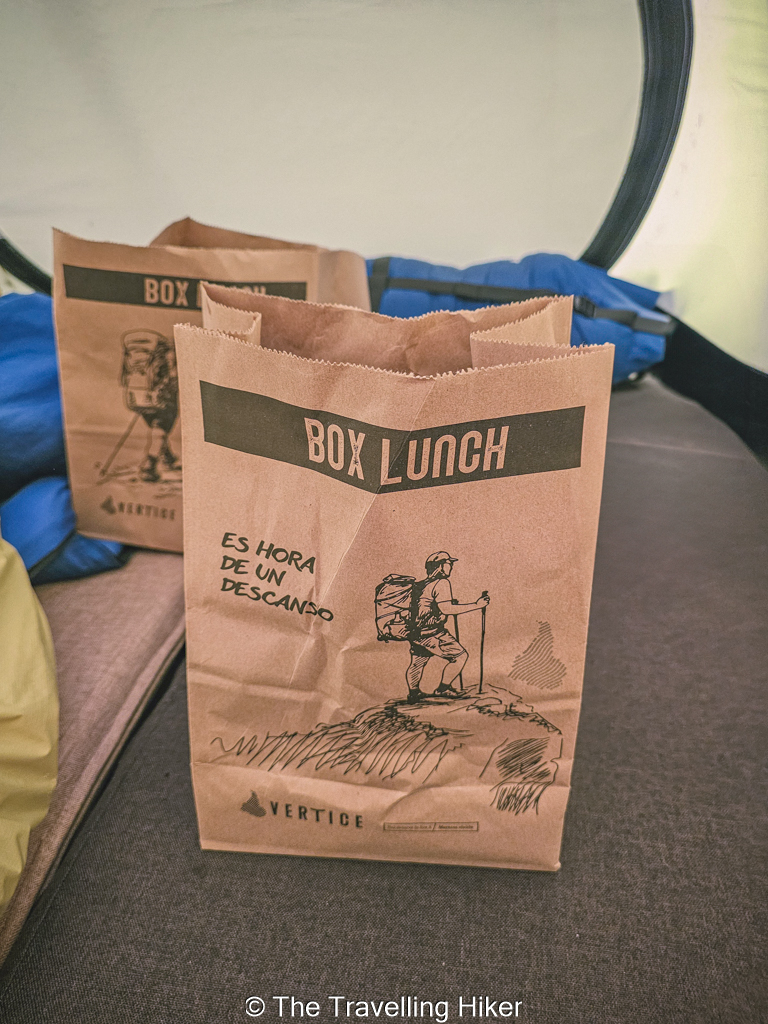
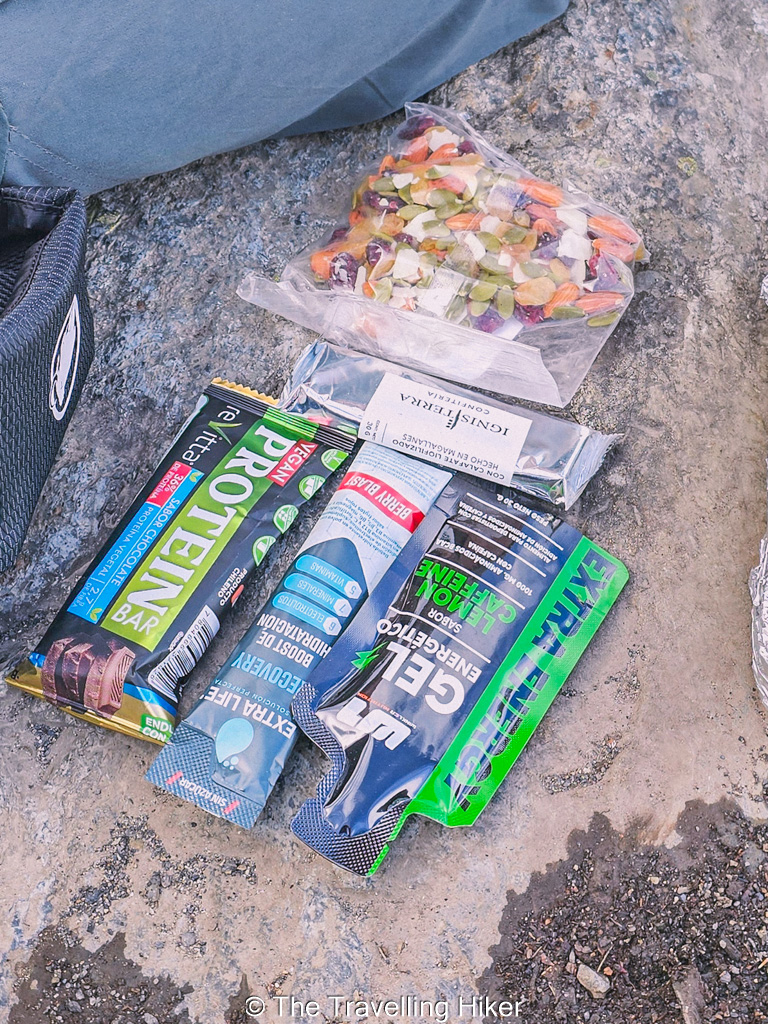
Lunch Box to go
Snacks inside the lunch box
FACILITIES AT REFUGIO PAINE GRANDE
The refugio has shared bathrooms and showers with warm water, which are a welcome sight after a hike. Despite them being shared, the staff at the refugio made sure they were kept quite clean. The facilities are basic, but they are more than enough for a night in the middle of Torres del Paine.
There is also electricity in the refugio, where you can charge your phone. However, you should expect to wait a bit for a spot to become available. If you have multiple electronic devices, I recommend bringing a power bank. As for internet connection, there are some totems, were you can buy access to the wifi for a specific amount of time. But part of the beauty of this hike is the fact that you are completely offline for 5 days. It was actually quite nice for a change!
Finally, the refugio has several common areas where you can relax and spend some time with other hikers. The atmosphere is very much that of a mountain refuge, with people arriving throughout the afternoon, having dinner and preparing for the next day of the W Trek.
Just remember one thing: you are staying in a remote mountain location. Don’t expect the same facilities or comfort you would get in a regular hotel. Part of the experience is simply enjoying being surrounded by the incredible landscape of Torres del Paine.
Lake Pehoé next to Paine Grande
FREQUENTLY ASKED QUESTIONS ABOUT W TREK DAY 2
HOW LONG IS W TREK DAY 2 FROM GREY TO PAINE GRANDE?
The hike from Refugio Grey to Refugio Paine Grande is around 11 km and usually takes 3.5 to 4.5 hours, depending on your pace and the stops you make along the way. However, if you add the detour to the suspension bridges, the day becomes considerably longer.
ARE THE SUSPENSION BRIDGES PART OF THE w tREK?
No, the suspension bridges are not part of the standard W Trek route. They are located beyond Refugio Grey, along the trail towards Paso John Gardner, which is part of the O Circuit.
HOW MANY SUSPENSION BRIDGES ARE THERE?
There are three suspension bridges along this section of trail towards Paso John Gardner. For hikers doing the W Trek, the second bridge is a popular turning point.
Admiring Glacier Grey
CAN YOU LEAVE YOUR BACKPACK AT REFUGIO GREY?
Yes, if you are returning to Refugio Grey after visiting the suspension bridges, you can leave your larger backpack there and carry only a small daypack with water, snacks, and other essentials.
IS IT WORTH VISITING THE SECOND SUSPENSION BRIDGE ON THE W TREK?
In my opinion, yes! The detour adds quite a bit of hiking, but the views of Grey Glacier from the suspension bridges are fantastic.
FINAL THOUGHTS
W Trek Day 2 from Grey to Paine Grande was an amazing day because we decided to add the detour to the suspension bridges. The views of Grey Glacier from the second bridge were fantastic, and I think the extra effort was totally worth it.
Looking back, I also wish we had booked a second night at Refugio Grey so we could have continued to the third suspension bridge. It is something I would consider if I ever return to Patagonia!
If you are planning your own W Trek, I hope this guide helps you prepare for the hike and decide whether to include the suspension bridges in your itinerary. They definitely made our second day more memorable!